While most homesteaders are well-versed in “putting up” or canning at the end of the season, pressure canning is a next-level adventure. We recently went down that rabbit hole, complete with unexpected twists and turns.
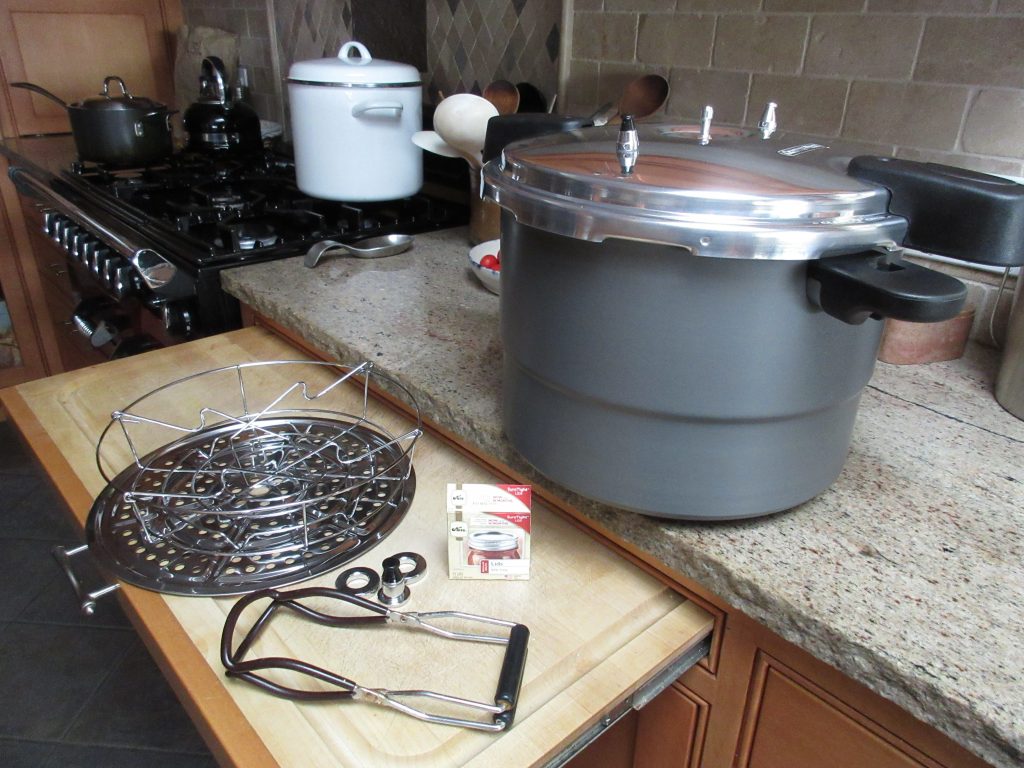
Our new pressure canner not only does pressure canning, but it replaces the water bath canner, and also can be used for pressure steaming. Woot!
What’s the Difference?
Water bath canning uses a full pot of boiling water to create a vacuum seal in high-acid foods. But it doesn’t get hot enough to kill bacteria that can cause botulism, so you can’t can low-acid foods without brine or sugar.
Pressure canning uses less water (only 3 quarts) and the sealed canner increases the temperature inside the pot above 240° F (enough to kill bacteria). So you can process low-acid foods without brining or sweetening them first. For those of us who don’t care for pickled things or sugary jams, this is a godsend.
Why Can Beans?
We cook from scratch here at Gardenerd, and home cooked beans are leaps and bounds better than canned beans. However, it’s time consuming and memory taxing to plan ahead. Soak the beans overnight, then cook them. Then make your dinner. Why not can a bunch for later while you’re at it?
The Process
The first step of our adventures was to learn the process. For beans, doctrine suggests 5 lbs. of dry beans for an end-result of 7 quarts canned, cooked beans. It also suggests parboiling them for 30 minutes prior to canning. Some soak overnight, some don’t. We soaked. (See What We Learned below before you move forward).
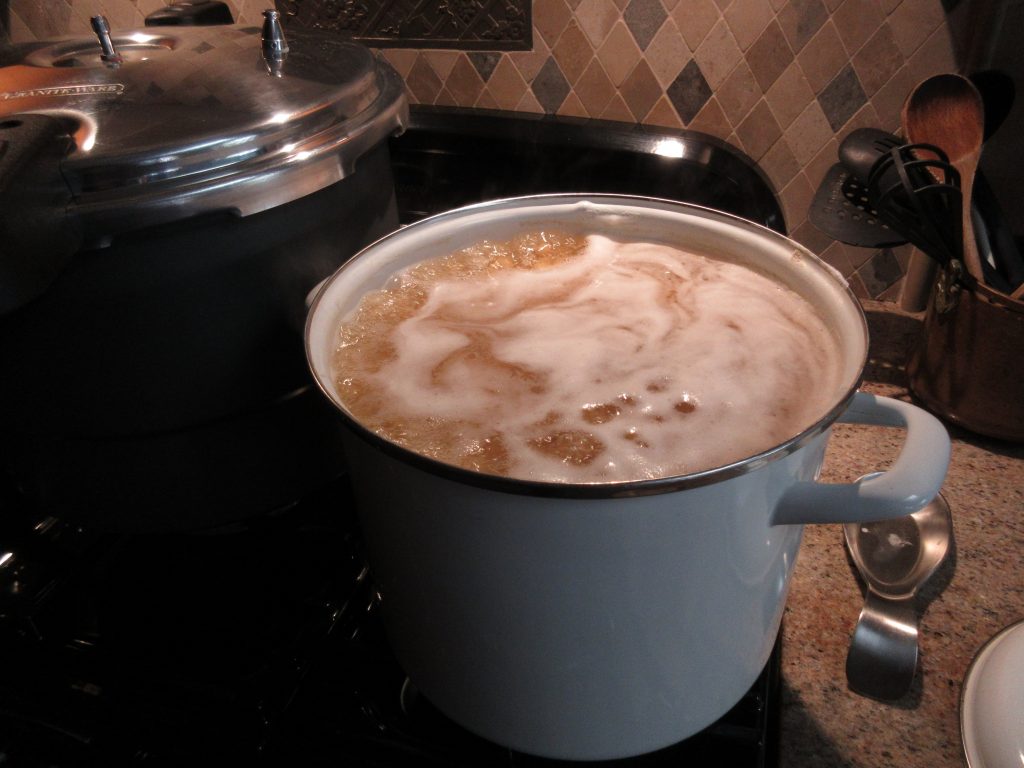
But First – Sterilize your jars either in the dishwasher or in the pressure canner (not sealed) with 3 quarts water on the bottom. Fill the jars with water, bring the whole thing to a boil and simmer while you cook the beans.
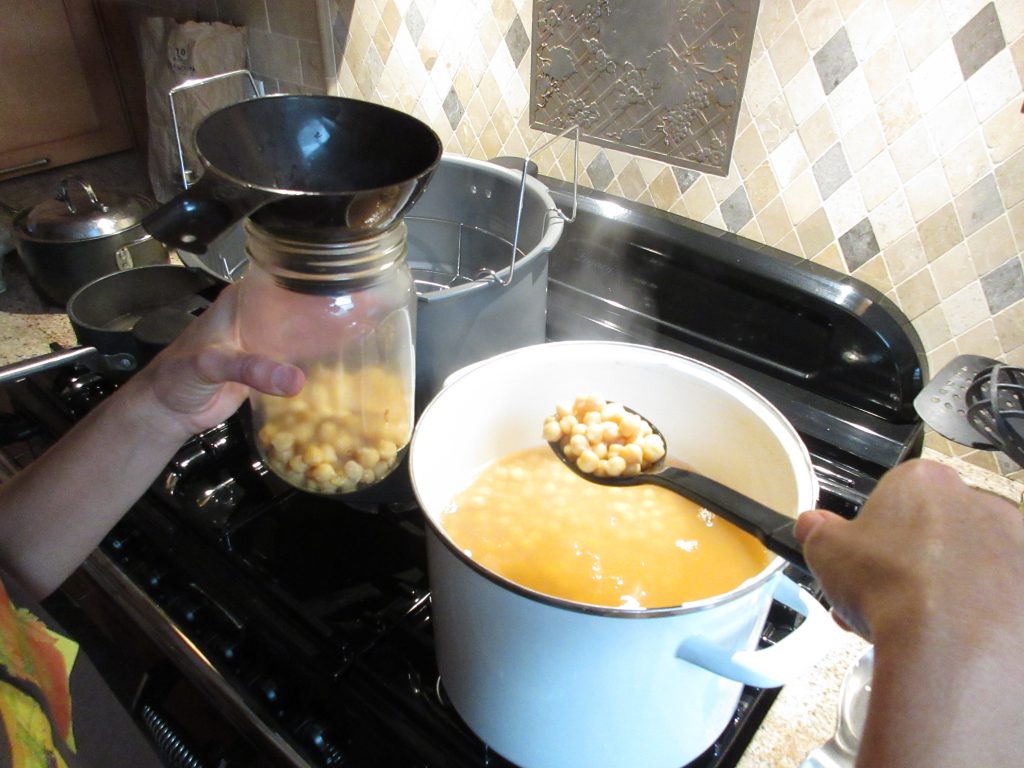
Use a slotted spoon to fill jars 2/3ds full with beans (they will continue to cook inside the canner and absorb liquid so leave room). Then add cooking liquid to the jars, leaving headspace.
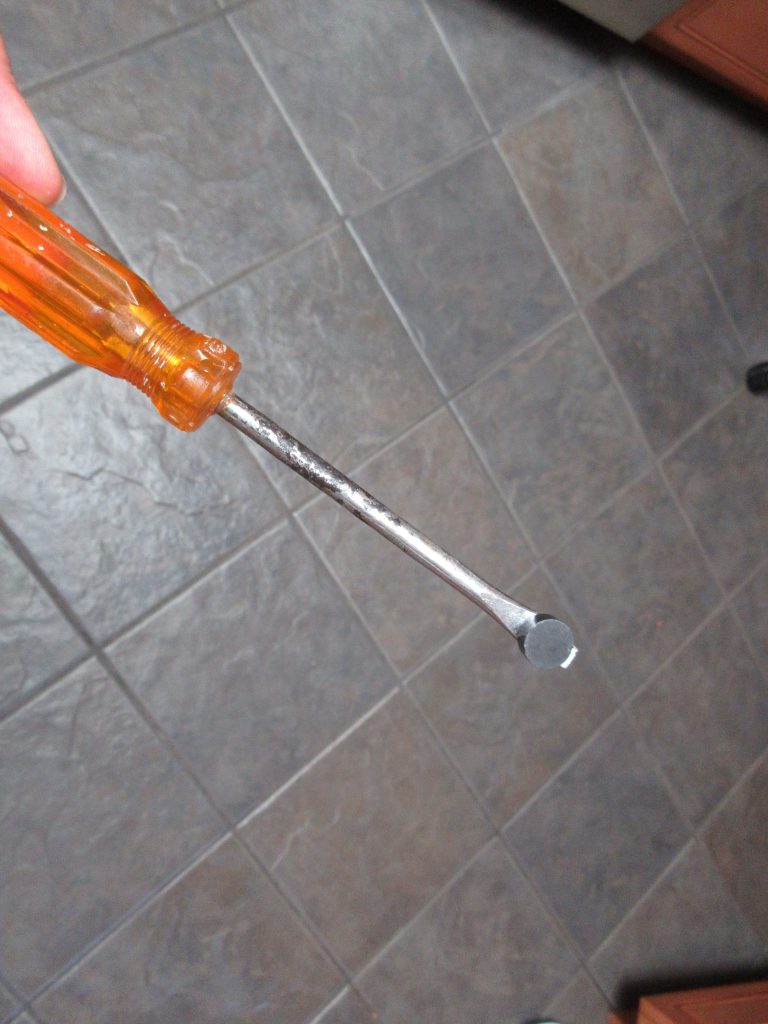
Heat your lids in a pan of boiled water for 3 minutes, then use this fancy lid magnet (i.e. screwdriver with a magnet — nerd household here) to lift the lids out of the pan. Screw on the bands, but not too tight. Air will need to escape.
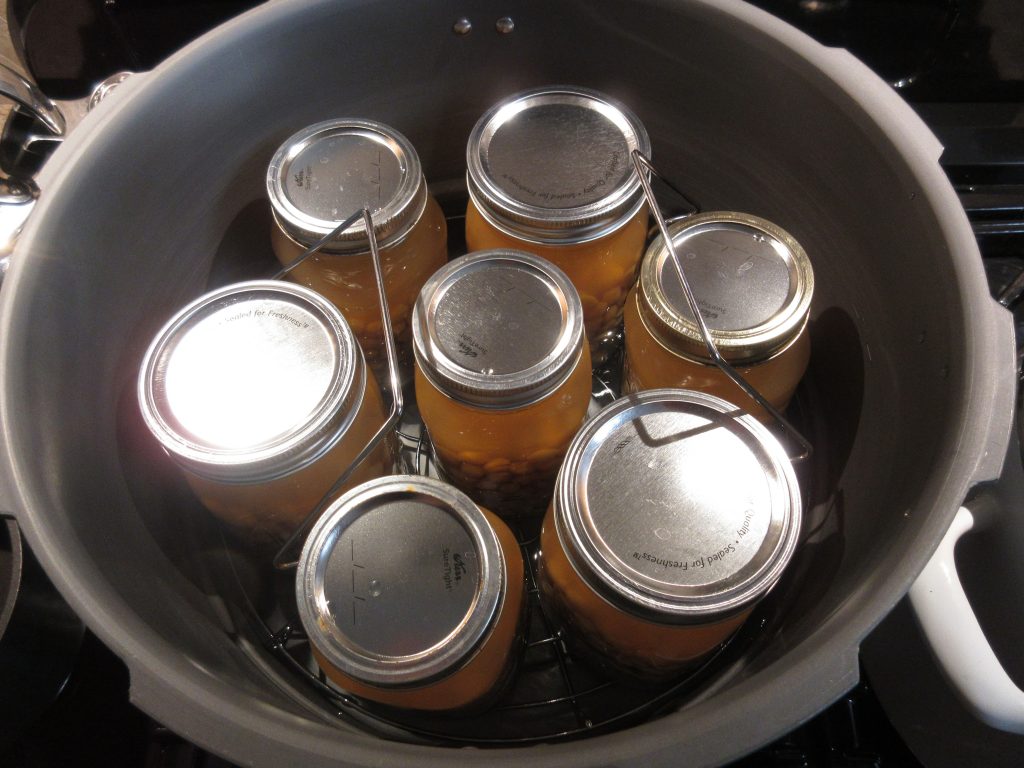
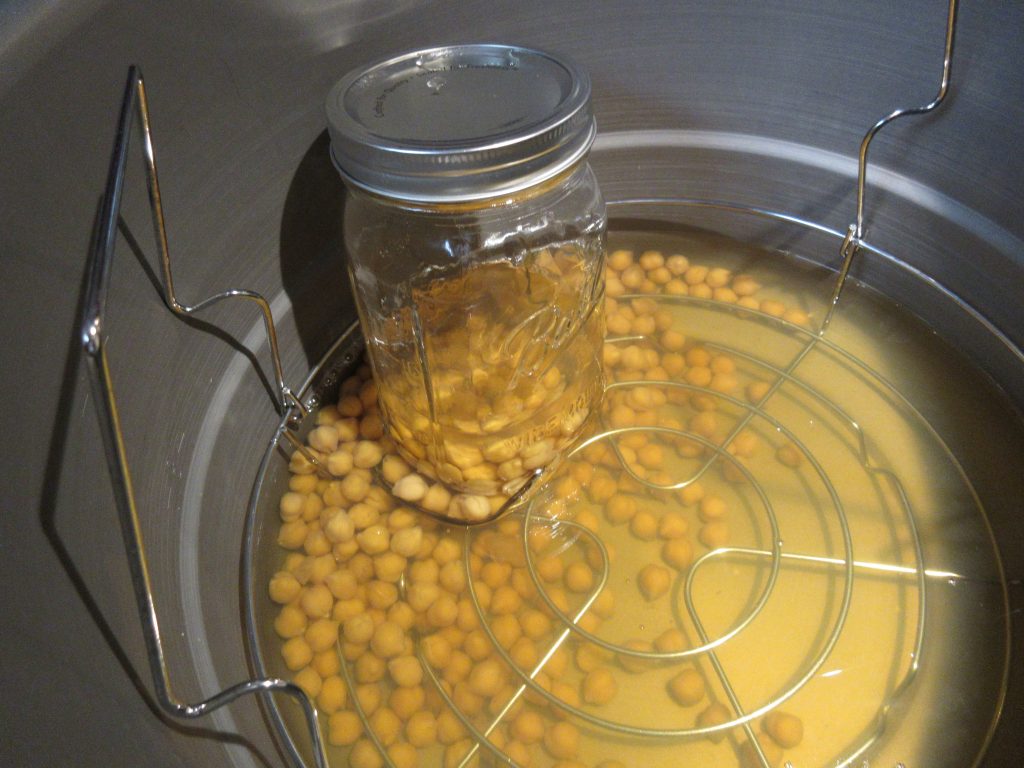
Canning the Beans
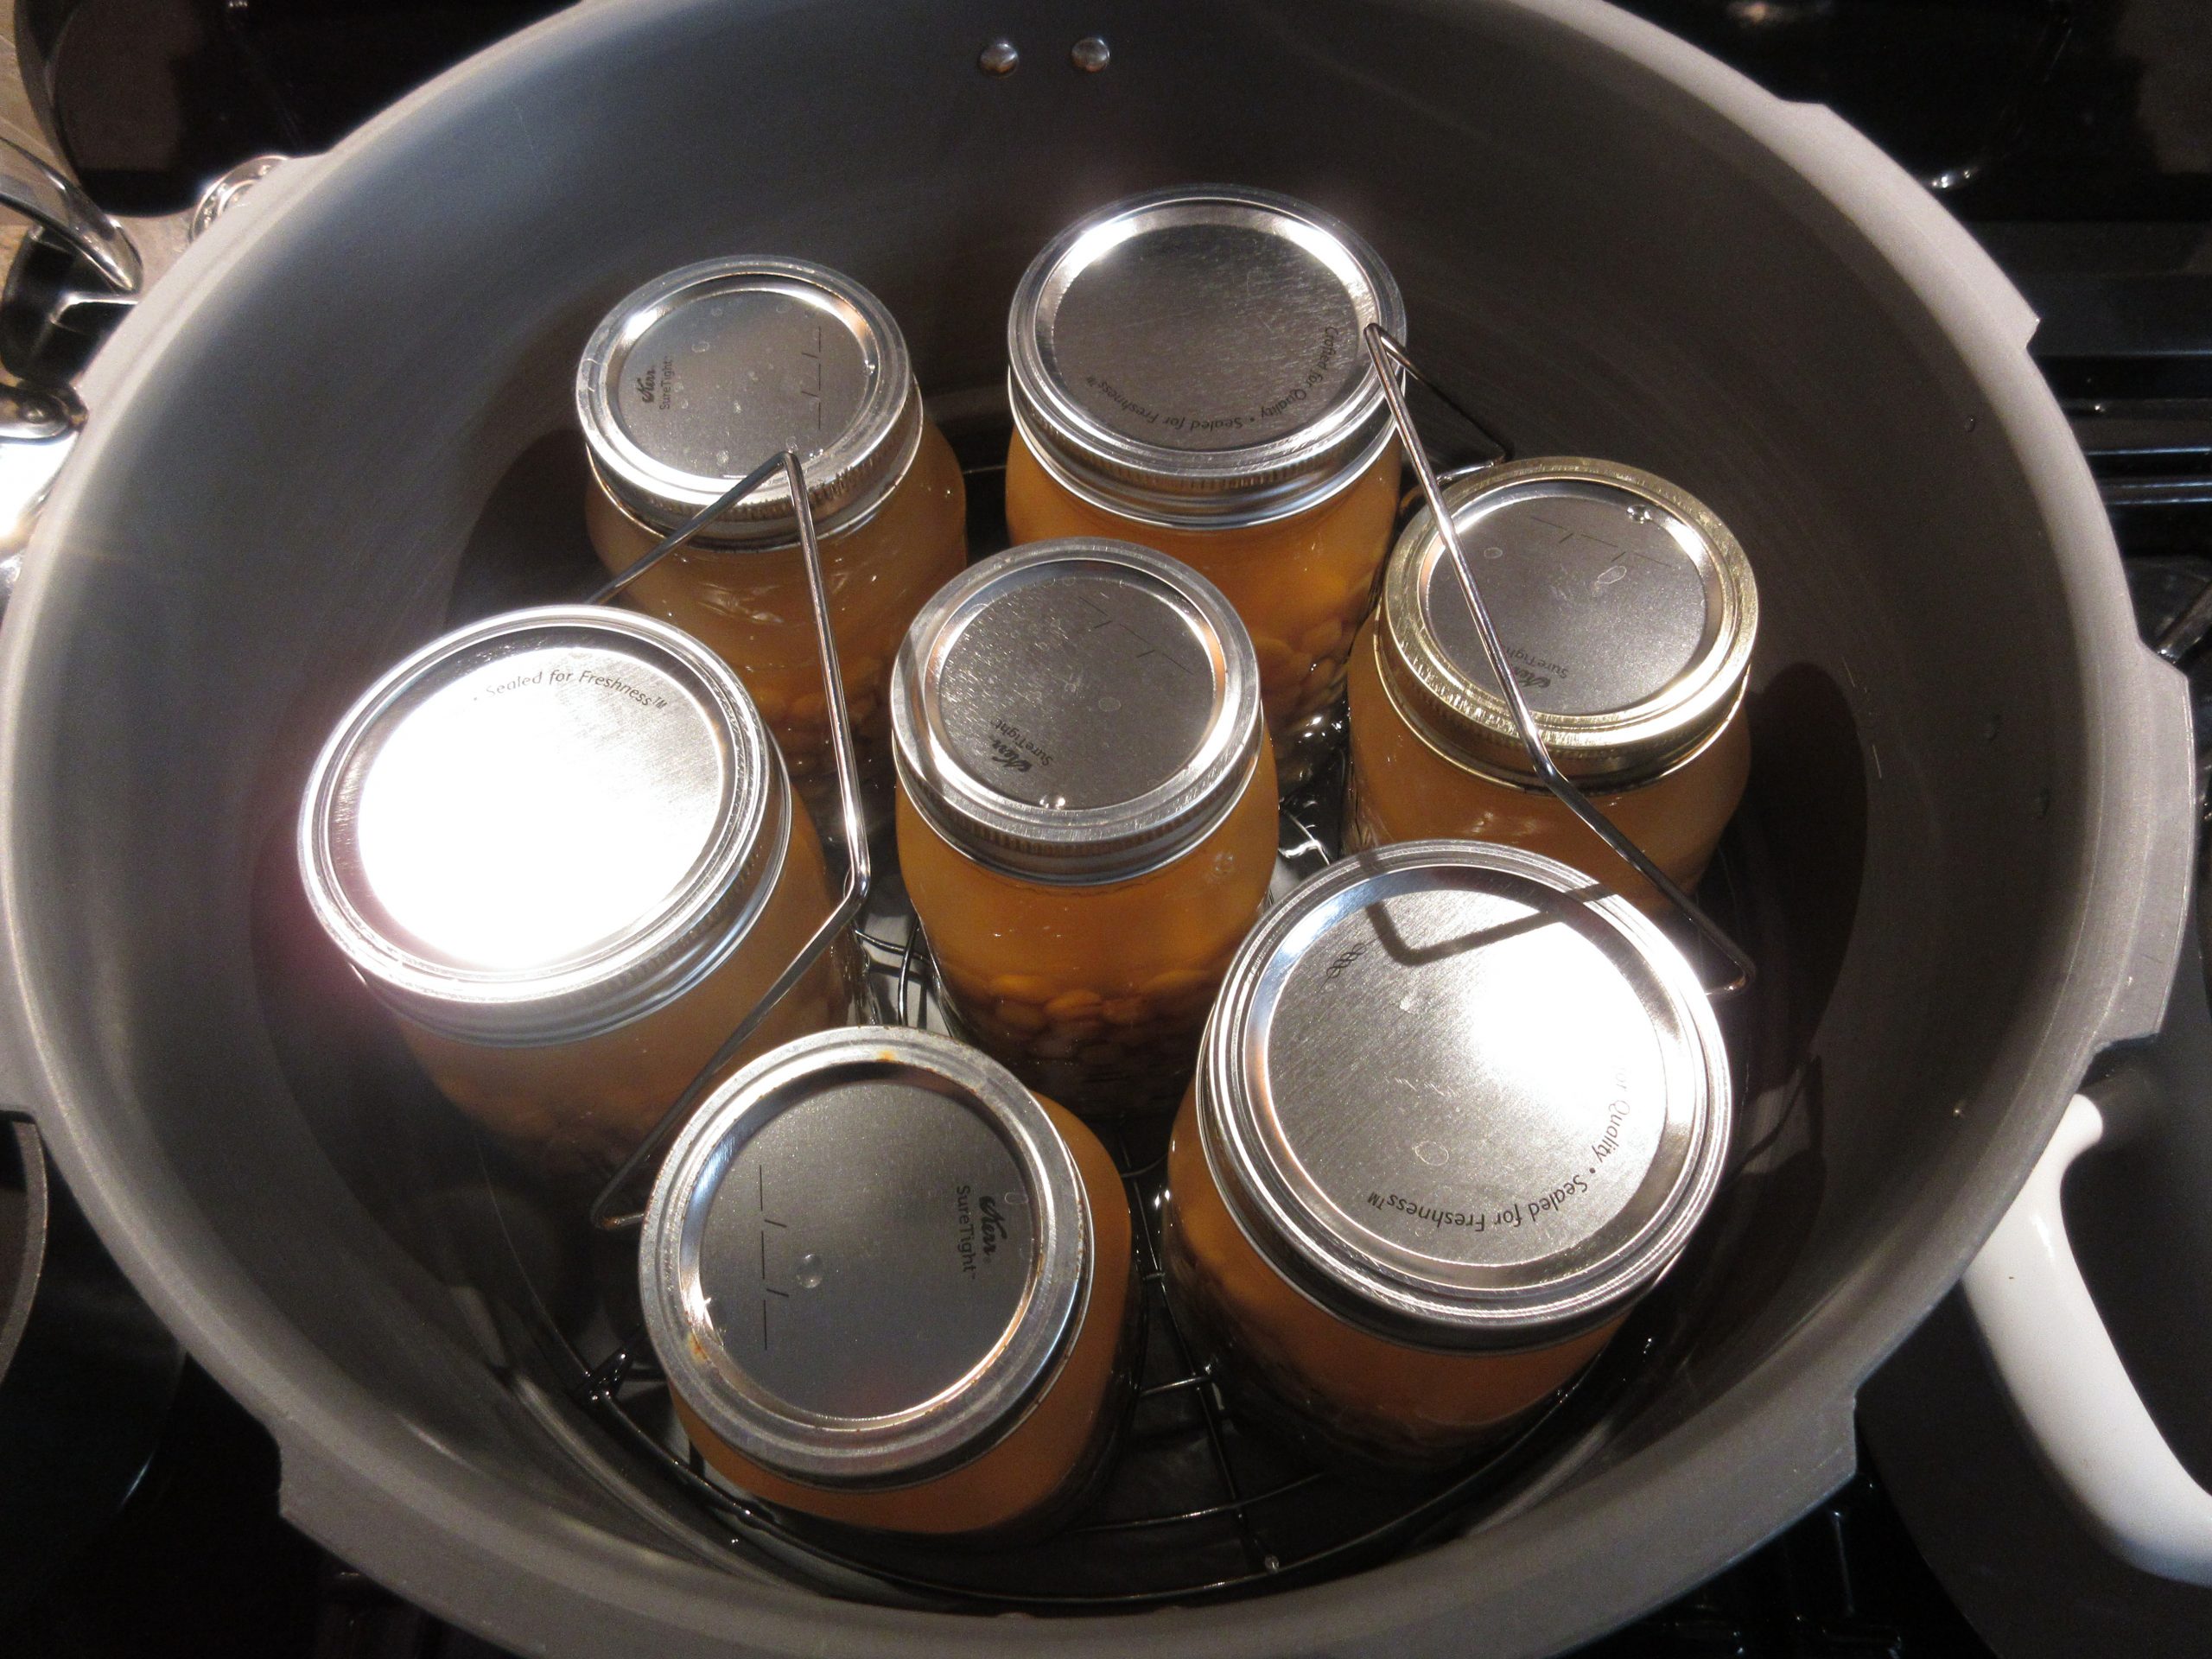
Place the jars on the wire rack and lower them into the canner. Seal the canner and heat to a boil. The instructions for Graniteware weighted gauge canners state to allow steam to vent for 10 minutes before adding the weighted gauge. Then wear an oven mitt to add the gauge with 1 weight for 10 lbs. pressure.
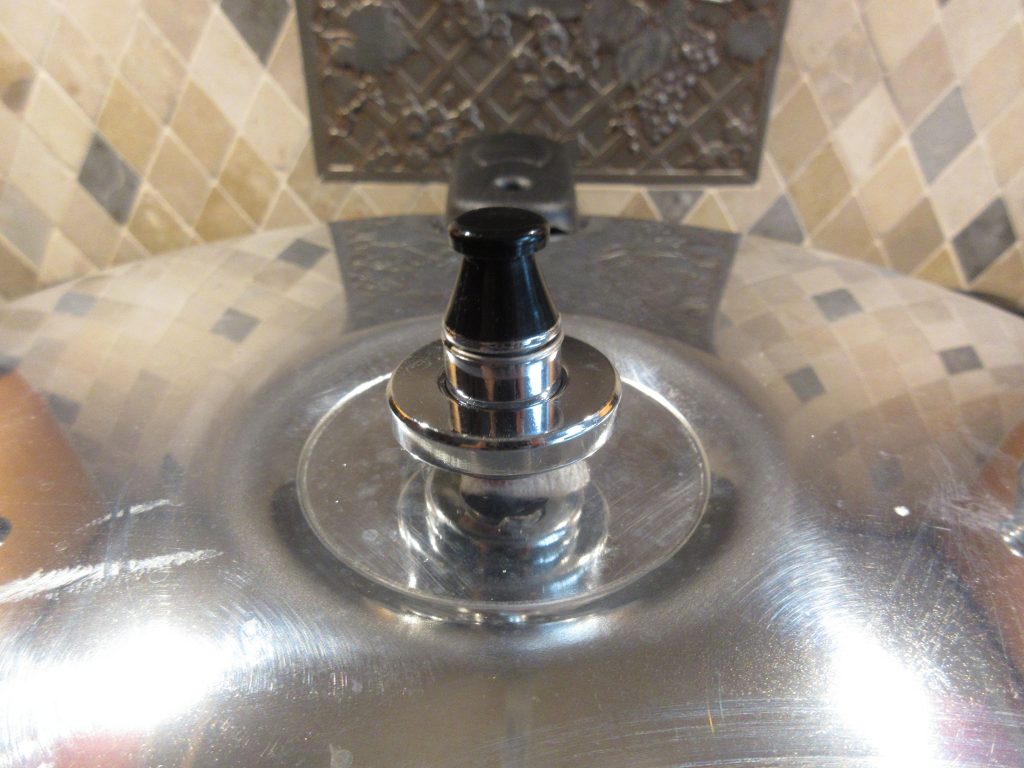
Once the gauge begins to rock, adjust the heat to maintain a steady, gentle rocking. Set your timer for 90 minutes for quarts, 75 minutes for pints. Go do something productive nearby.
The Result
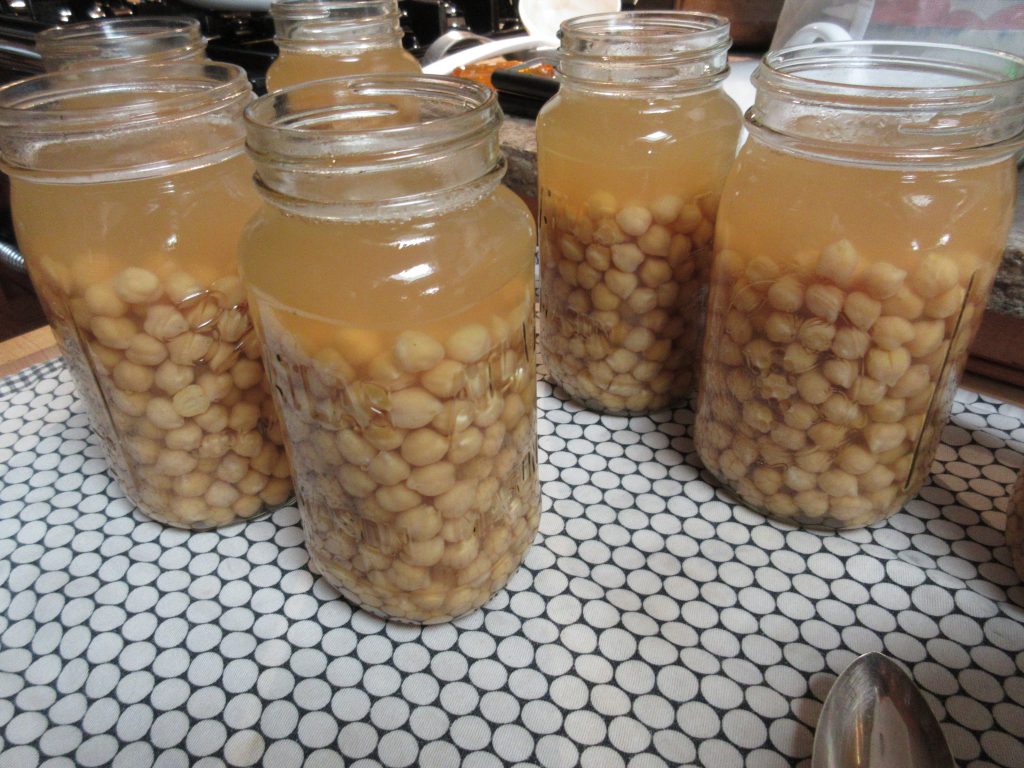
It worked! 90 minutes later we had shelf-stable canned chickpeas ready for any meal, any emergency, any time.
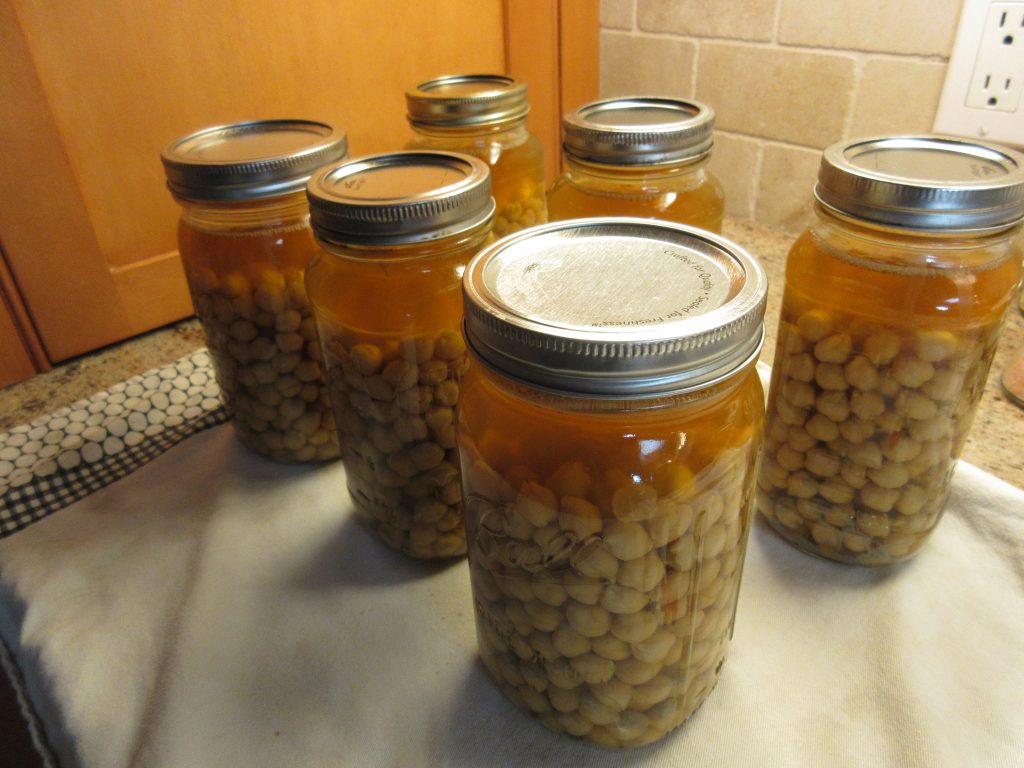
Use tongs to remove the jars to a towel. Allow them to cool undisturbed overnight. They will be bubbling inside for several hours afterward.
What We Learned
Every process has a learning curve. Ours was not too steep, but here’s what we discovered along the way:
- 5 lbs. beans makes WAAAAAY more than 7 quarts. Perhaps it’s because our dried beans were new. They absorbed a LOT of water while soaking overnight. We’ll try 3 lbs. next time.
- We had enough extra cooked beans after canning to make 2 pints of hummus, 2 batches of chick pea coriander soup. And stored the rest for meals during the week (about 2 more quarts).
- Cooking liquid – we ran out after about 4 jars so we added more water to the pot and heated it up before spooning it to the jars.
- Use newer jars. Our jars have been in use for many years, and one of them gave out in the canner.
We hope this dispels some of the mystery behind pressure canning. Next up – maybe we’ll try pressure cooking a soup or canning it!

Hmm what I do is not recommended by fda..
I put dry beans in jar.
1 cup of beans to quart.
1/2 cup per pint. A bit if salt. Add water to one inch.
Process 90 mins quarts 75 mins for pints.
And Bob’s your uncle.
Thanks for your suggestion (and the FDA warning).
I made my first batch of baked beans yesterday, labor intensive, but it was my first time. Well worth having 17 jars ready for whenever we want them.
Yay! It’s very satisfying to pull one of those jars off the shelf to make a quick meal. Enjoy the fruits of your labor!
I’ve also recently started canning, but just wondering what the benefit is to canning beans, as don’t they last for years dry, especially if vacuumed sealed ? Then just cook them in the years to come as you need them. What am I missing ? Thx for any input
HI Brenda, You’re not really missing anything, and you’re right — they stay viable for years if stored properly (sometimes they dry out and stay hard when cooked, but that’s not the norm). My reason for canning beans is because in this household we soak the beans for 24 hours before cooking them, and sometimes I need them sooner. Canning is perfect for those times (often around here) when we didn’t plan ahead and need to fix something in 5 minutes. Even with a pressure cooker, without soaking, it takes about 25-30 minutes before they are ready to use. With a packed schedule, there’s no time for that. This means food is available on demand with no forethought. I can’t tell you how many times this year I’ve stared into the pantry looking for something quick for dinner. These beans have come to my rescue every time.
Thanks for the info. I am a newbie and have canned two batches of beans. They look good so far. My question: can you can beans that are cooked and left over as a meal? If I fix a pot of beans and have half a pot left over I would love to preserve these. Any suggestions.
You can use a method called the “hot pack” method, which involves loading veggies into the canning jars while they are still very hot. Then you process them in a pressure canner for the recommended amount of time. You can do that with soups, sauces, etc. But it’s really important to follow instructions. Use the guidelines found here: https://nchfp.uga.edu/publications/uga/using_press_canners.html.
Just a quick note. On page 1-15 of the USDA Food Preservation Guide, you’ll see the guide specifically says jars and lids DO NOT have to be sterilized. It does, however, say jars should be heated before filling with hot liquid.
Thanks for clarifying. We re-use jars around here and they don’t always come clean with the first washing. As long as they are clean, then heating should be sufficient.
I have a glass top stove…. it’s a newer one… I worry if it’s okay to use my pressure canner in it.
You can always call the manufacturer of the model you are interested in and ask if induction heating works with that model. Not all will work, but they should be able to tell you whether or not their model will.
I also have recently discovered canning beans. It is so easy and with just my husband and I left at home it is much more convenient then trying to make a pot for two and trying to make sure we eat it up before they go bad. We can in pints. I have also discovered pressure canning chicken thighs, raw bone and all. So easy and the meat is ready and delicious if I want to make flautas or enchiladas.
I used 4 lbs pinto beans for 7 quarts.
I soaked them overnight and I also cooked them 30 minutes before canning. They looked great after canning. 😊
That makes sense, Dianna. We had a lot of extra beans with 5 lbs. I’ve even done just over 3 and still had a bunch left. Still working out the physics on different beans, but it’s so great to have an abundance of canned beans on hand, especially right now.
Pingback: Coronavirus and Self-Reliance - Gardenerd
Pingback: Recipe: Intro to Aquafaba - Gardenerd
Thank you so much Im new at canning just learned a year ago and now im back at canning. I have the same canner as you presented and love it. I ran into a little difficulty this morning but you clarified the problem for me.
Thank you very mich
Glad we could help!
Canning is a good method to preserve food ‘for later’. I always used to help my grandma while she was canning pickles so I know something about it. Every year together with my husband we cann food but not pickles because we are not a fan of it 🙂 I really like pattypans which I also grow in my garden. I bought the Disco variety (https://gardenseedsmarket.com/white-pattypan-squash-disco.html) which is quite early. I have to try canning beans because I have never did it before.