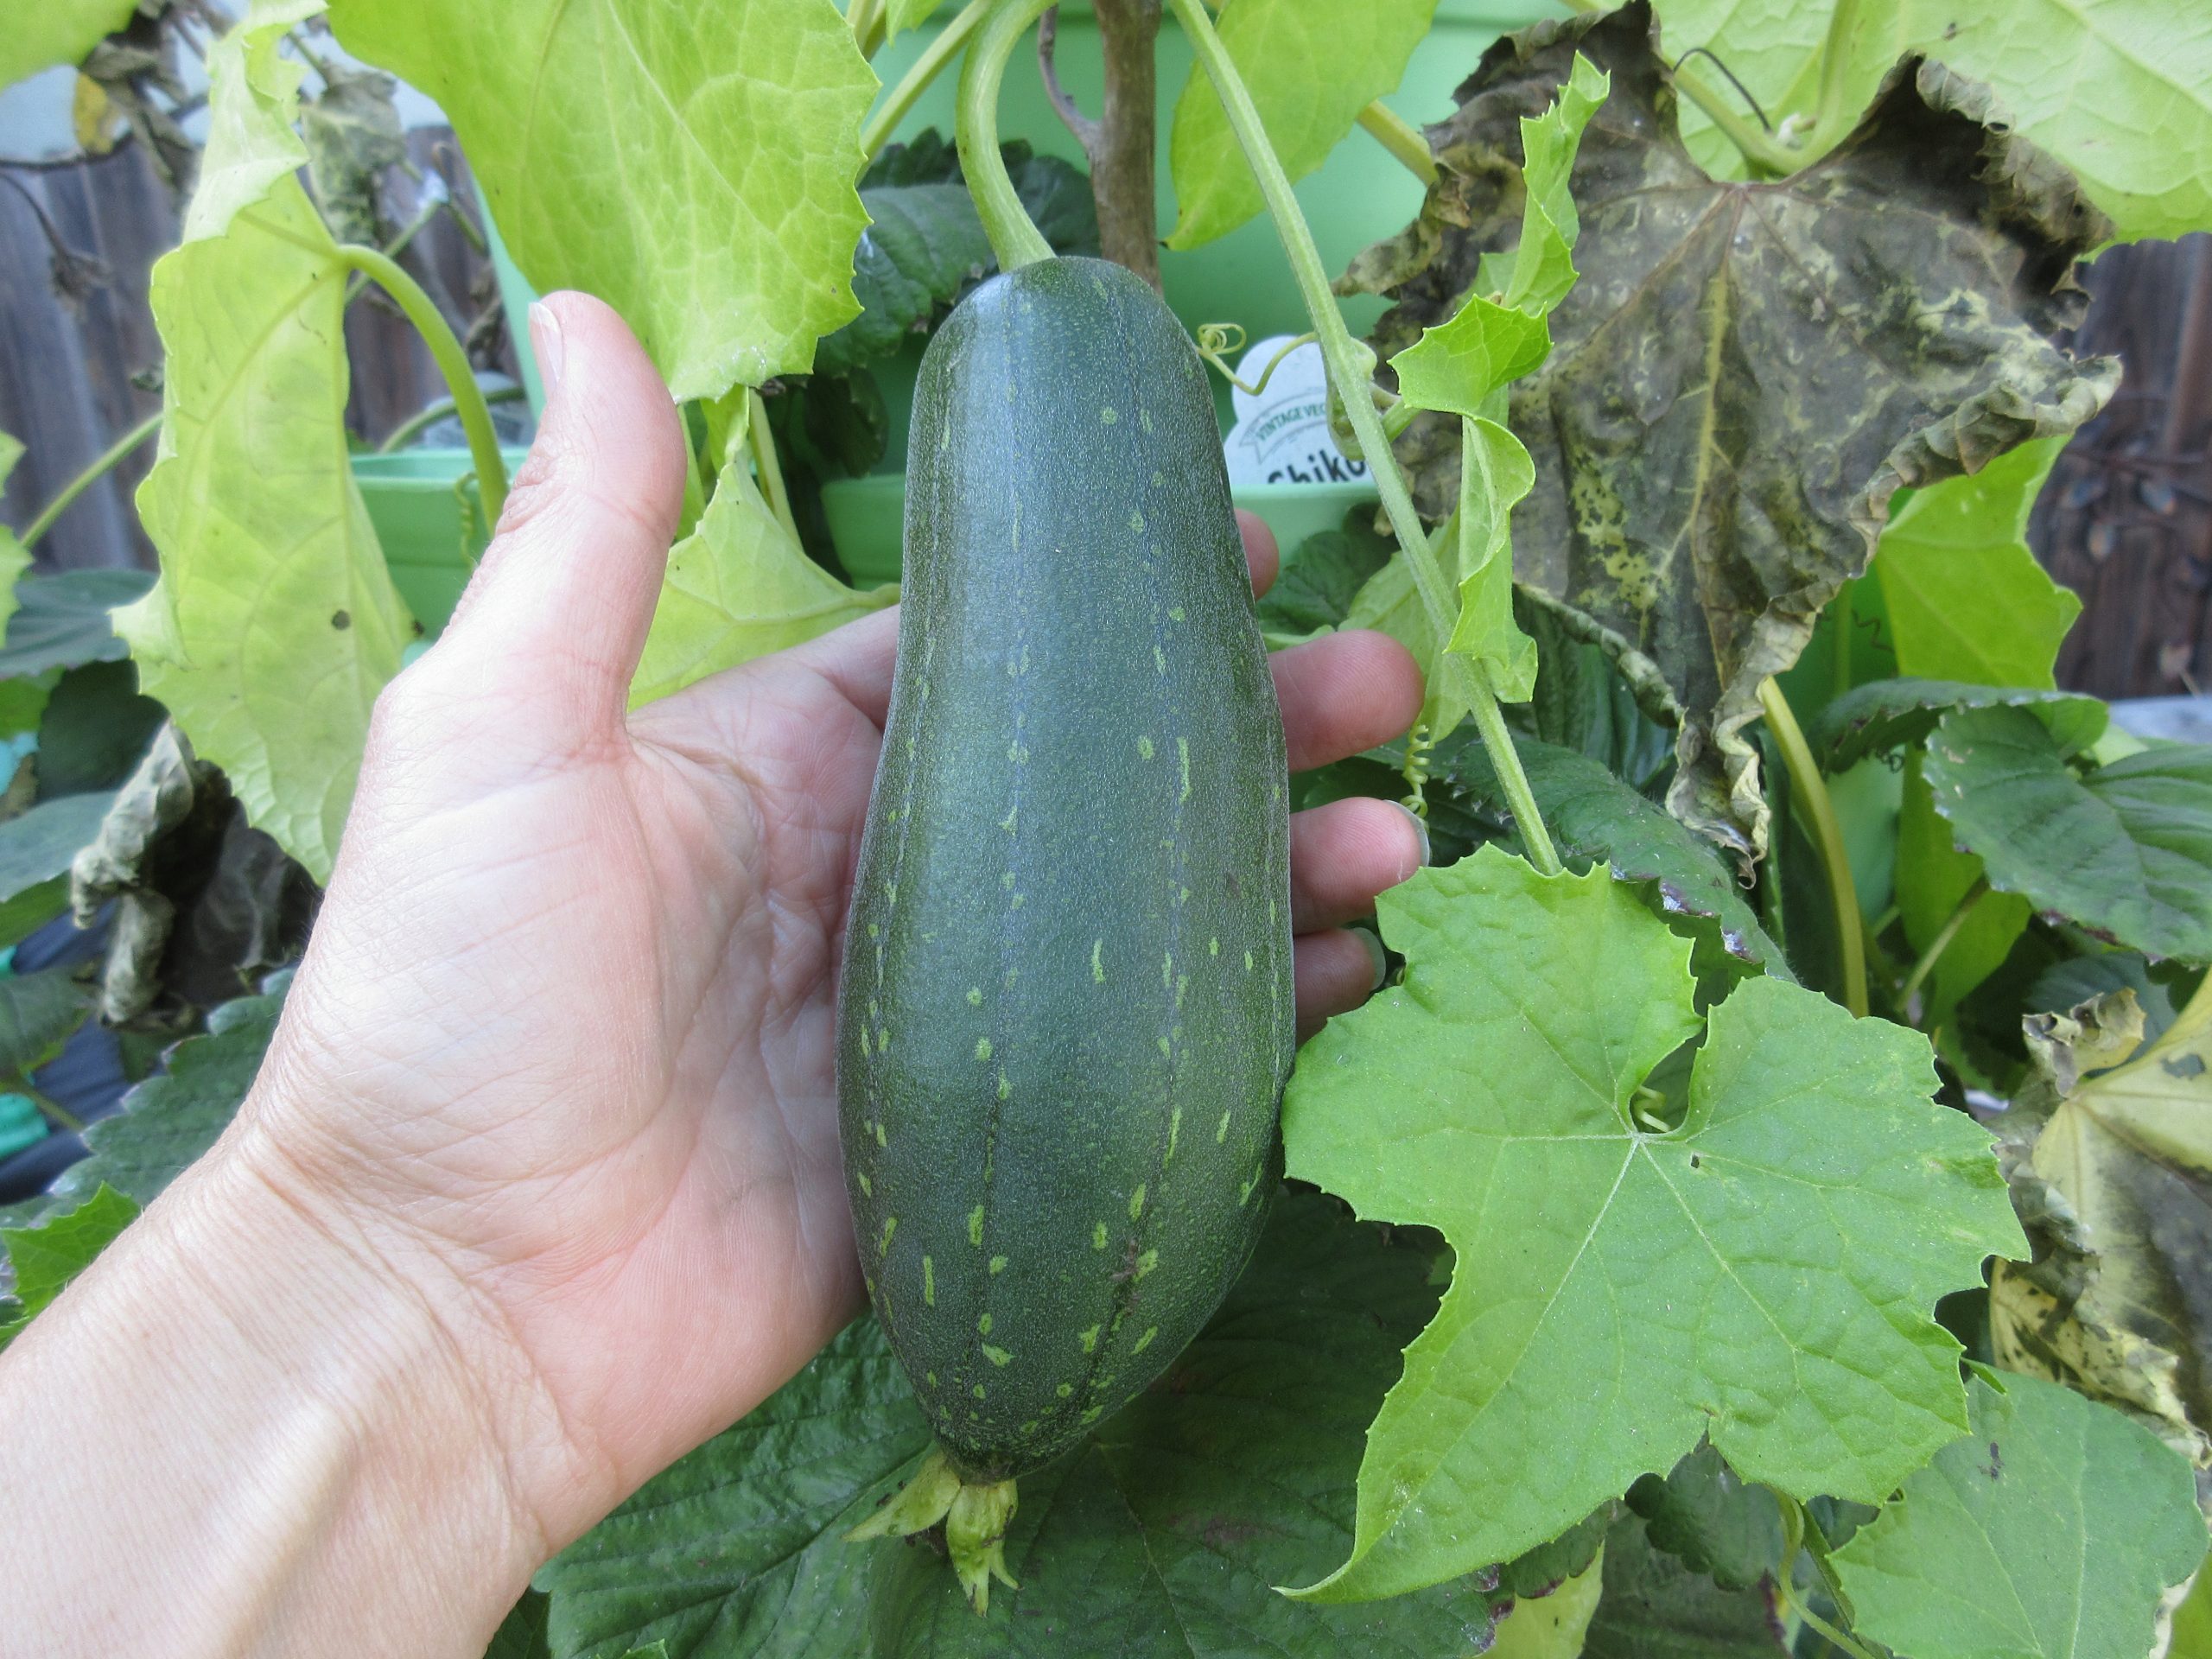
Some gardening endeavors take time, but the payoff is worth the wait when it comes to harvesting luffa (or loofah if you want to spell it phonetically). A few years ago, we ventured into growing this popular gourd and met with challenges along the way. But this week, 2 years later, we finally saw the results we’ve been waiting for.
A little backstory: We tried planting luffa a few ways; direct seeding didn’t pay off, starting seeds indoors worked at first, but then the plants died. It wasn’t until we planted a seedling (started indoors under grow lights) into our GreenStalk vertical garden system (we make a few cents if you use our link with the discount code GSGARDENERD) and fed it more often that the plant took hold.
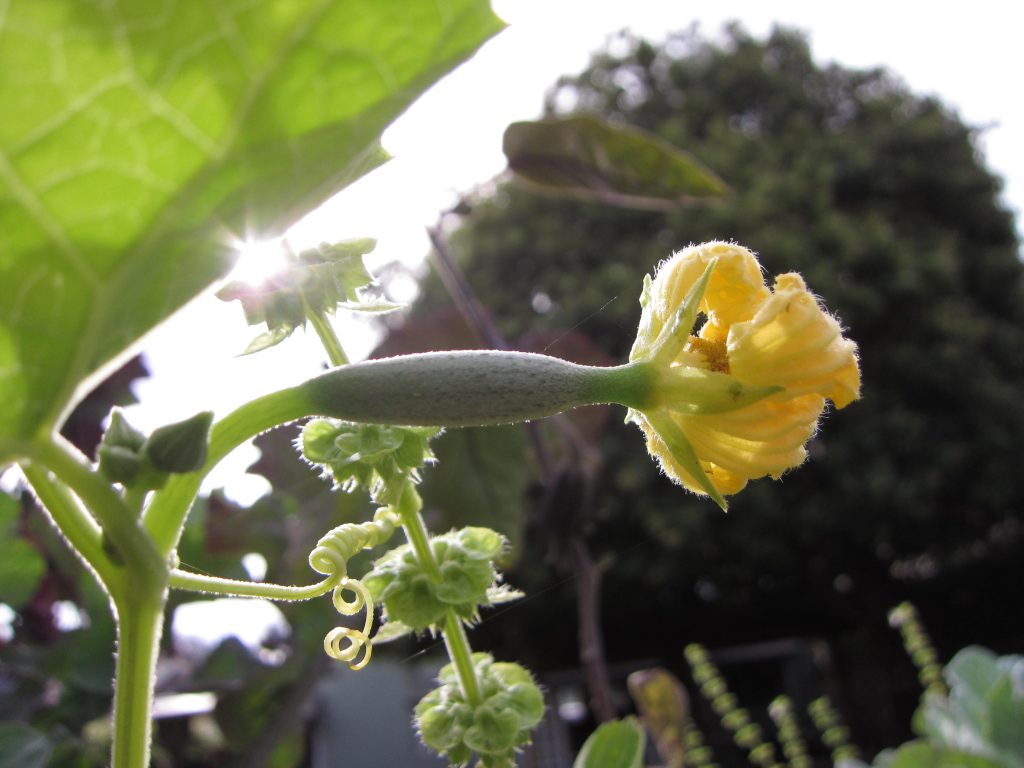
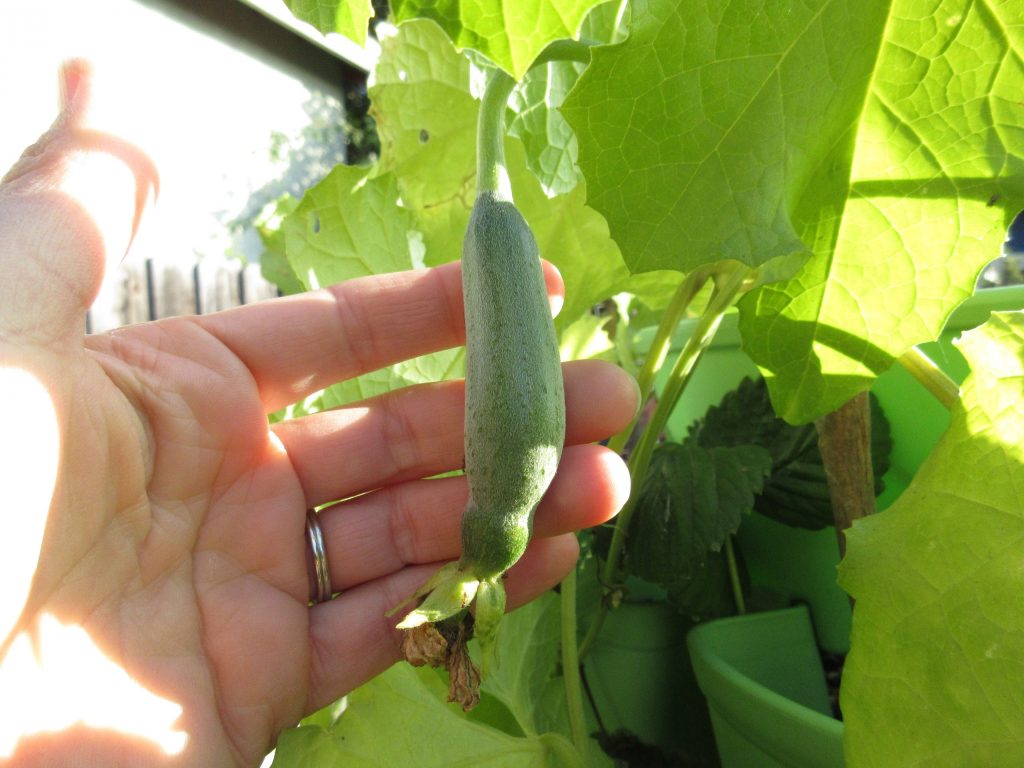
It grew! Our plants were sending up flowers stalks and fruiting babies, but just not at the same time. We kept trying. Finally we got one pollinated gourd –yes, just one– and we nursed it along through the season. It grew…

This is a good time to mention that we live in a warm-winter climate where we don’t get a frost, so our vines didn’t die at the end of the season. The same vines have been going since 2018.
Harvesting Luffa
And after what seems like forever, finally it began to turn yellow and soften. Of course, we were so excited we didn’t photograph it before harvesting. We just started to peel the skin…
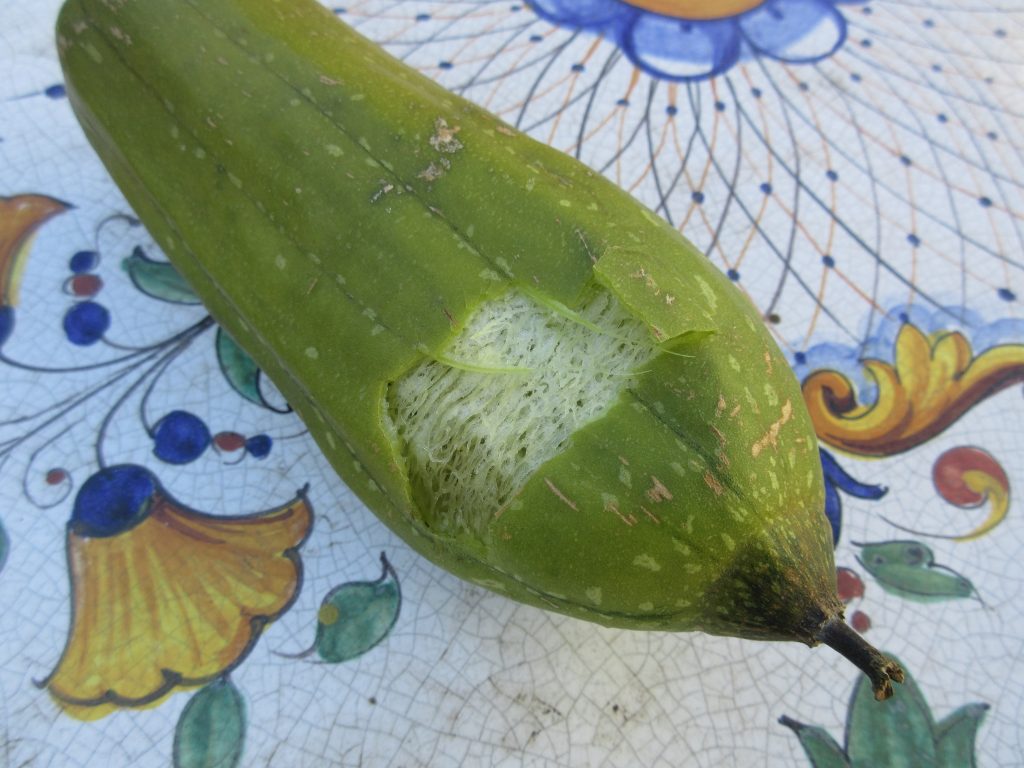
Some sources say that if you harvest too early the sponge can rot. If there are any black spots (not brown, black) then cut those parts off. We had no black spots so we felt confident going forward. Plus we found this website to support our theory.
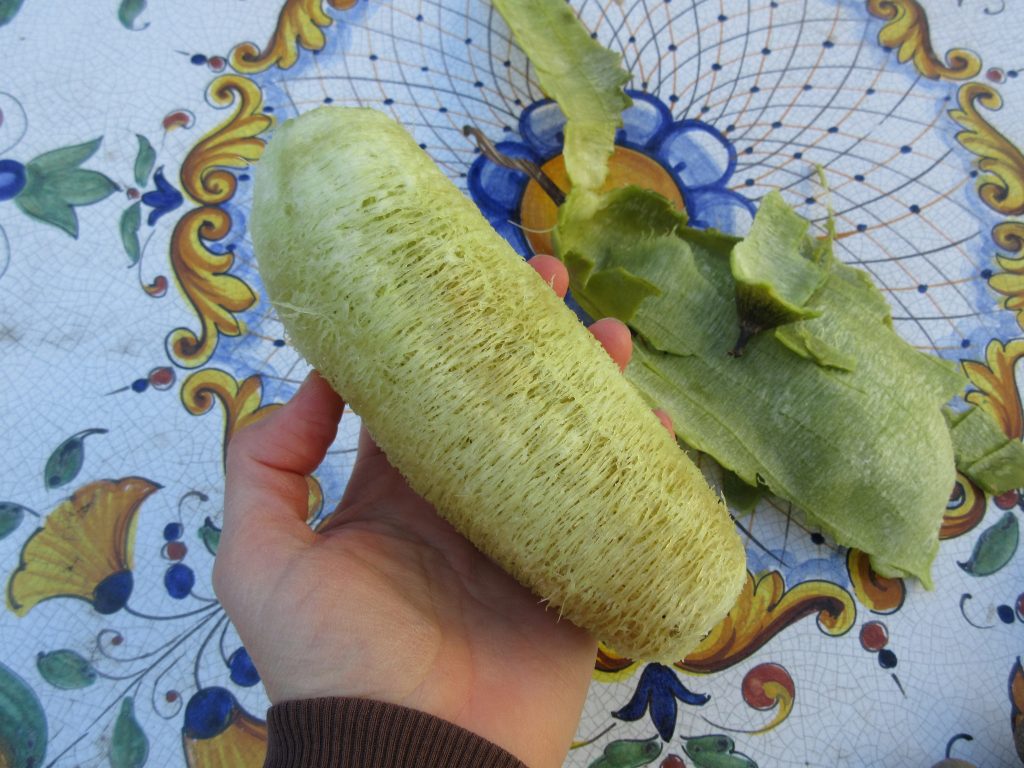
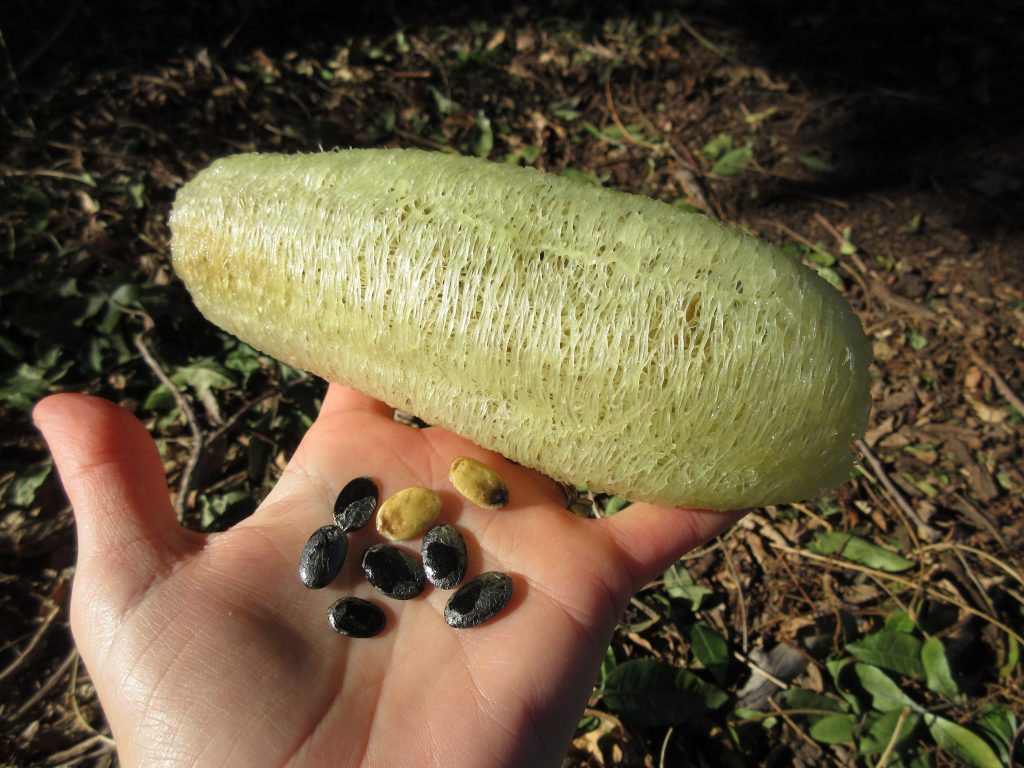
Once the luffa is peeled, it’s time to remove the seeds.
Next?
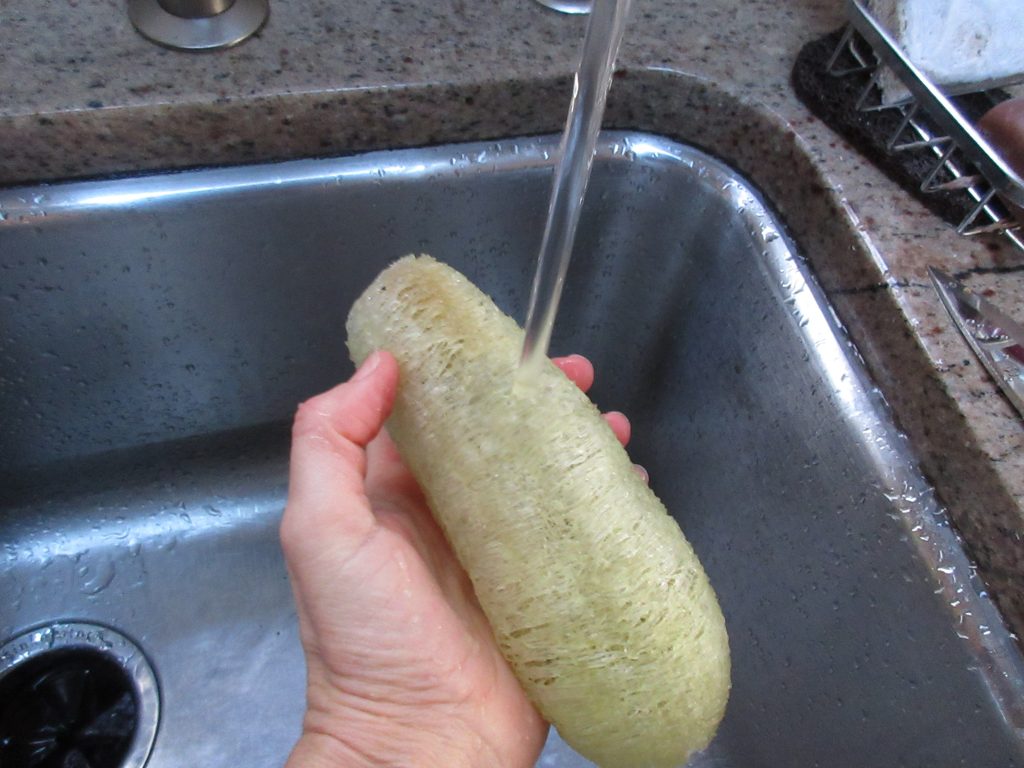
There is a gummy sap surrounding the luffa flesh, a residue from the skin. Time to blast that off. We ran it under a strong stream of water in the sink, but also took it outside for a jet spray from the hose for good measure.
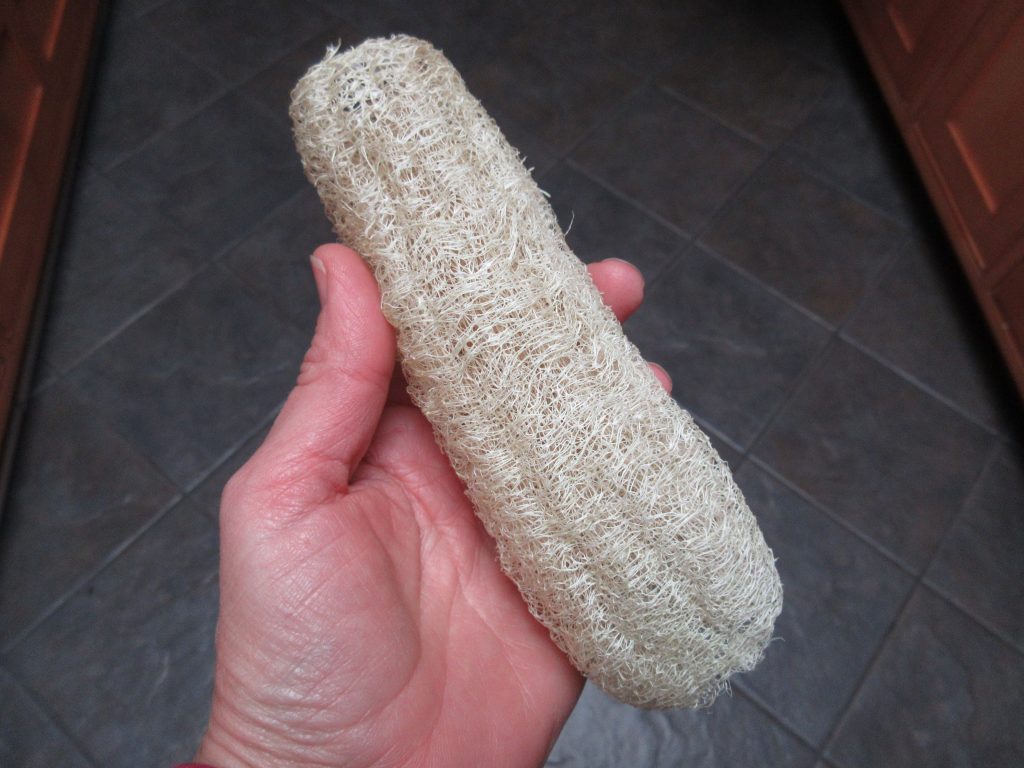
Now Dry It!
Set your luffa sponge in the sun to dry for a while. Ours was small so it dried in just a few hours. Larger sponges may take a day or two to dry completely. Keep it indoors in a sunny window if you have humid or rainy weather in the forecast.
We couldn’t be more proud of our one little luffa sponge. It took 3 years of trial and error but it finally paid off. It’s living proof that persistence is key when it comes to growing what you love. Keep going, Gardenerds!

This is my 3rd year-not in a row in Wisconsin were it freezes in October a couple times. I’m going to attempt covering them. Only 2 nites expected to freeze but that could hurt them. I have 15 this year.
My 1st year didn’t fully mature since I started them outside. I got some, but they were really thin. Now I start them in the house.
Wise decision. I hope they make it to maturity with some protection. Keep us posted on how it goes.
Pingback: Podcast: Asian Vegetables with Wendy Kiang-Spray - Gardenerd
This is my first year of growing luffa in Zone 7. The 6 plants were grown indoors under grow lights then moved outside to greenhouse. All plants flourished and the vines have grown along a 16′ fence, covering it. Just last week blooms started appearing and flowers emerged. If any luffas will grow remains to be seen. Weather turning cooler and frost will begin in about 6 weeks. Hoping I’ll be able to harvest 1 or 2 at least.
How exciting, Rhonda! I hope they do fruit. If you have a way of protecting them over winter, they will behave as a perennial if they survive. My plant is 3 years old and it finally started producing last year (at the time of this blog post). Now it’s still alive and has produced another luffah for this year.
Nice luffa sponge
Awesome Luffa and luffa sponge
Congratulations on your luffa, it looks amazing! I’d love to grow these but we’re in zone 2-3.
Great job on growing this! I’ve been wanting to try these for years. My mother in law grew them in Tennessee and gave me seeds but I doubt if they’re any good now. Maybe I’ll give it a try since seeing your success!
My seeds were 5 years old and they still grew when planted straight into the garden bed, took about 10 days to sprout. I snipped off a very small piece of the seed shell at the fat round end not at the pointed germ end. I placed them in warm water overnight and in the morning, put 3 seeds in each hole straight into the ground with a tablespoon of worm castings. per hole. I am happy to say i have at least 40 good sized luffas on my vines. While the luffas are doing fine the vines are worse for wear. I live in australia.
That’s a cool trick, April. Thanks for sharing. It’s good to know you had a good harvest from your efforts, too!
I have ALOT of seeds from 2014 harvest (one gourd produced 400+ seeds) and I used these seeds this season; 2021; here in Jacksonville FL and had great success this year. As well sent seeds to luffa friend in El Paso TX & they also having great success this season with seeds from 2014 harvest. I kept my seeds in a plastic Folgers coffee can (without the coffee of course).