Growing your own garlic is such a joy, and harvesting it can be even more fun. Each October we plant what turns out to be a year’s supply of garlic in about 7 or 8 square feet (using the Square Foot Gardening method). Then we nurture the bulbs through winter and into spring. In late spring, which is May or June here in Los Angeles, the foliage starts to turn brown and die back. We cut back on watering and wait for more die-back to occur. When there are still 5 or 6 green leaves on each bulb, we pull or lift them out and let them cure on a screen for 6 weeks in a cool, well ventilated space out of direct sunlight.
All this sounds very clinical, but what the above description is missing is the delightfully overpowering scent of garlic in whatever room you use to cure your harvest. It’s also missing the sense of smarty-pants, pat-yourself-on-the-back glee that comes with growing garlic at home. The only thing that compares, in my opinion, is growing your own potatoes… and we have a blog for that too (here and here ).
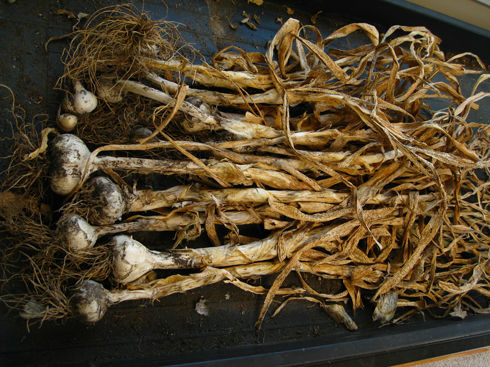
This year, our garlic harvest produced smaller bulbs than last year, mainly because we made a gross miscalculation and used an inadequate trellis for the nearby Sweet Peas, that hunched over the garlic, thereby decreasing air circulation and inviting in a healthy dose of rust.
Storage
Here are two ways to prepare your garlic for storage: 1) Trimming and 2) Braiding
1) Trimming
First, take each bulb and cut off the root – give them a crew cut about 1/8-1/4 inch long.
Then cut off the stem about an inch above the narrow point of the bulb.
This is what’s left after all of that:
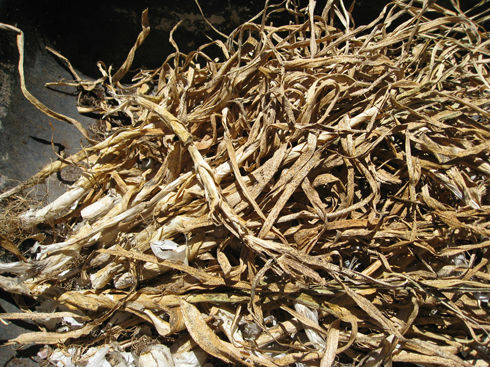
Finally, rub away some of the outer layers of white papery sheath to remove dirt and reveal a beautiful white bulb. Here’s the finished product below:
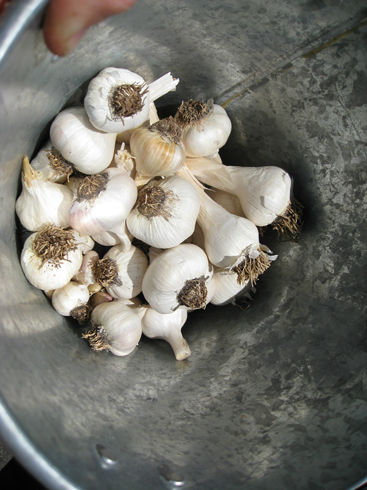
2) Braiding
If you have a place in your kitchen to hang a garlic braid, I highly recommend trying this out. It’s not as hard as you might think. In fact, it’s a lot easier when you watch our video demonstration on YouTube.
How to Braid Garlic – Gardenerd.com
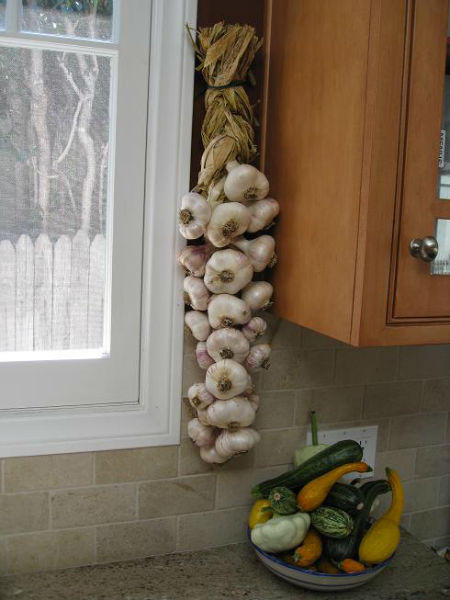
Whether you dream of garlic ice cream or roasted garlic smeared on piping hot crostini, the satisfaction of growing and harvesting your own garlic is its own reward.


Pingback: Growing Garlic - Gardenerd
Pingback: Gardenerd: It's a Garlic Planting Party - Win a Party Prize Package!Gardenerd:
For me nothing is as easy and satisfying as growing garlic. This is my 3rd year of growing it and I love that I have fresh garlic to cook with, lasts thru the winter. I share with a few friends who cook, and they always say how wonderful the aroma is. There should be more garlic growers!
As far as I know, most braiding is done after the stems are dry. I should qualify that by saying that softneck garlic will still be pliable after they dry out. Hardneck garlic might be another story. When I learned how to braid from the folks up at the Gilroy Garlic Festival, all the garlic we used was dry and cured.
I imagine that if you braid with fresh garlic, there’s a chance it can rot due to lack of air circulation (but I don’t know for sure, since I’ve never tried it that way). One thing to note is that garlic shrinks as it cures. So if you braid fresh garlic, the braid will loosen up as it dries.
Isn’t it true that braiding can only be done before the garlic stems dry out?