Despite being called a “granola head” throughout college, I’ve never grown sprouts, mostly because I resented the fact that they found their way into places they didn’t belong…like veggie tacos. However, it’s important to try new things every once in awhile, so I took the opportunity to try sprouting this summer.
Botanical Interests Seeds sent me a freebie: a giant packet of fenugreek seeds complete with instructions for how to sprout them. Fenugreek seeds are known for their dense nutrient content, sporting vitamins A, B1, C and flavanoids, phosphorus and lysine. Never one to shy away from a challenge, I pulled out a mason jar and got to work.

Step 1: The first step is crucial. If you don’t do it you can die…sort of. The seed packet states the importance (warning labels in several places) of disinfecting the seeds prior to soaking. Apparently you can grow some pretty nasty stuff in the mix if you don’t.

Soak the seeds in 1 tsp. bleach to 1 cup hot tap water for 15 minutes. Rinse thoroughly.


Step 2: Soaking – Refill the jar with enough water to cover the seeds and leave 8-12 hours, out of direct sunlight if done during the day. Cover with cheesecloth and a rubber band.
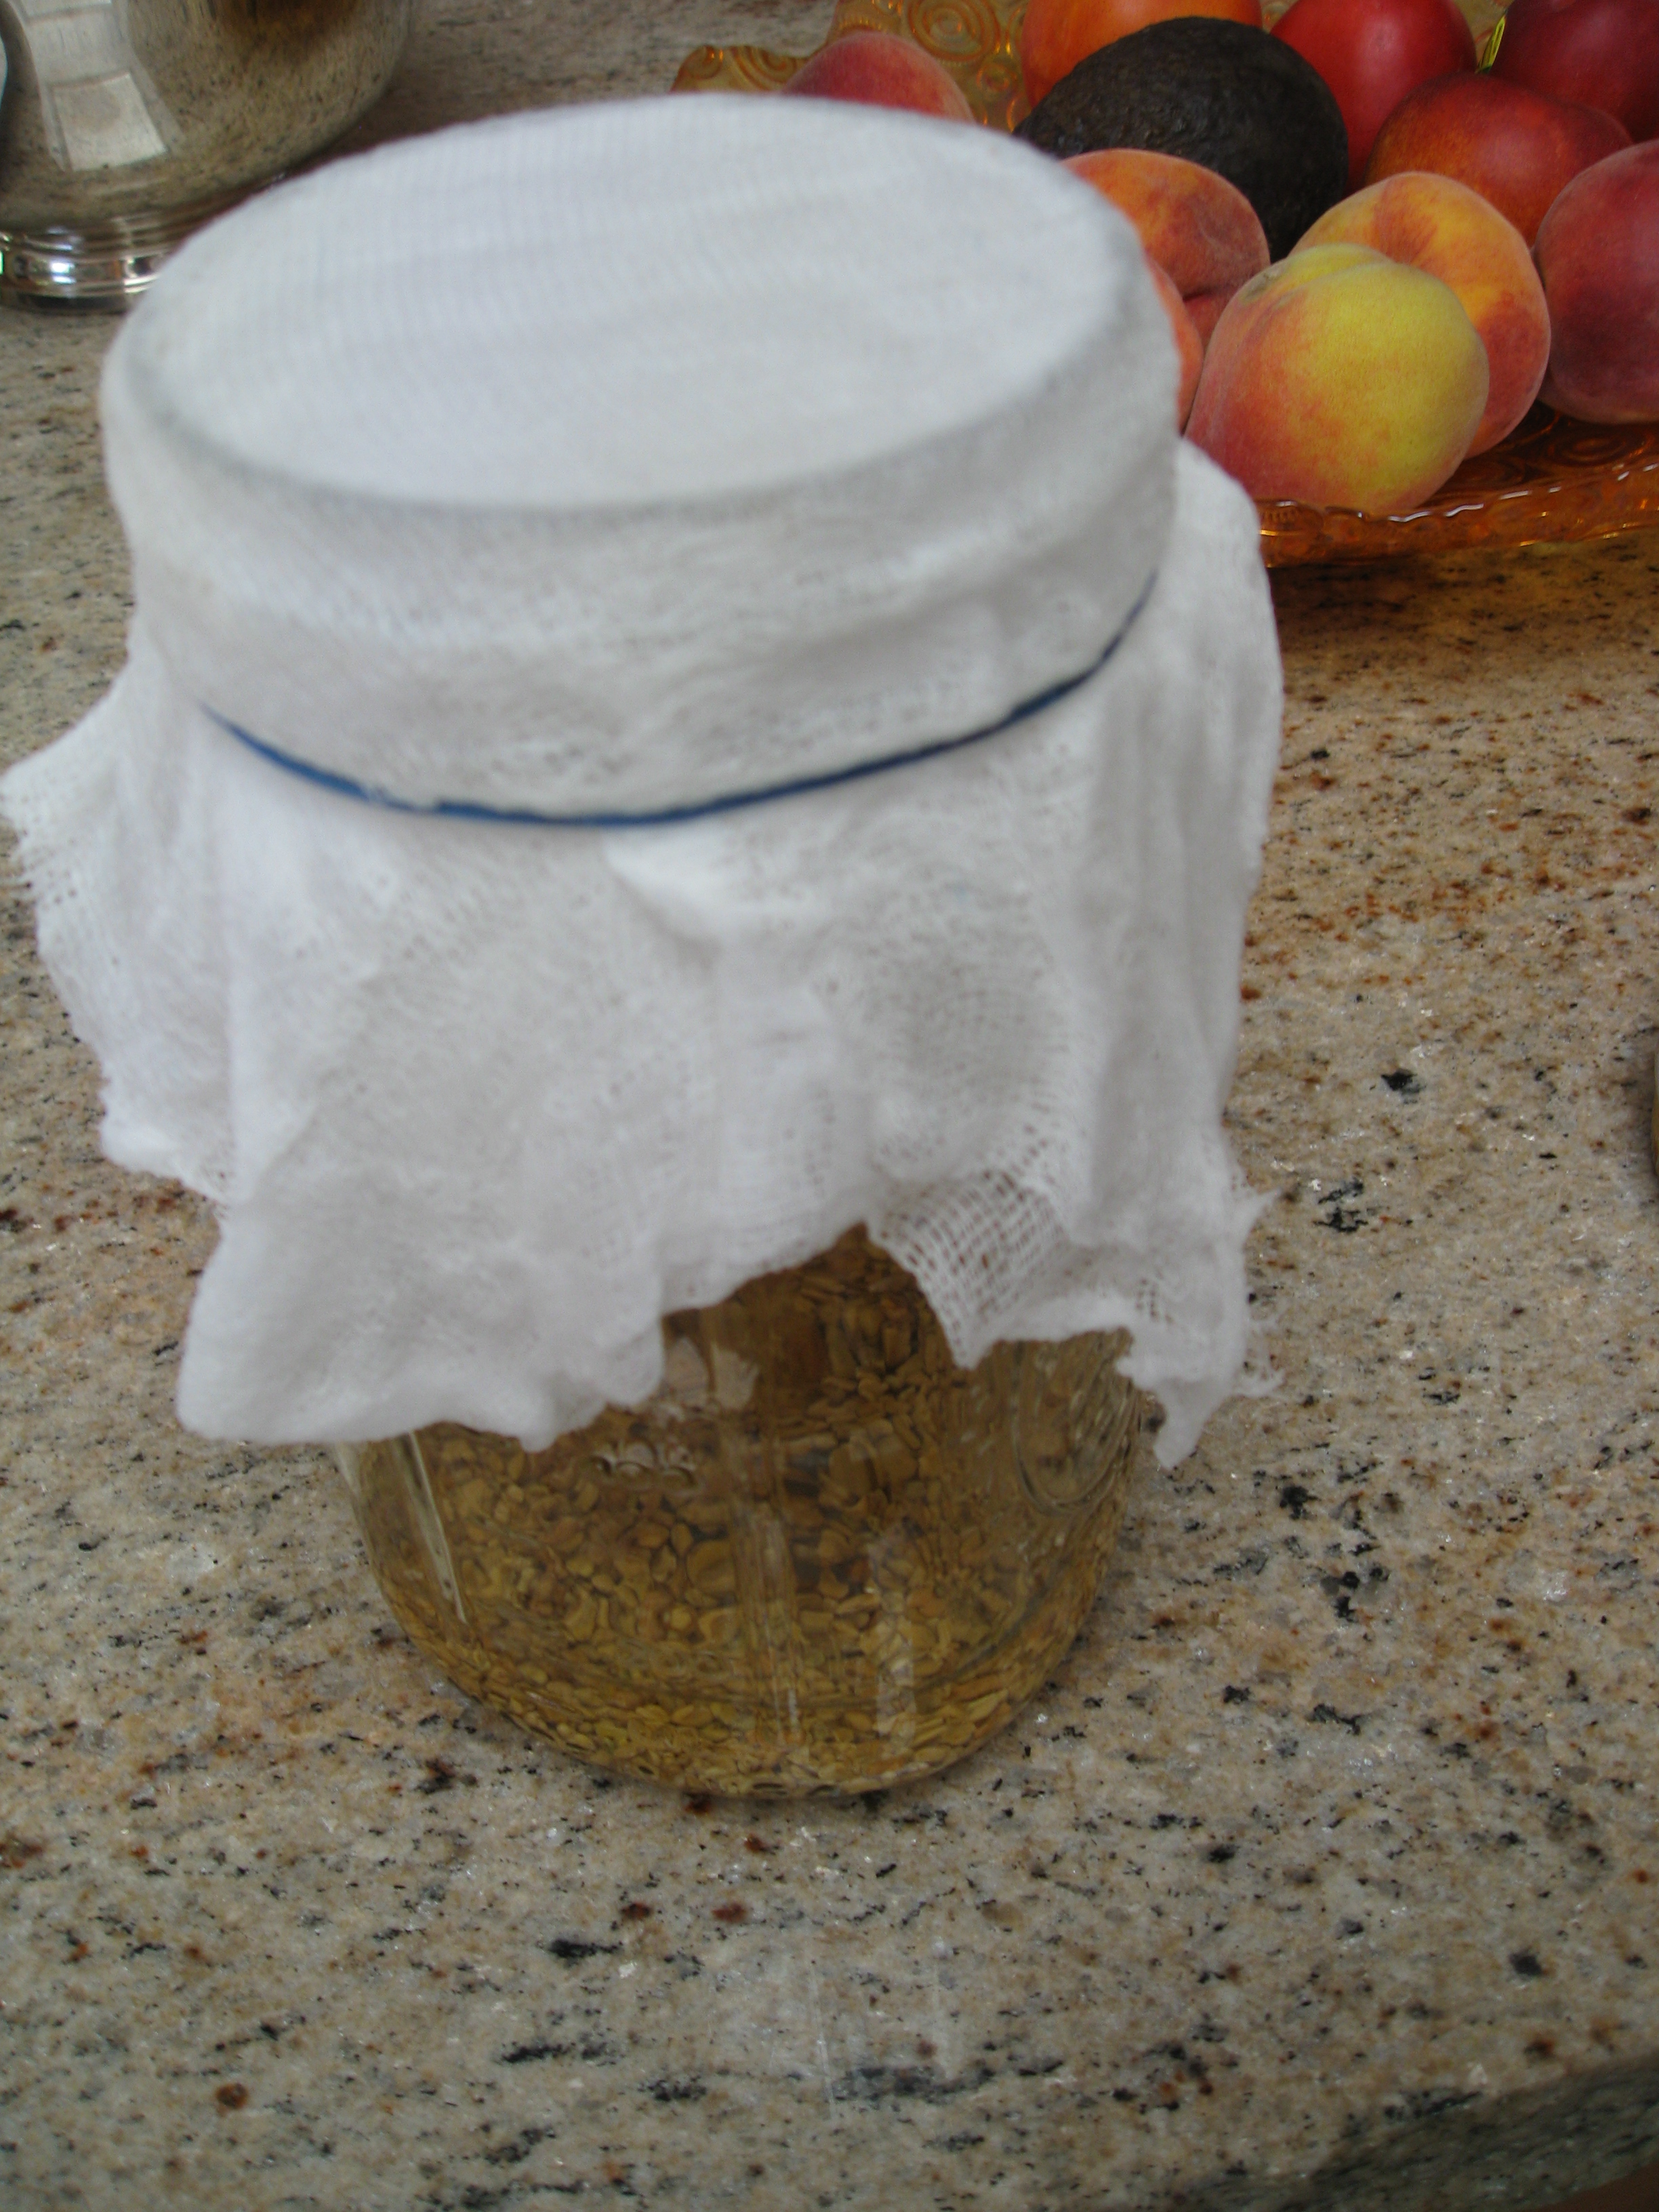
Step 3: Draining – Pour off the water, and rinse again. Then shake the jar to spread the seeds out and tip the jar upside down and tilt against a wall or ledge to allow water to drain out.

Repeat this process of rinsing and draining 2-3 times per day. The instructions recommend doing it every 3-4 hours. Have I become a slave to my sprouts? I think yes.
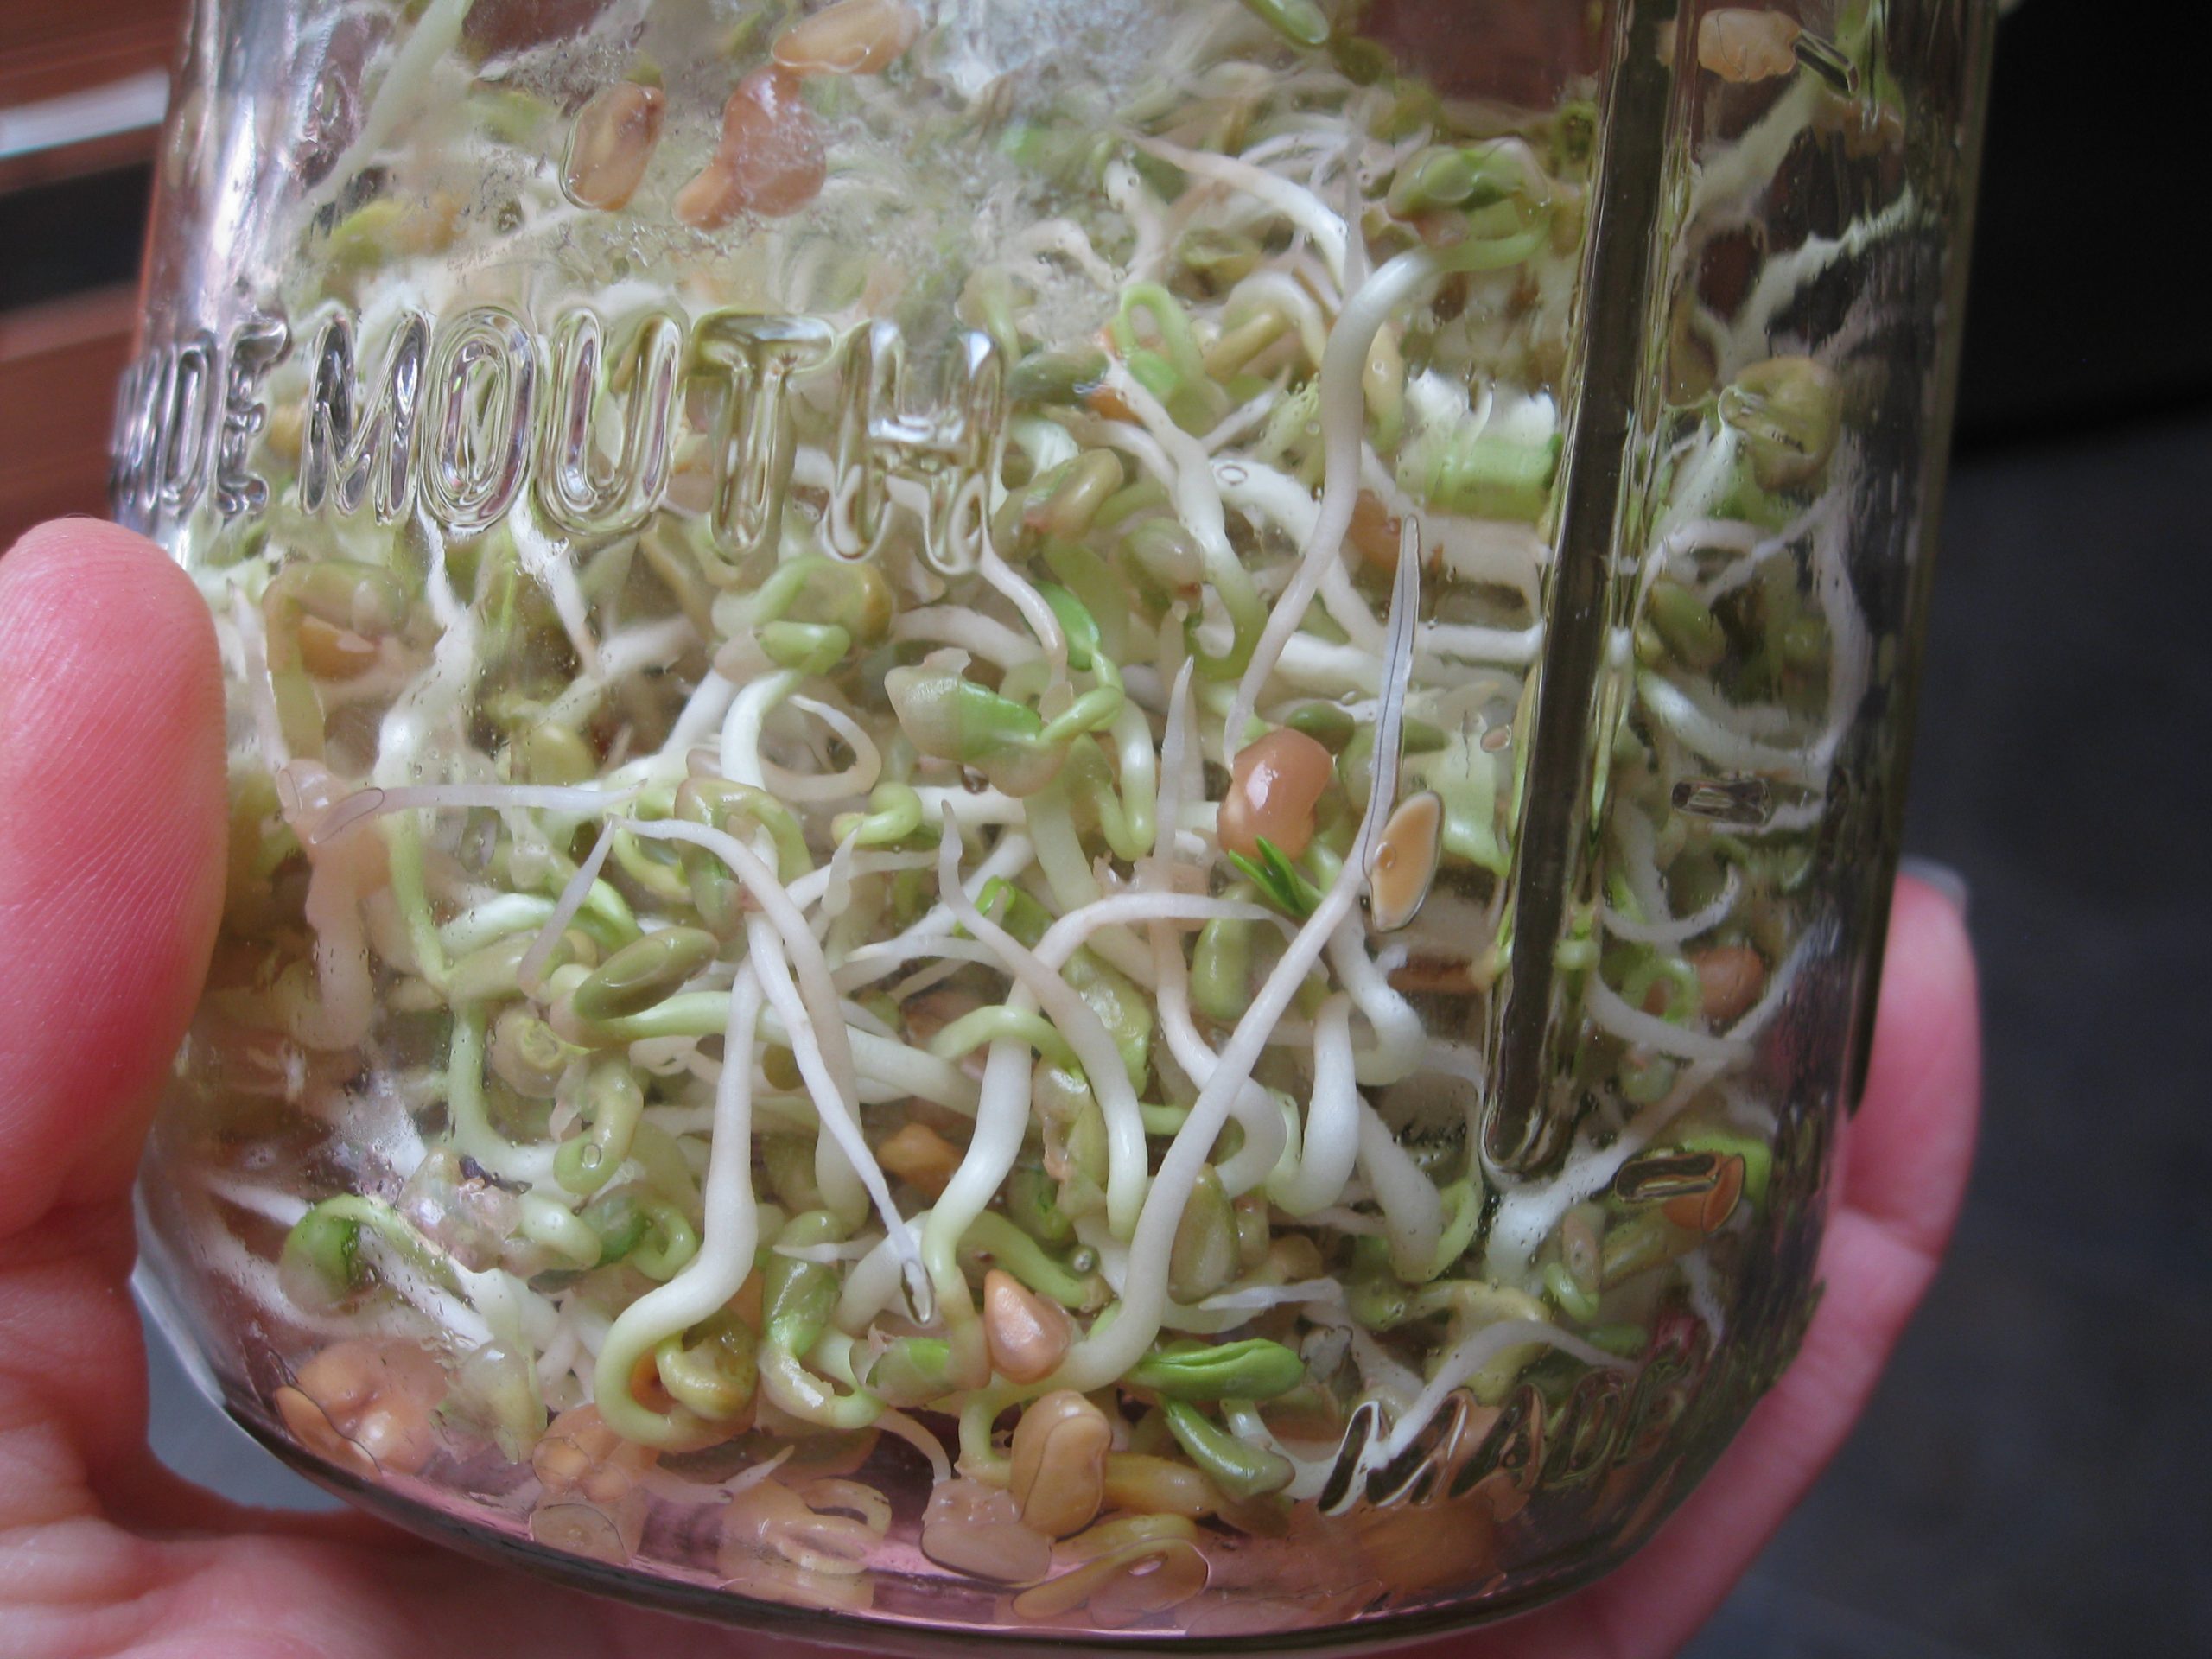
Step 4: Harvesting – After 6-8 days of nursing these sprouts along, they should be about 2 inches long. The seed hull should have separated from most of the sprouts. It’s important to get rid of that part due to its bitter flavor and potential mold-breeding capacity. Yum.
Grab a large bowl and remove the cheesecloth from the Mason jar. Gently pull the sprouts out of the jar (it will be full by now). Empty the spouts into the bowl and fill it with cold water. Swirl the sprouts to break them apart and remove the remaining hulls. Those should fall to the bottom of the bowl.

Reality check: Perhaps I should have waited another day or so, because my sprouts held onto their hulls more than reason permits. I spent the next hour hand picking hulls off each sprout. I began to appreciate the sprout vendor at our local farmers’ market as each moment passed.
Step 5 – Drying and Storing – Allow sprouts to dry (to the touch) for 6-8 hours. If they are refrigerated wet, they will rot. I’m not surprised.

Once the process was over, I’m happy to say that our sprouts lasted in the refrigerator for about 4 weeks in a plastic container. They stayed fresh and didn’t develop mold or anthrax or anything!
Will I be doing this again? With a resounding “NO” I bow to the sprout vendor and hand her my cash.


Pingback: Giveaway: Sprouting Seeds for Greens All Winter - Gardenerd
I’ve been sprouting off and on for about 45 years and I’ve never separated hulls from the sprouts. I’ve never had sprouts grow mold or cause me to be ill. I admit I’ve never sprouted fenugreek seeds that I know of – they might have been in a mix of seeds. Since sprout are so easy to grow I personally would not and do not buy them. Right now I have mung beans and alfalfa seeds sprouting. They last about 3 days as we use them at lunch and supper.
Thanks for the feedback. I think it will encourage people to give sprouts a chance. I’m guessing if I waited another couple of days they might have separated, or maybe it’s just fenugreek seeds that were stubborn. Either way, I’m glad your experience was better than mine. 🙂