Today we have a guest post from Dane O’Leary, a full-time freelance writer, lifestyles and design blogger, scientist, and humanitarian. His writing has been published in a variety of independent web and print publications. He has degrees in psychology and anthropology with additional study in journalism, graphic design, and public relations. Dane is currently also working on his debut novel.
Good luck with the book, Dane, and take it away!
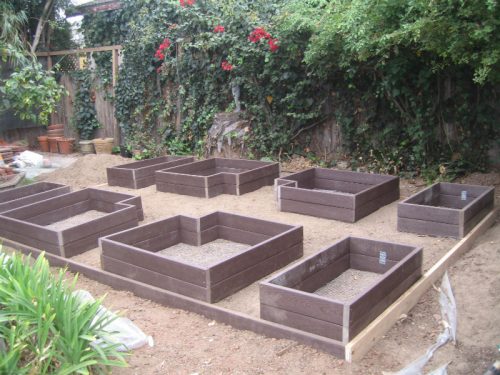
5 Steps to a Beautiful Flagstone Ground Cover
We all want beautiful, well-manicured and intricately-designed yards with ornate landscaping and plenty of nuanced, unique features. However, not all of us have the time — or want to invest the time — in maintenance and upkeep. That’s where xeriscaping comes into play: Xeriscaping involves using different types of ground cover and plants that require very little water so as to reduce or even eliminate the need for irrigation.
My back yard isn’t huge, but it’s enough to warrant watering and mowing if I’d planted grass. Instead, I chose to xeriscape my yard using flagstone to produce something functional that doesn’t need watering and would look just as great during a drought as it would after a thunderstorm. Here’s how you can get the same look.
Step One: Planning and Preparing for My Flagstone Xeriscape
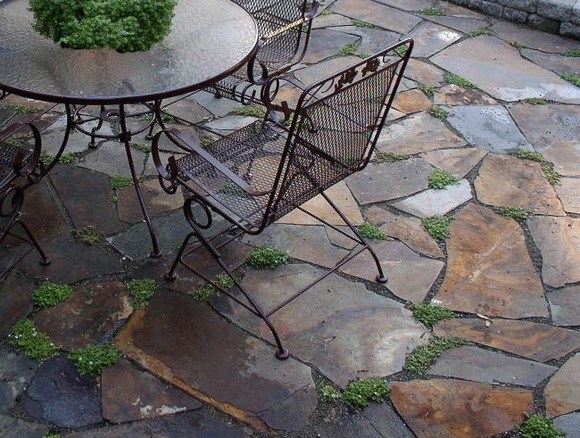
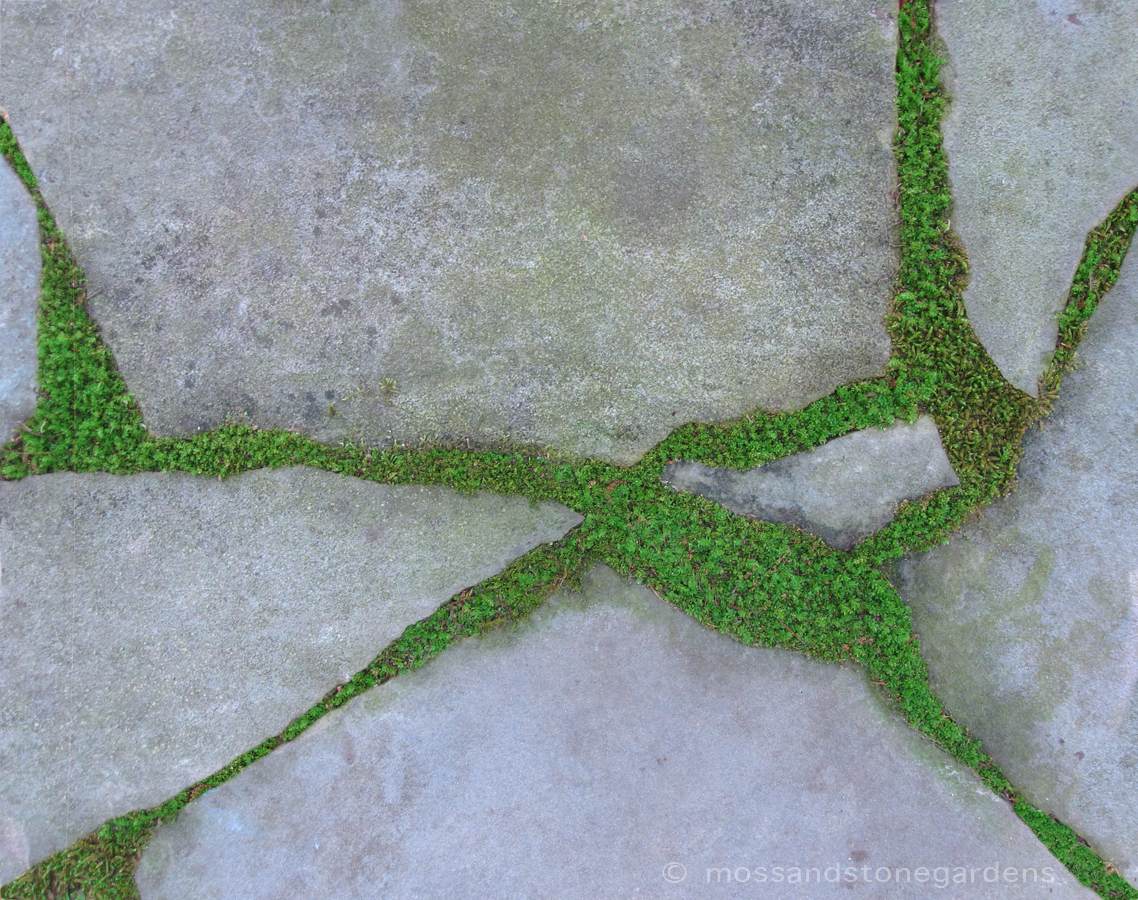
For my xeriscaped yard, I chose to cover most of the area — where I’ll have things like tables and seating — with mortarless flagstone while using river rock instead of mulch for around the shrubbery. Since I decided not to use mortar, bits of greenery would grow in the cracks between the stones over time, which is the look I wanted. (Editors note: this make it permeable as well. Yay!)
My flagstone was to be laid in a 10-foot by 15-foot square coming off the rear of my home with the area around it used for additional landscaping. I needed enough flagstone to cover an area of 150 square feet, decomposed granite for beneath the stones, plus bags of river rock for outlying area.
Step Two: Digging Out the Footprint
Once I knew what my plan was, the next step was to dig out the area where I’d be laying the flagstone. I removed the existing grass and its roots and dug a square hole in the ground to about four inches deep, the footprint of the flagstone ground cover.
Step Three: Preparing for Flagstone
Using a rake, I put roughly a two-inch layer of decomposed granite into the footprint I dug, spreading it around and using a two-by-four to make sure it was roughly even and smooth.
Step Four: Laying the Flagstone
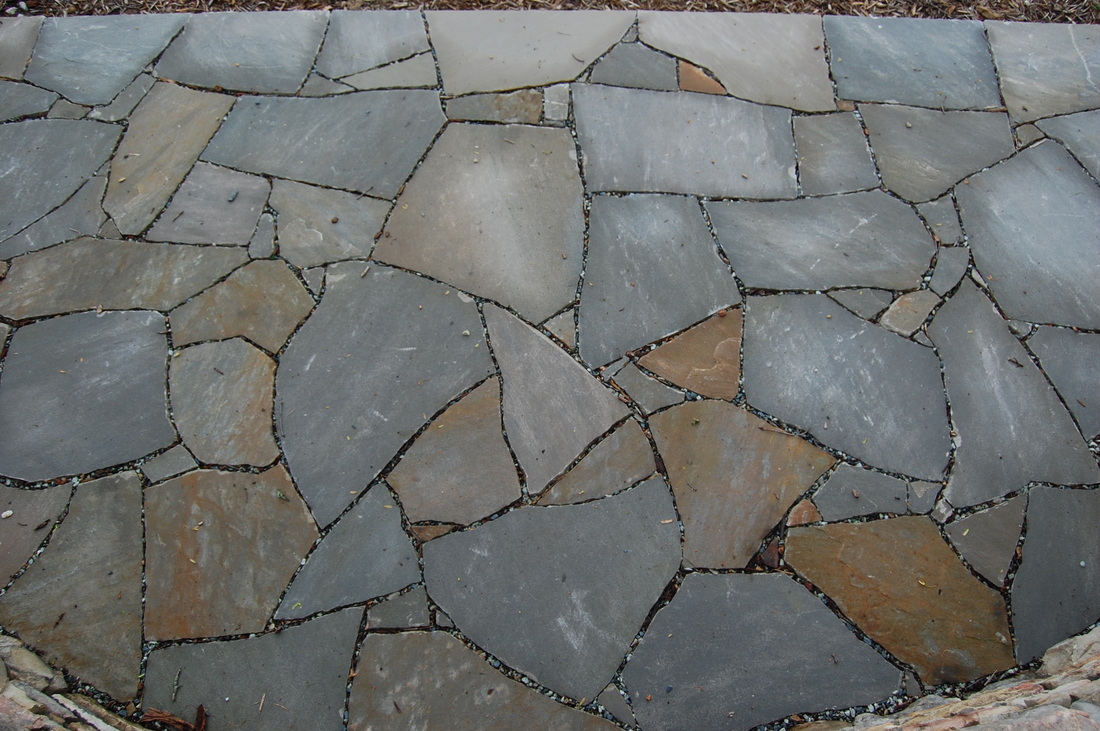
With the flat side facing upward, I laid the flagstones into the decomposed granite and used a rubber mallet to tap them into the granite a bit. I began at one side of the footprint and worked my way over toward the other side, fitting the flagstones together with an inch or less of space between them. When I couldn’t find a flagstone that fit in a particular space, I used a chisel to break the stones down into the shape I needed.
Step Five: Finishing Up
After all the flagstone has been laid, I poured more decomposed granite as well as some compost and swept it into the cracks. Adding compost to the mixture ensured that some greenery would grow in the cracks. Finally, water the area well so that the granite will compact and fill in any final gaps between the flagstone. I chose to sprinkle some Irish moss seeds into the cracks, which have great texture and are very low-maintenance.
For more design ideas and inspiration, please visit Modernize.com.

Is there a place that I can buy thyme, seeds, or Irishmoss seeds for between my pavers? I am having trouble finding compact groundcover that you can walk on in seeds.
I did a quick search for “creeping thyme seeds” and found that Eden Brothers sells seeds. Searching for “Irish Moss Seeds” also yielded a few sites that offer them, like Outside Pride and Swallowtail Garden Seeds (among many others). Your best bet is to order online. I don’t know of any local retailers selling seeds for those plants.
I’m in zone 7a. When is a good time to plant Irish moss?
Apparently spring or early summer is the best time to plant Irish moss in zone 7b.
Pingback: Stepables: Perfect Plants for Paths and Walkways | The Garden Glove
Hi! I realize this is an old post, but how long did it take your irish moss seeds to grow moss? Also, where did you buy the seeds from? Any tips for growing moss would be greatly appreciated. We just finished up our patio that has soil in between the cracks.
Thanks,
Brianna
That was a guest post, from someone in a different climate than ours. We’ve never grown Irish moss here in LA because it won’t survive in our full-sun, dry weather. Sorry we can’t be more helpful on that. You might want to try a website called Stepables.com. They’re all about walkable ground covers for your climate, wherever you are.
This looks awesome! I have been thinking about changing up the landscaping of my yard, and I think this might be exactly what I’ve been looking for. I really like the look of the greenery coming up between the flagstones. You said you added compost to get it to grow. Is it a special kind of compost?
A good potting soil with extra organic matter will help retain moisture between sun-warmed pavers. That should do it.
I don’t know what’s going on? I can’t get much to grow these last three efforts! I tried planting with the moon per Farmers Almanac and only a few things grow. My first time gardening a year after your class I had so much growing and on a table also that I built to save my back every one that saw my garden said I should have it on a show or soething like that and now t’s embarassing. It’s hard keeping my soil moist, how do you do that? I use compost, vermiculite, and peat moss. The only difference in my first garden is that I went to Malibu and bought a truck full of their compost made from their organic garden and local horse manure. Do you think that is the problem? It’s very frustrating… Anyway, I really would appreciate your opinion and advice. It takes a lot of time to plant and deciding where to pant seeds etc. and then I get very little. Please help!Thank you in advance. Nedra
Hi Nedra,
It could be any number of things. If you noticed a decrease in production after adding the manure from Malibu, you might want to get a soil test to see if the salinity has changed. Salts can bind up nutrients and prevent things from growing (not to mention kill soil microbiology). The manure can increase salinity on occasion if it isn’t broken down properly.
If your soil is not staying moist, let me ask you this: are you also noticing a thatch of fine root hairs in your beds? If nearby trees discover your garden, they send millions of roots over to enjoy the water intended for your garden. If you can’t dig down with a shovel without hitting a web of tiny roots everywhere, that could be the problem. They could be stealing nutrients and water from your beds.
I’ve been pointing people in the direction of using Active Compost Tea (brewed with foods to increase soil microbes) to help address many soil issues lately. If you have someone in your area who offers that service, check them out. We like Compost Teana here on the Westside. She’s awesome!
Those are my immediate thoughts. Keep us posted.
Christy