What’s a rocket stove, you ask? It’s a stove designed to use 80% less fuel for heating, cooking and canning. How can you build a rocket stove in less than an hour? We’ve got you covered right here.
Rocket stoves are usually J-shaped, which allows campers, homesteaders, and permaculturists to feed twigs and sticks into the hook end of the J for a roaring fire to cook over at the top of the J. We have friends who professionally build rocket stoves, but when we saw a recent article in Mother Earth News magazine about 5 DIY rocket stoves, we jumped at the chance to build one for summer outdoor cooking.
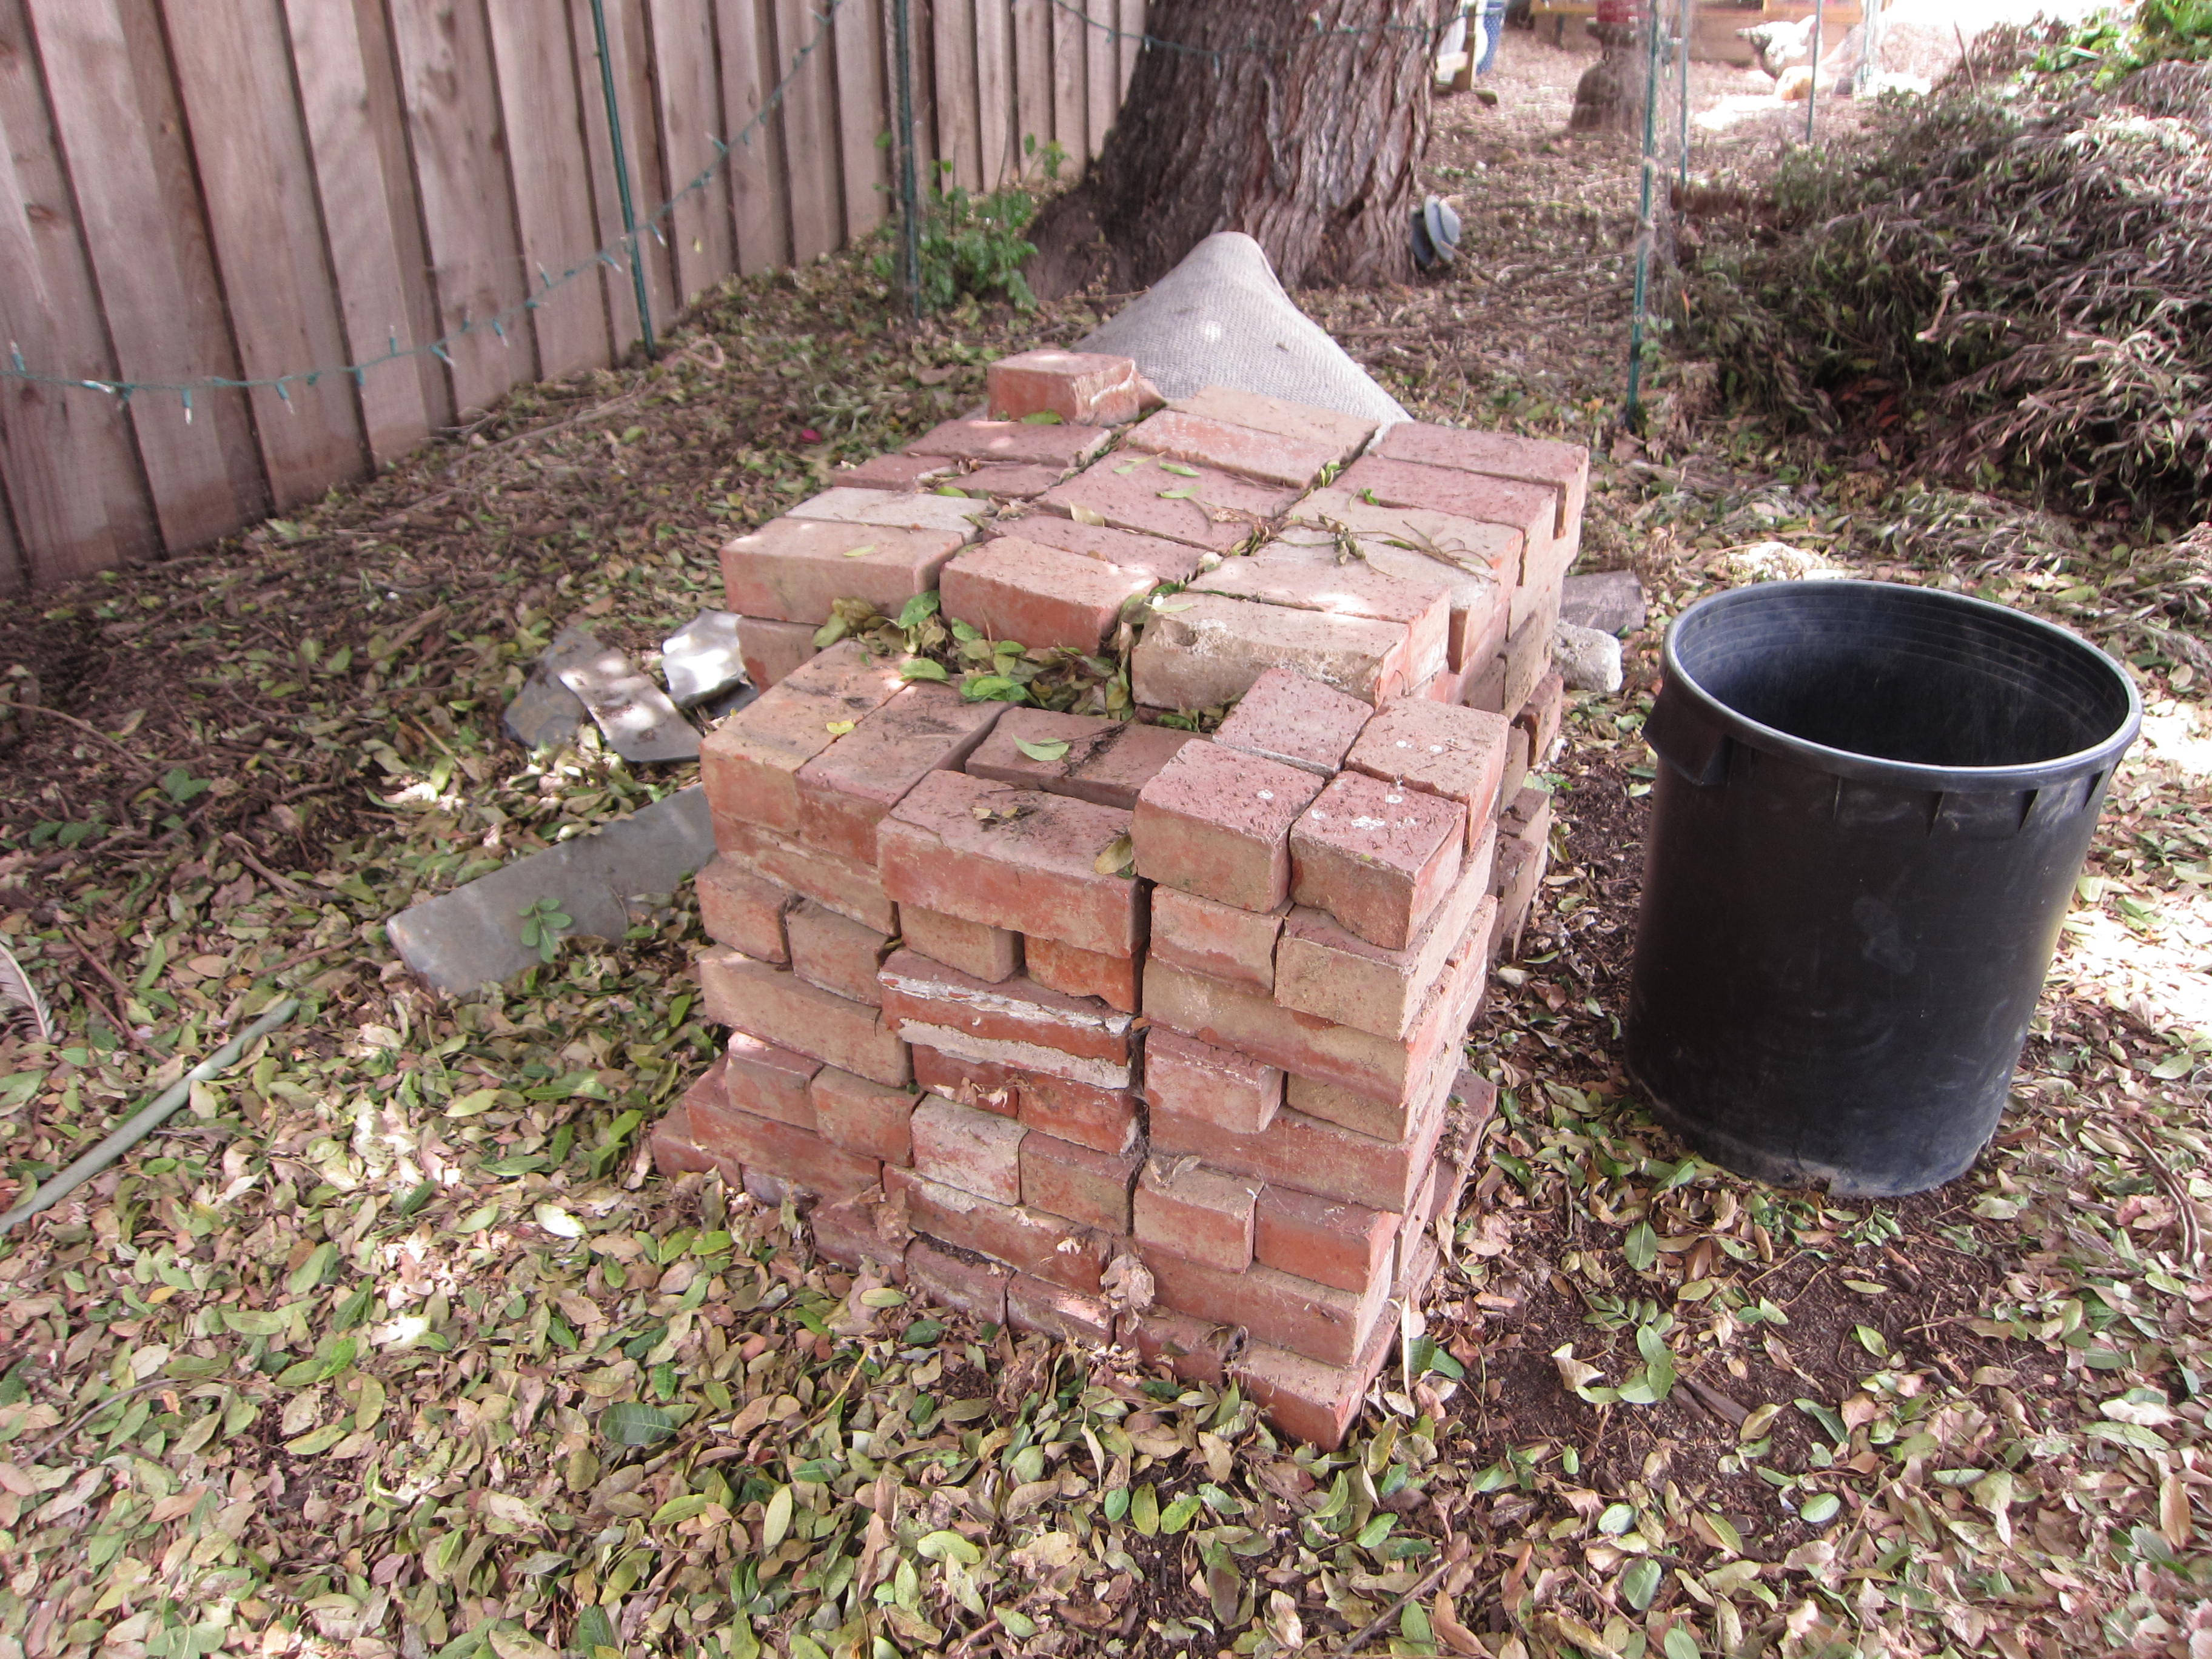
See…we’ve got this pile of bricks:
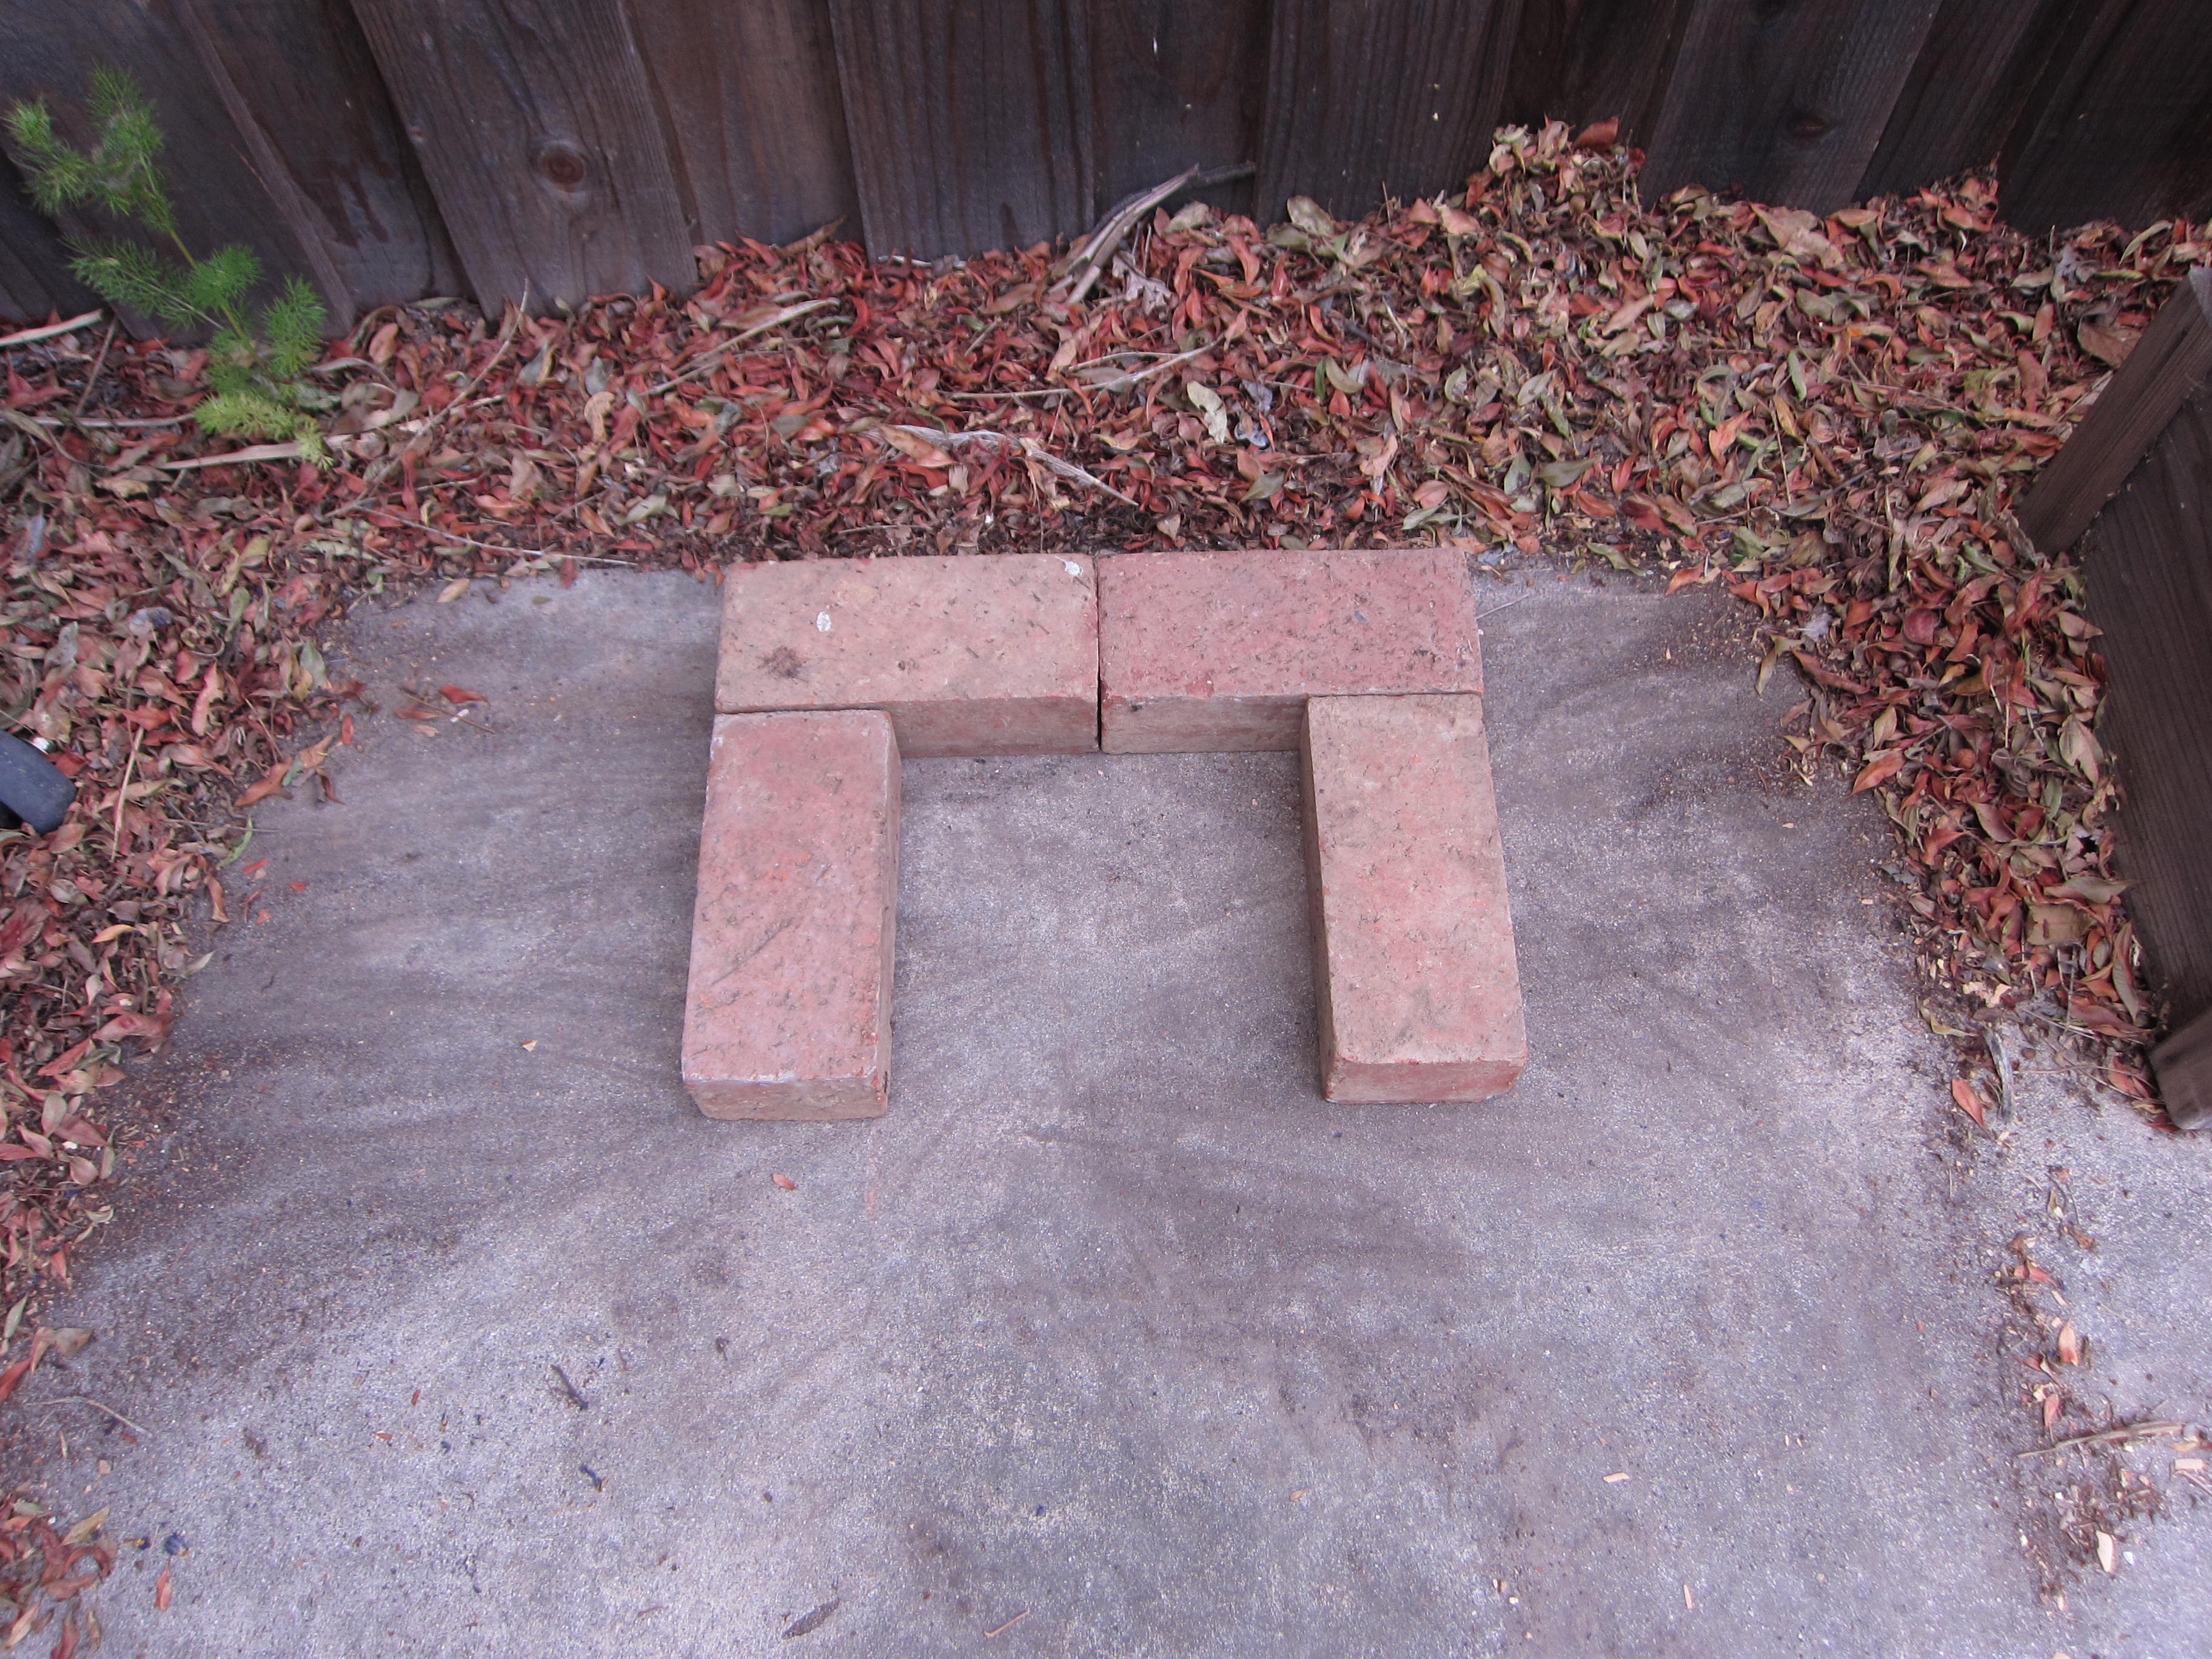
First we cleared a space on a back cement pad so the stove would be level and out of the way. Its footprint is small, but best not to situate it in the middle of the yard.
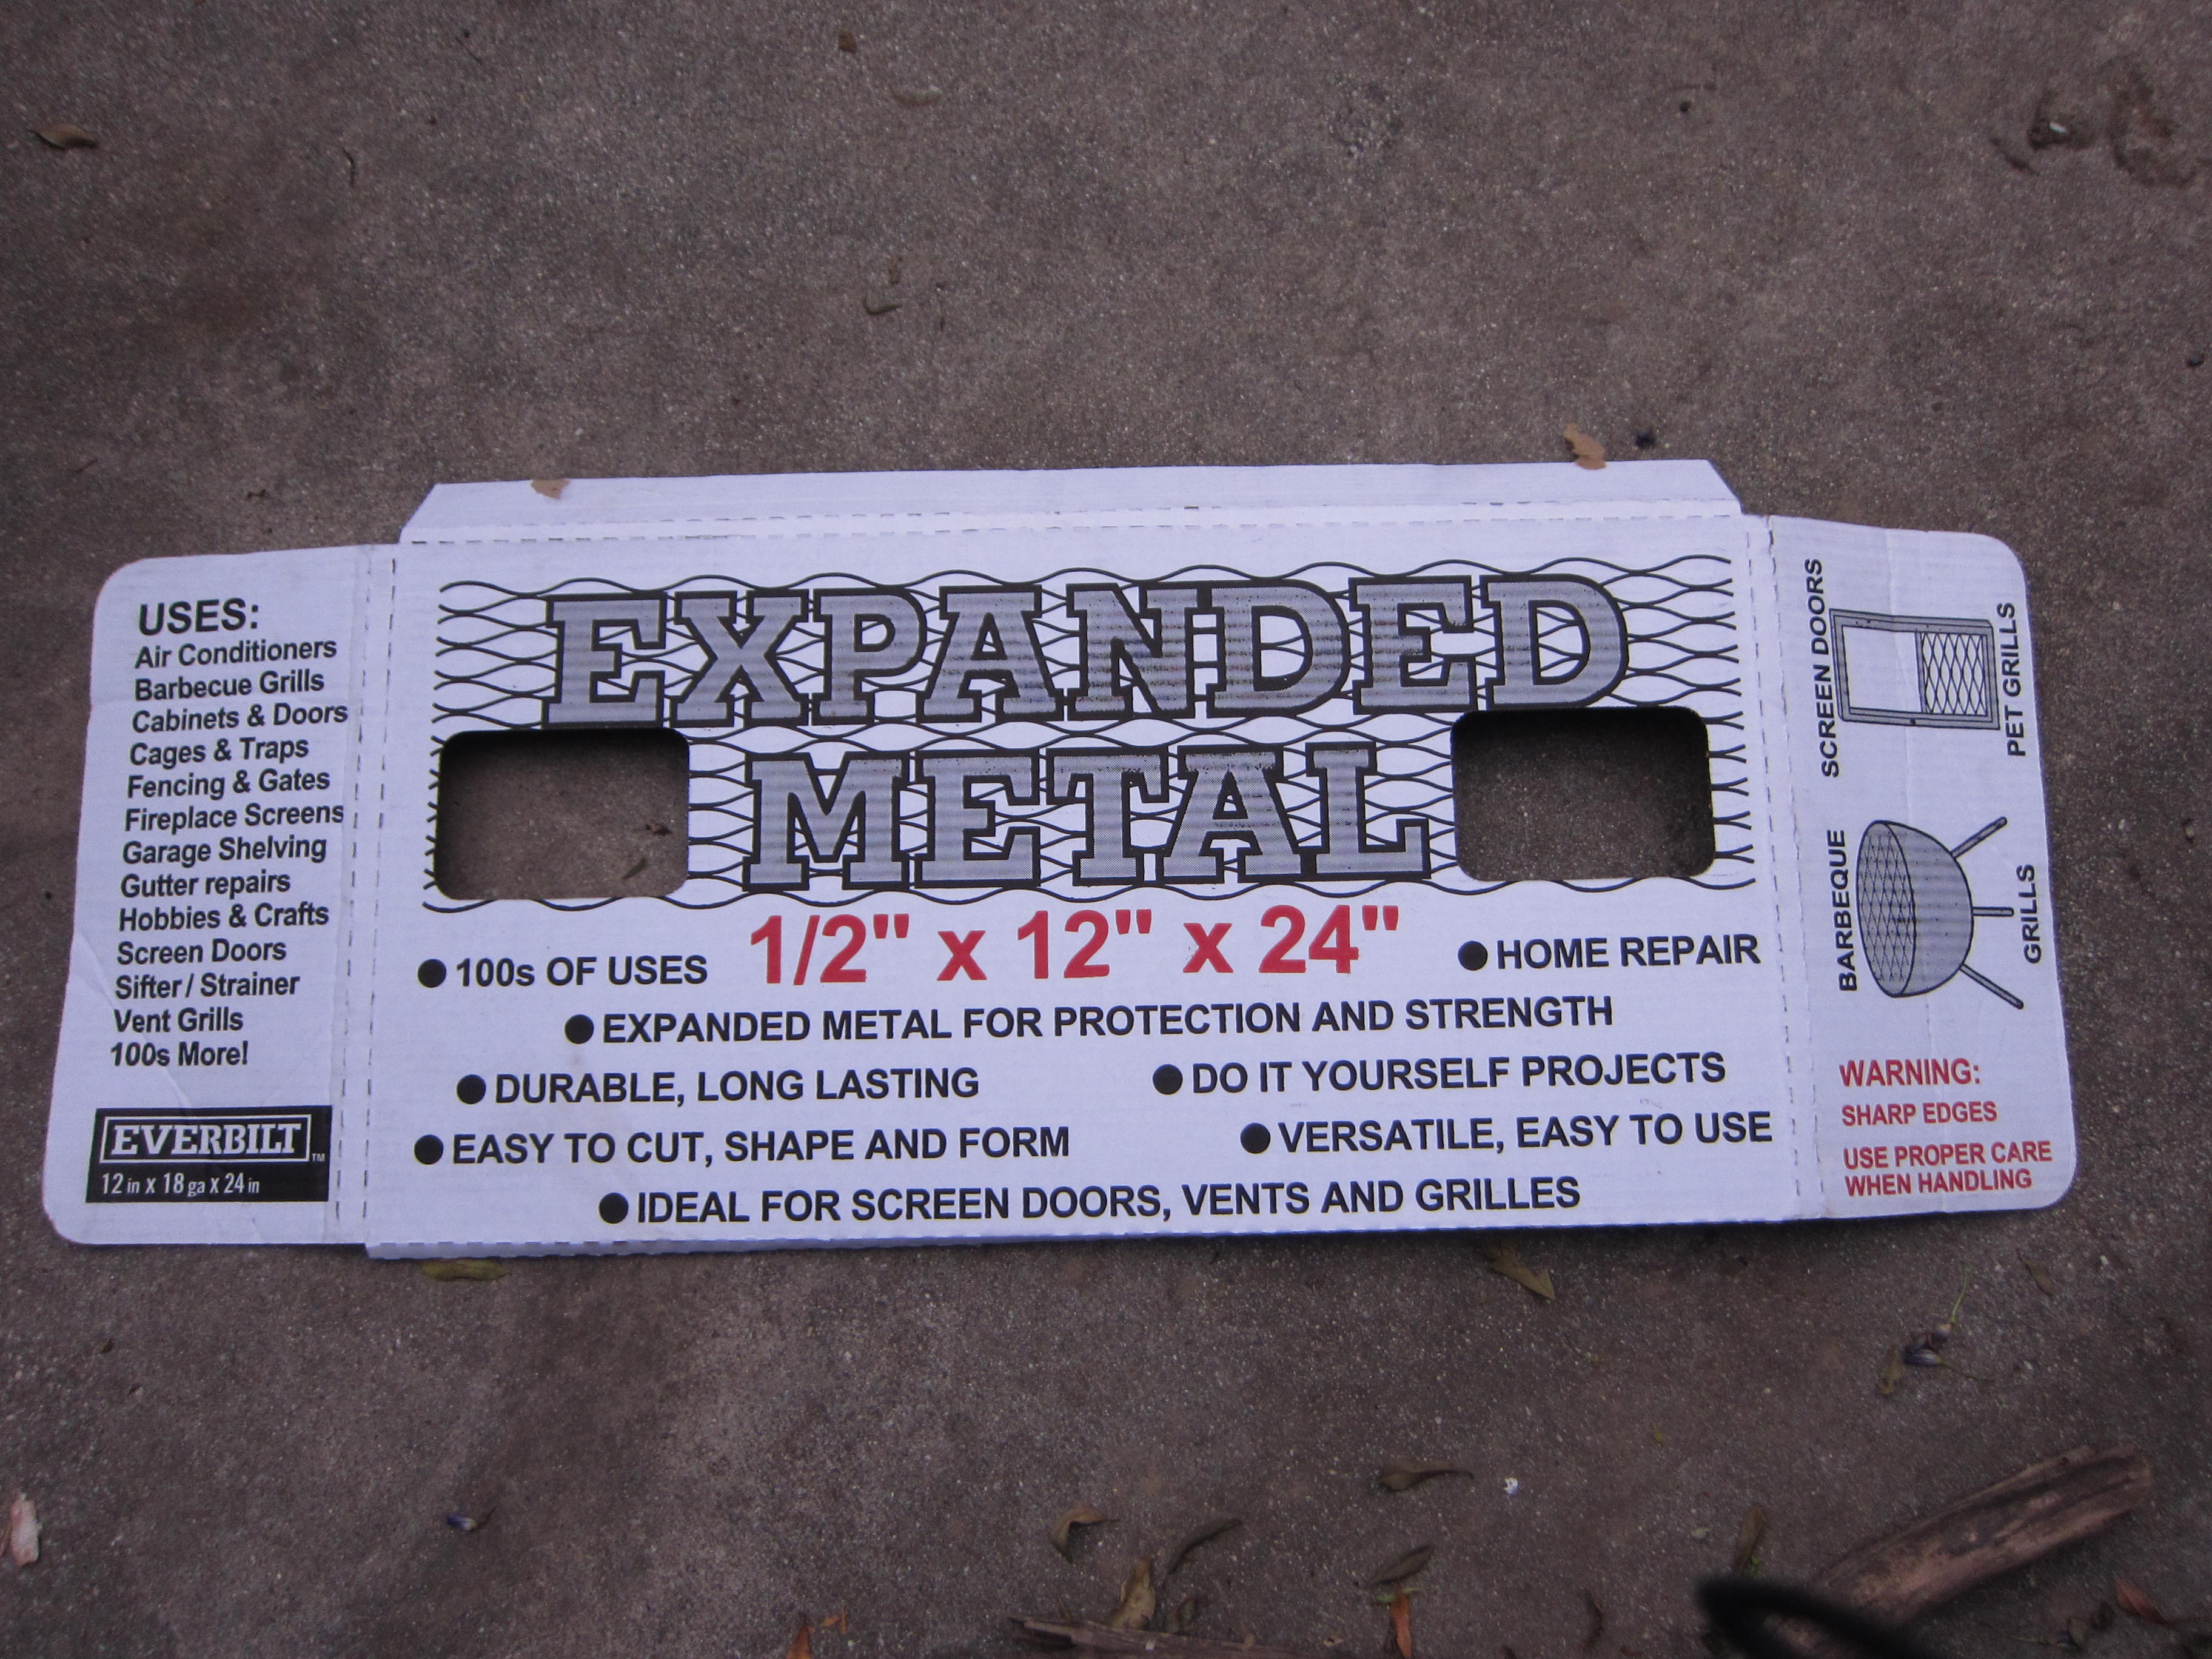
Next, we went against the suggestion in the article regarding the air grill for burning fuel. In the article, the author uses galvanized wire mesh. A little research reveals that burning anything galvanized will off-gas toxic substances. Not good for you or your food. So we ran to Home Depot to buy expanded metal lath. Steel is the ticket.
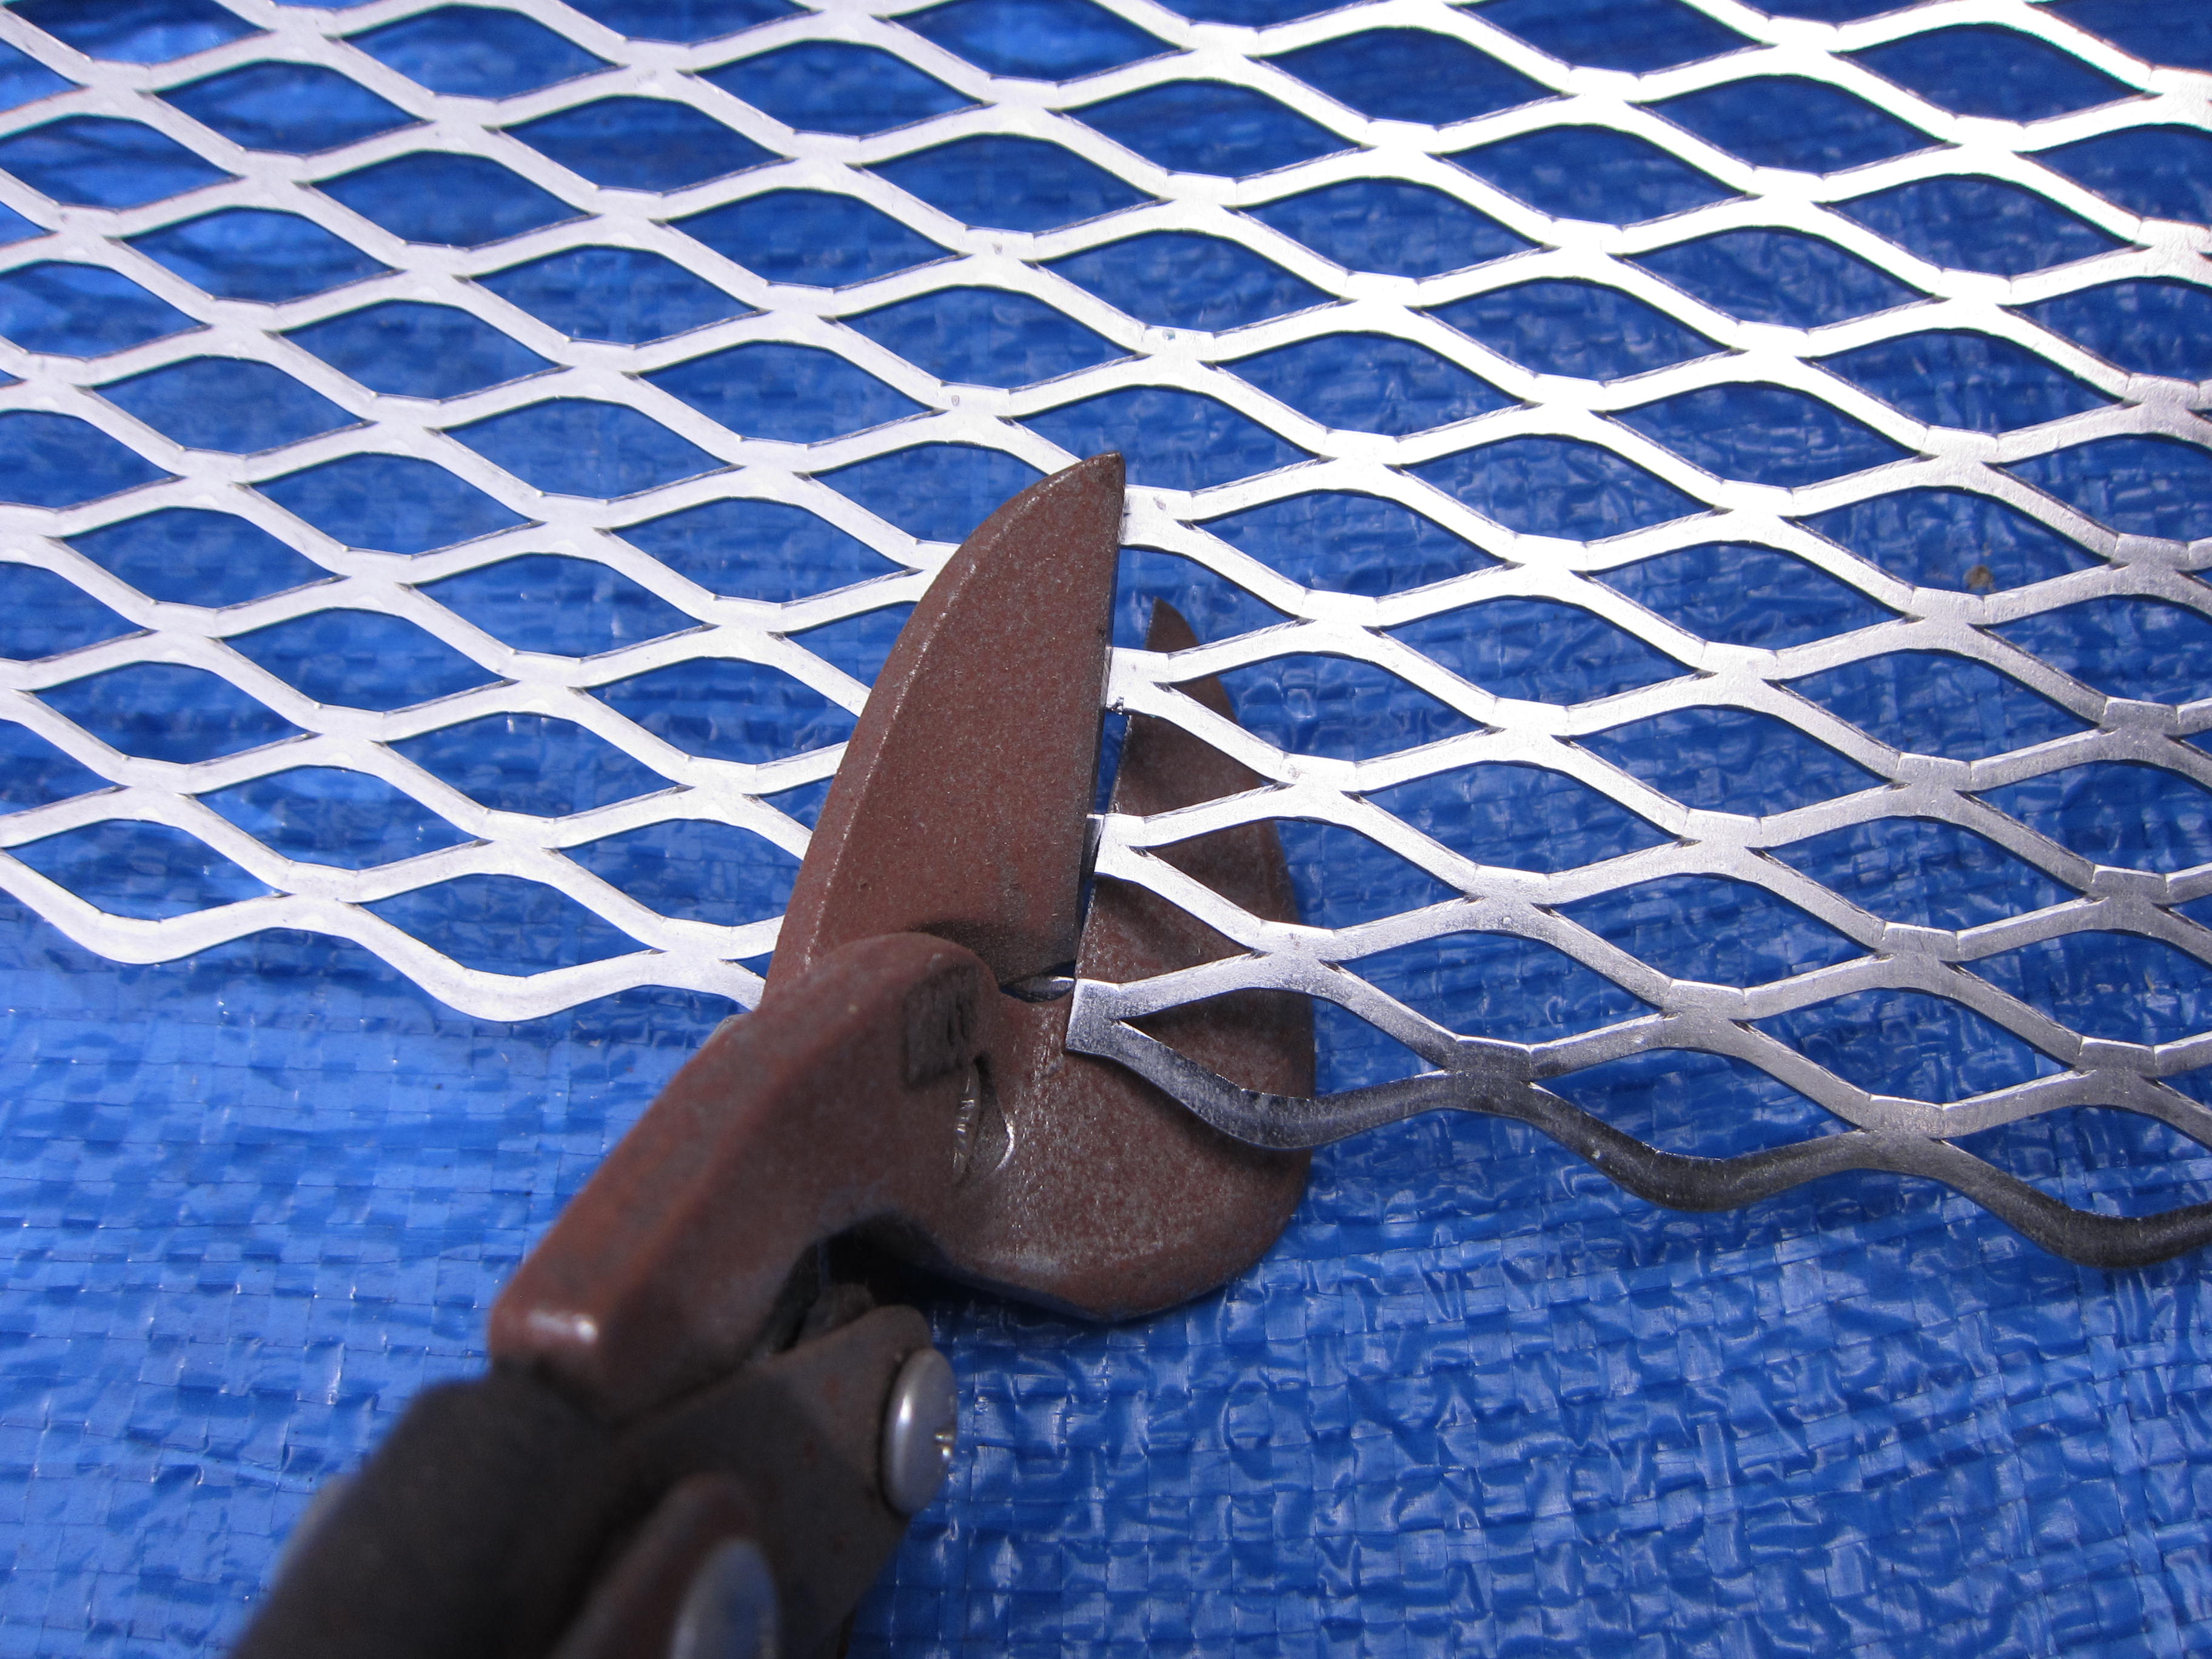
Since the rocket stove is small, we cut the expanded metal in half with tin snips. It was easy and only took a couple minutes.
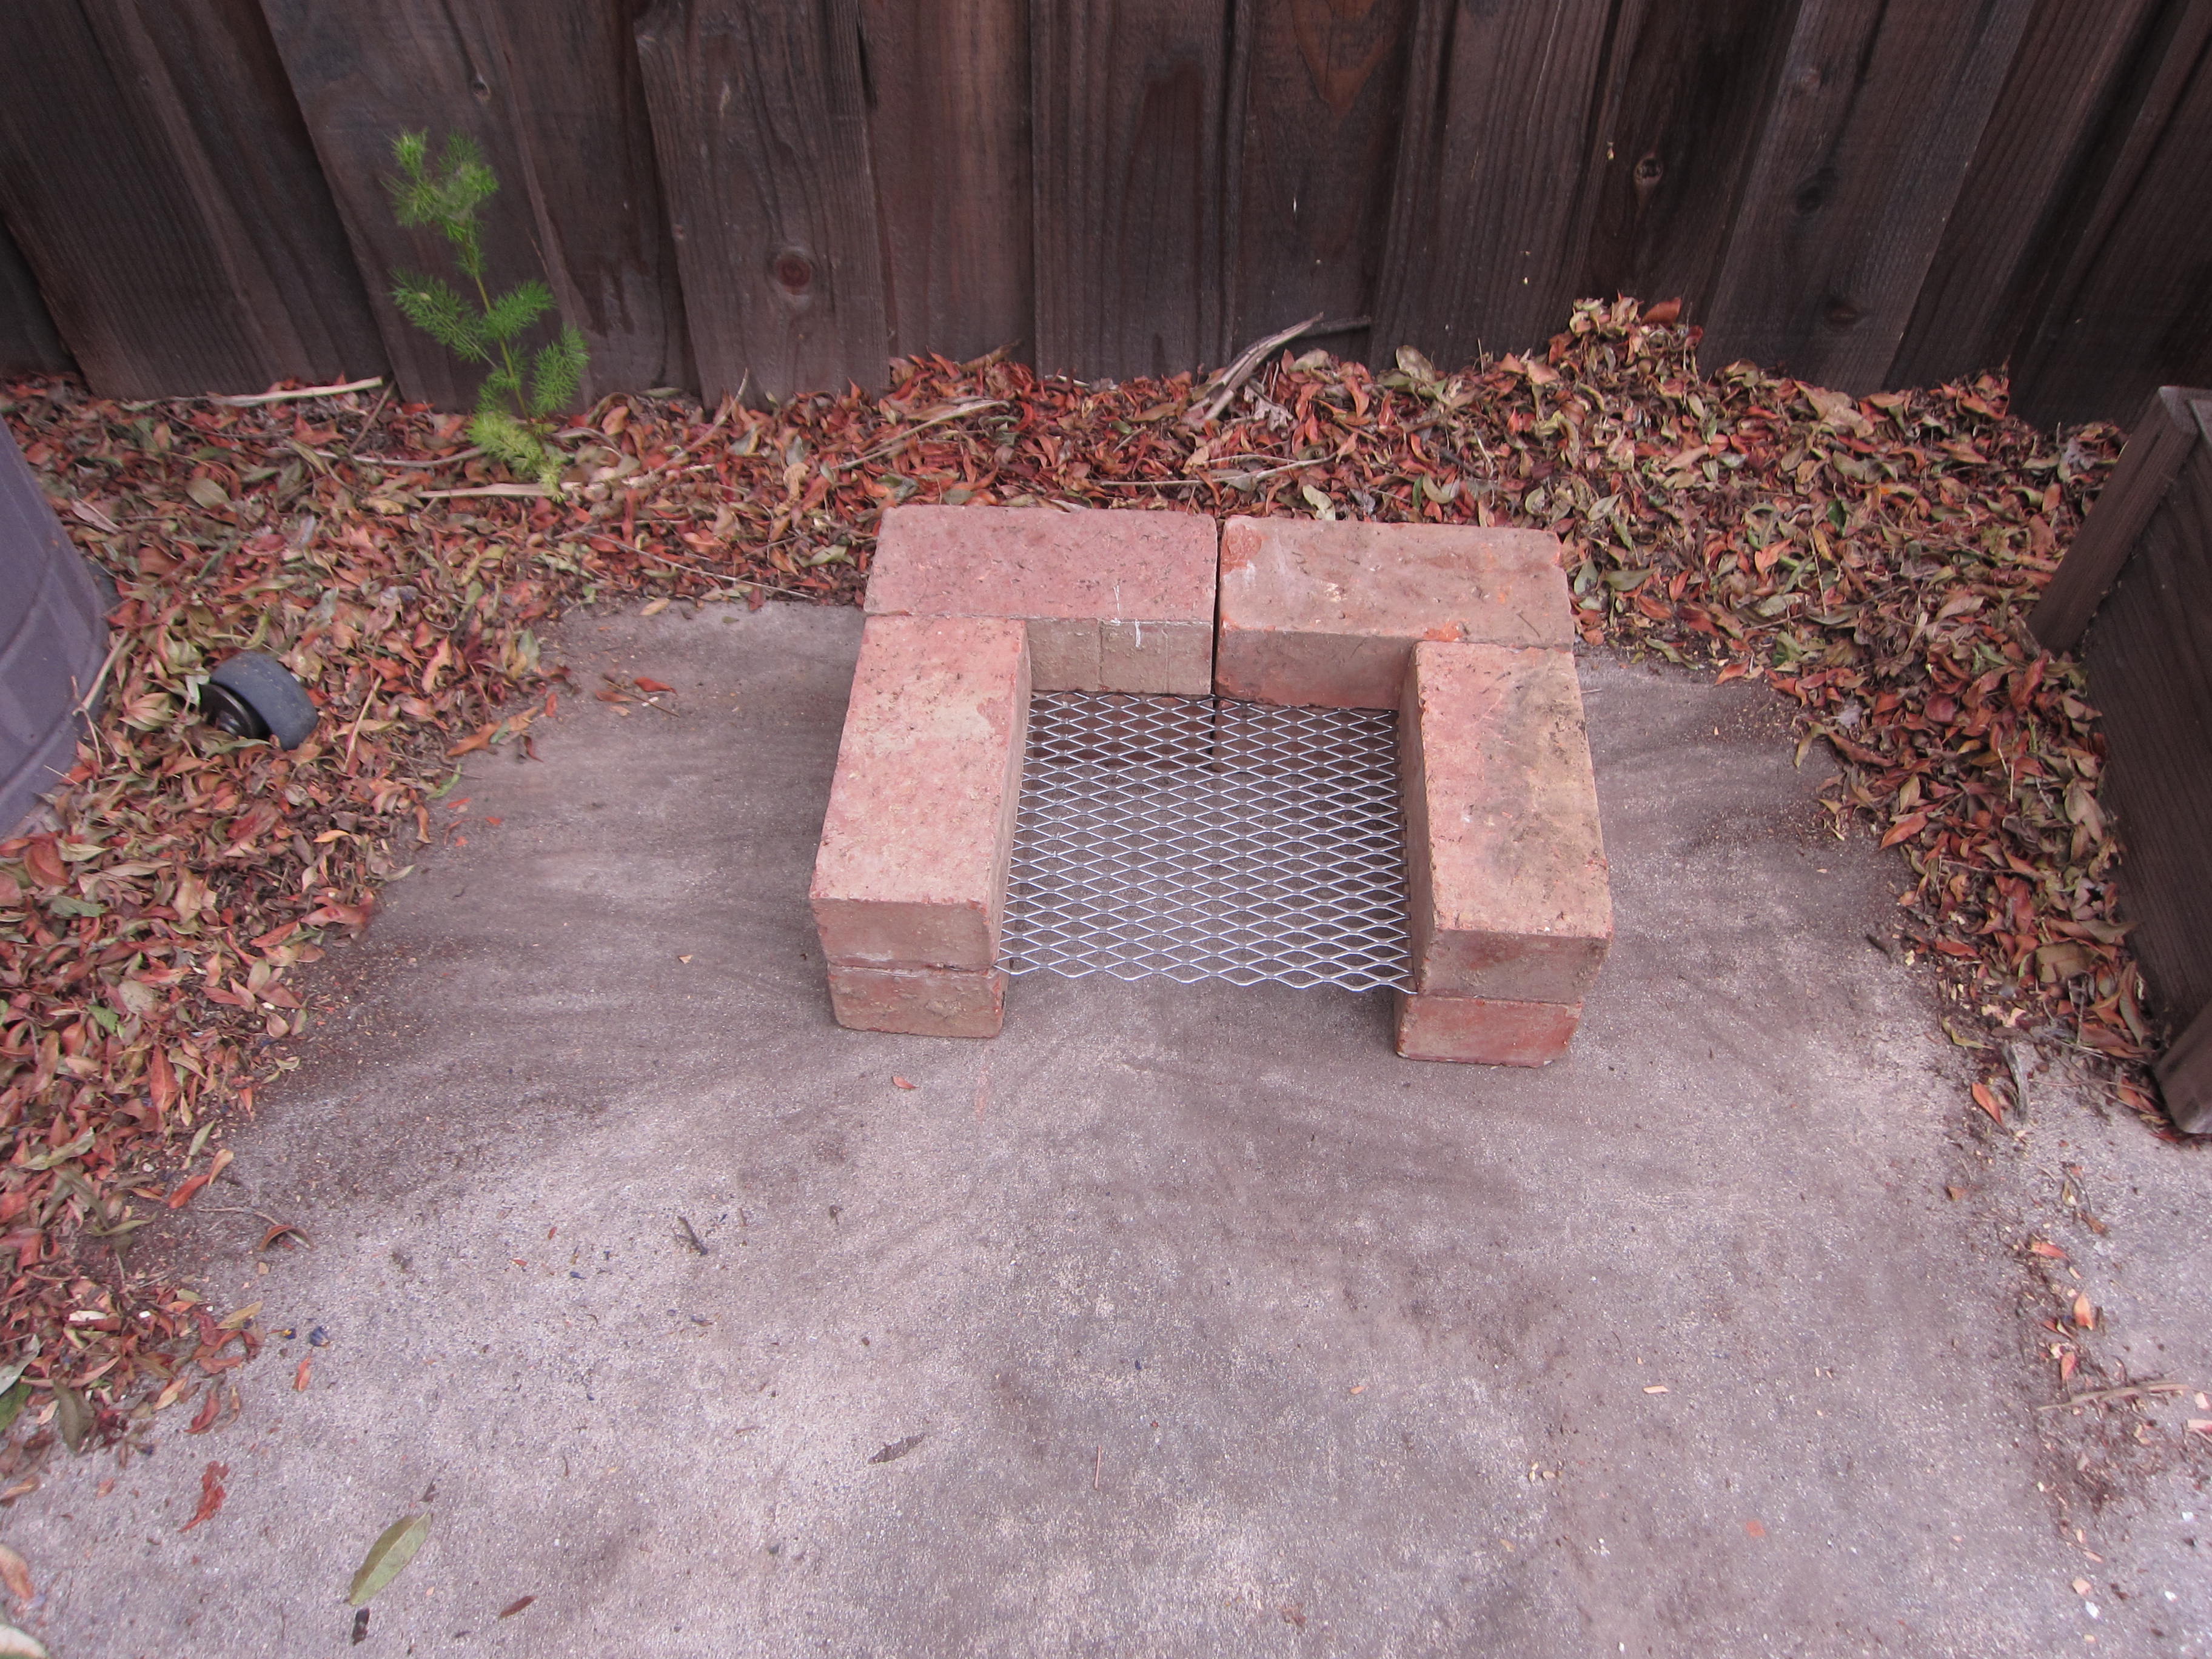
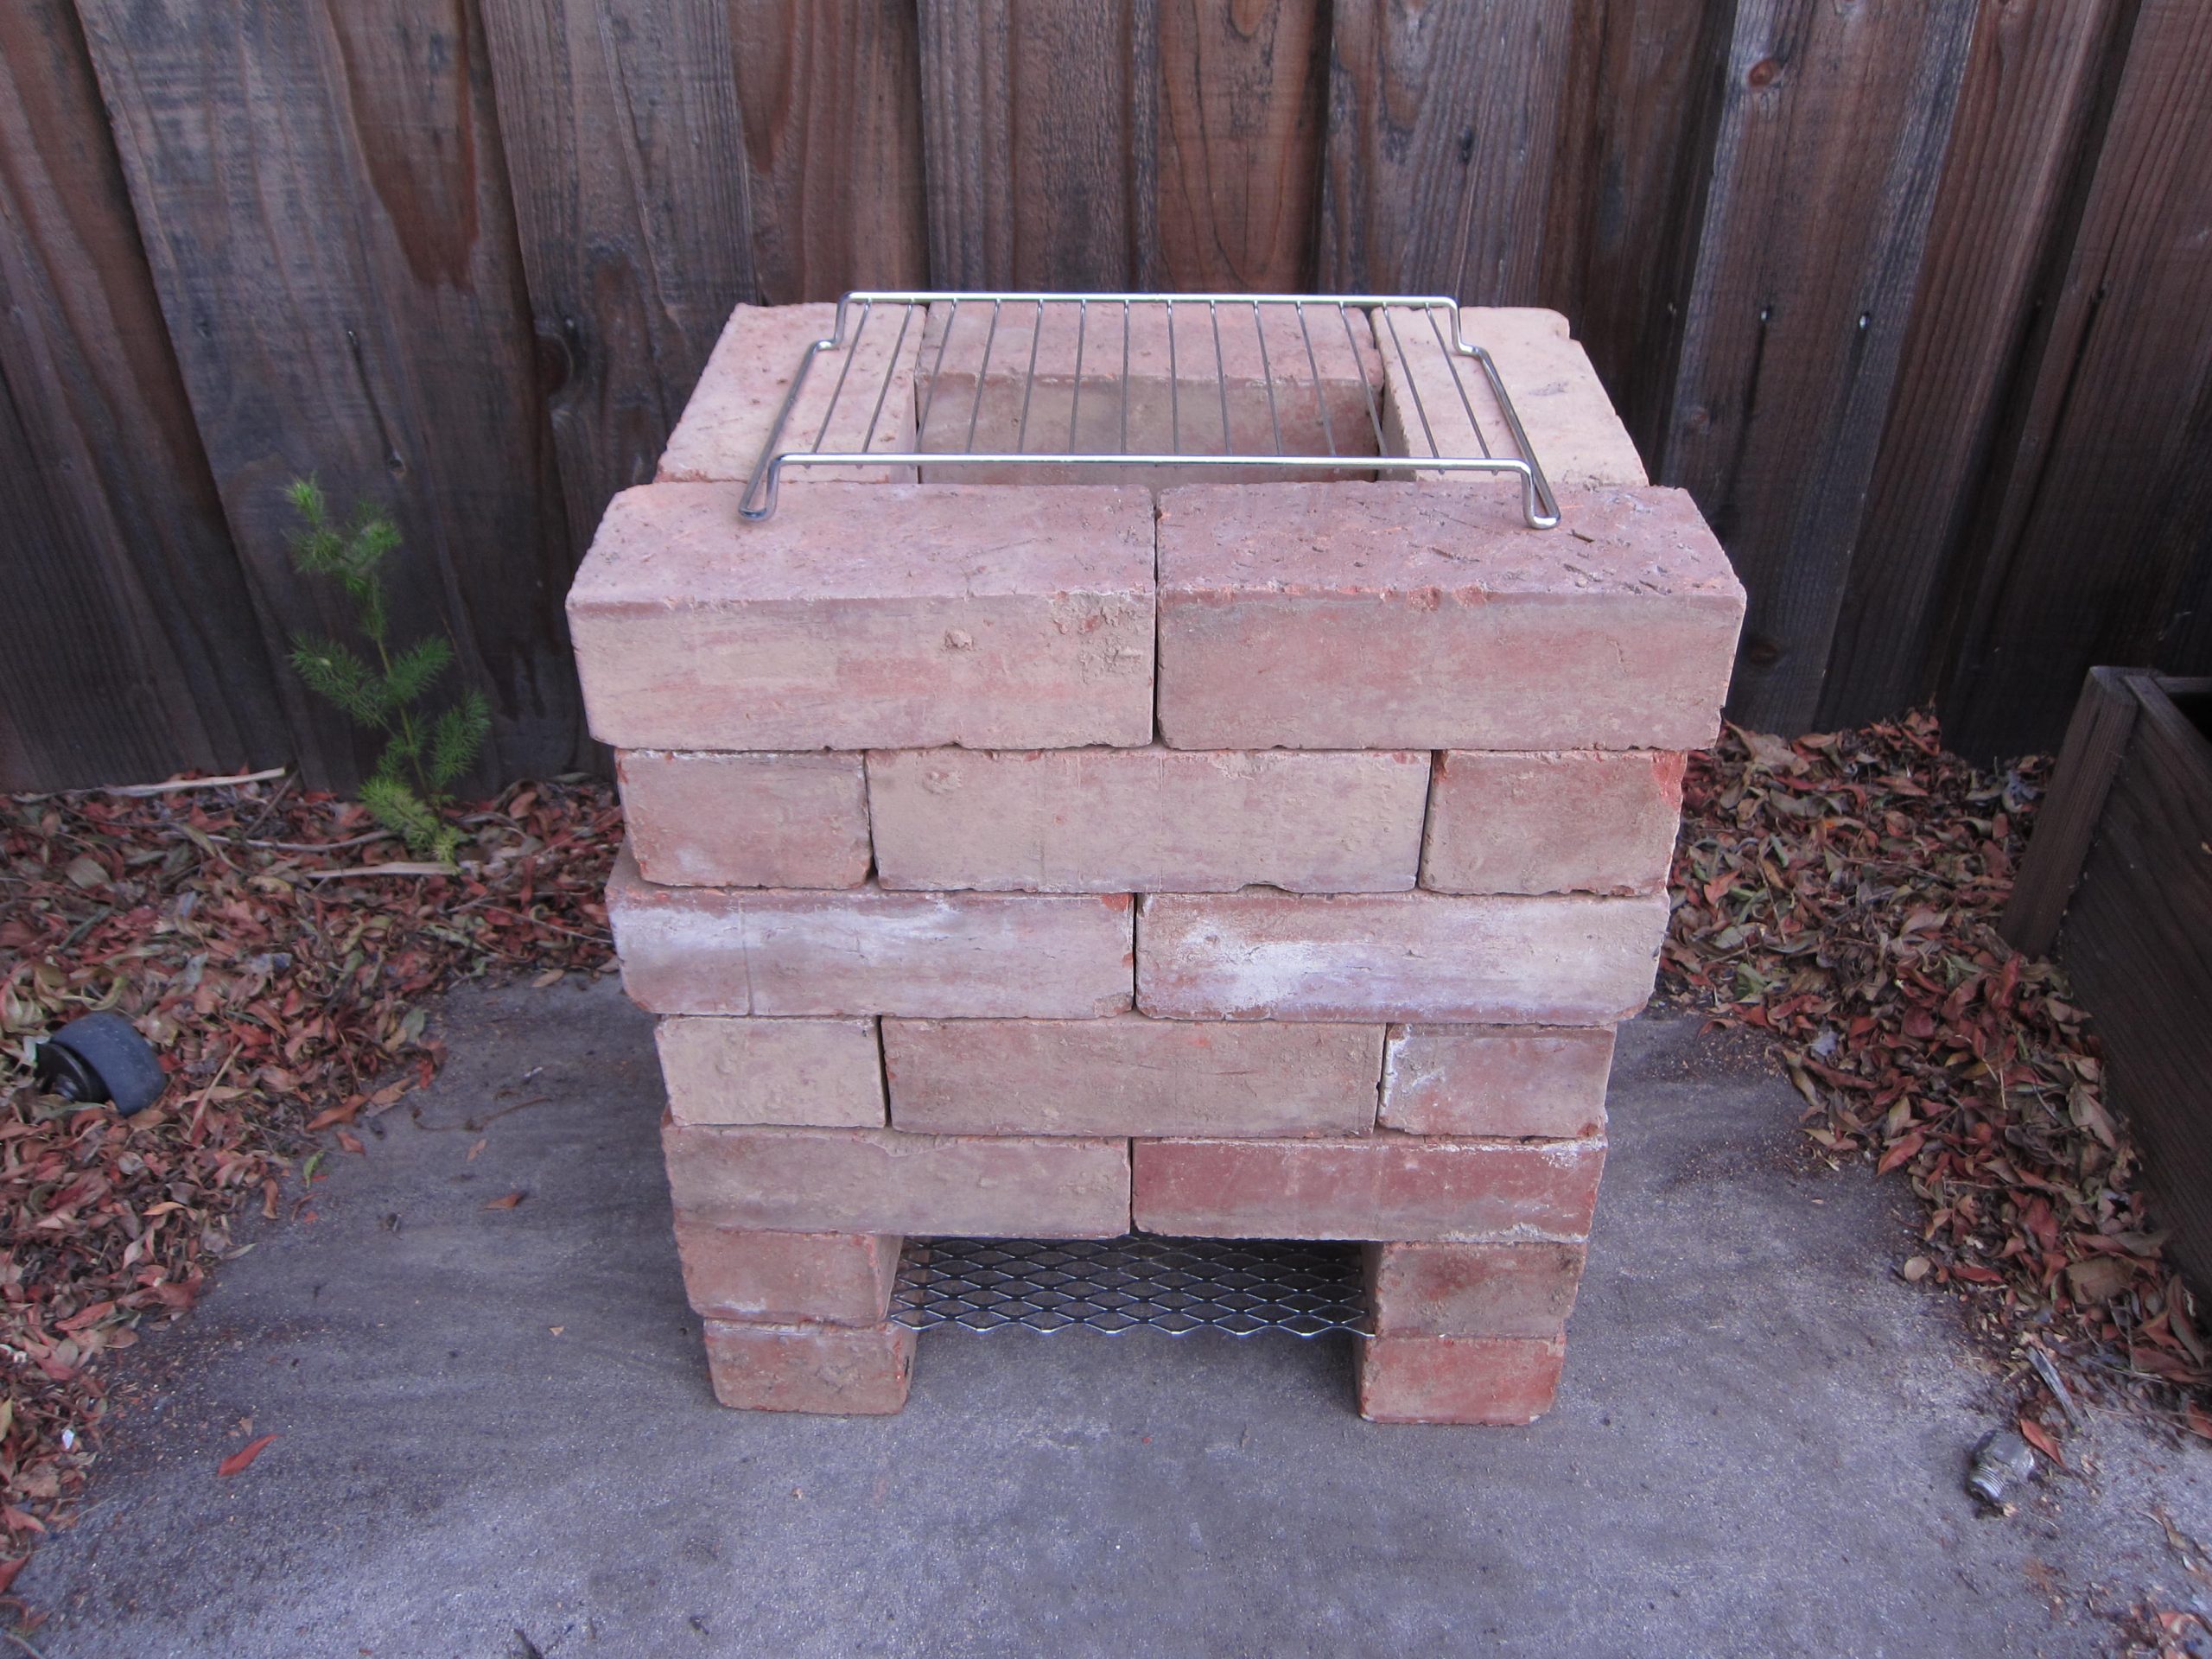
Following another layer just like the first, we switch to a 5-brick configuration to create the J (or L in this case – works as well).
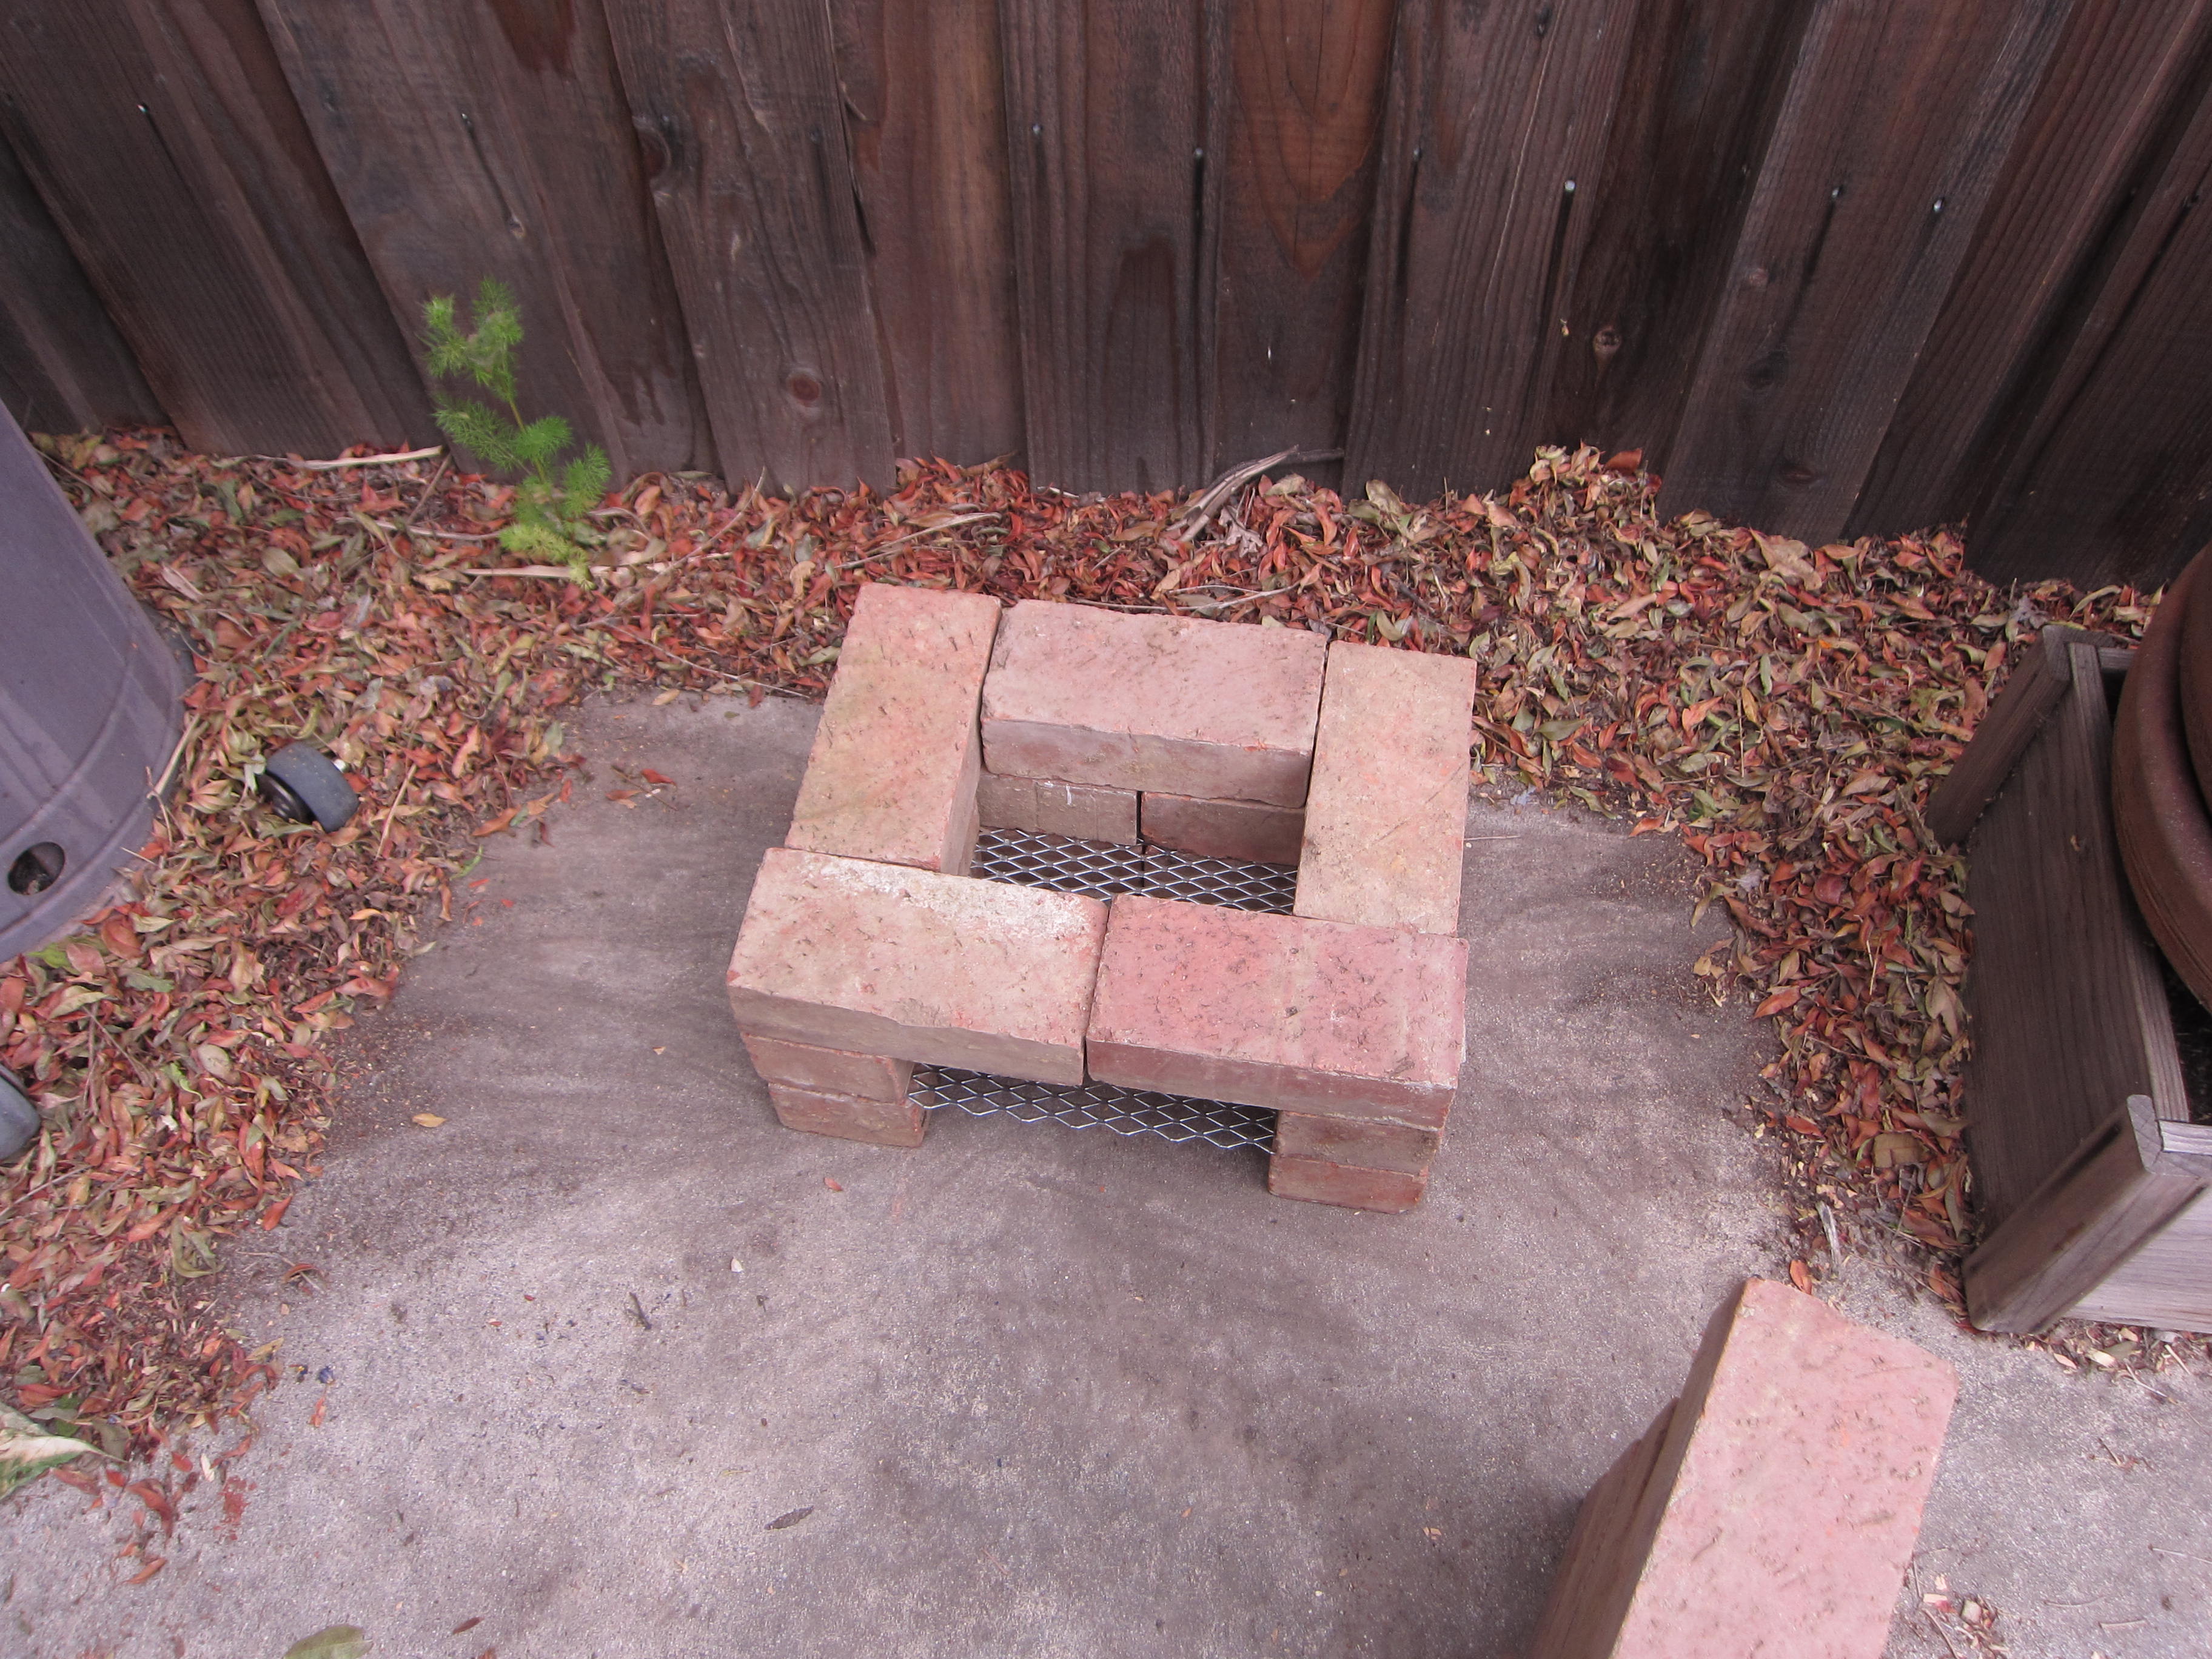
We lined up the bricks to the inner edge, to ensure proper flow of air. So the outer edges don’t quite line up, but it’s okay. Still works.
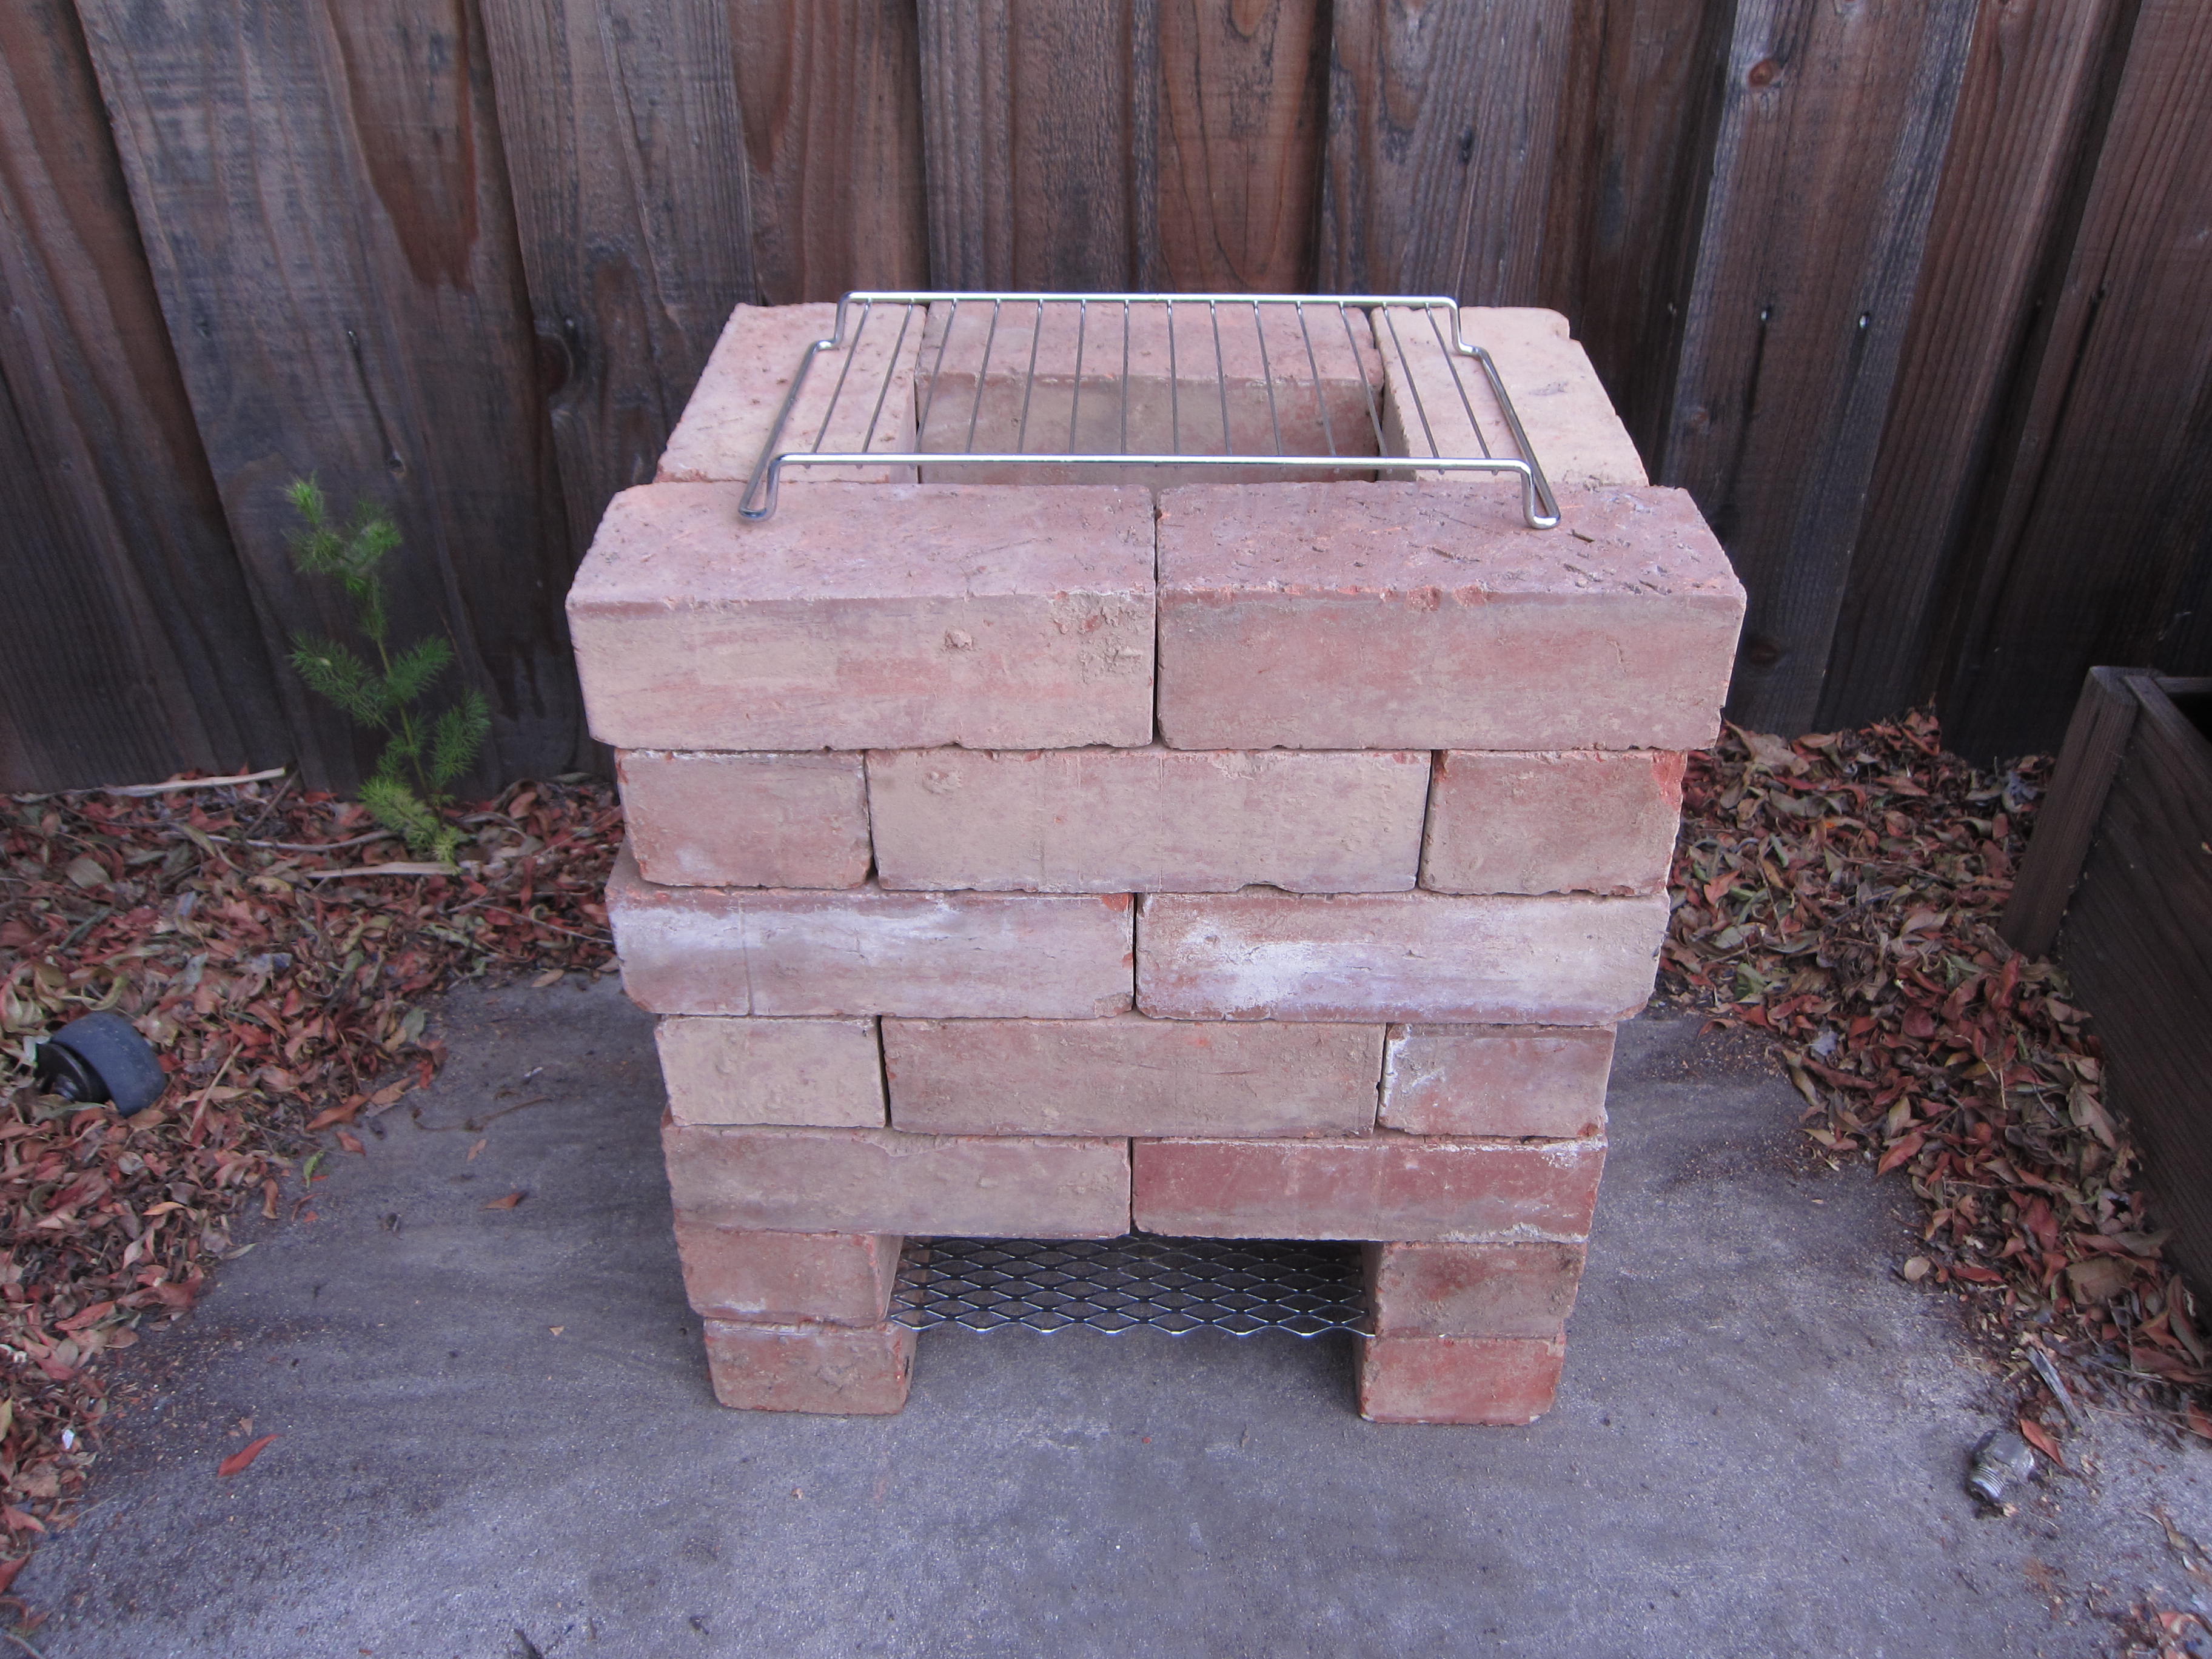
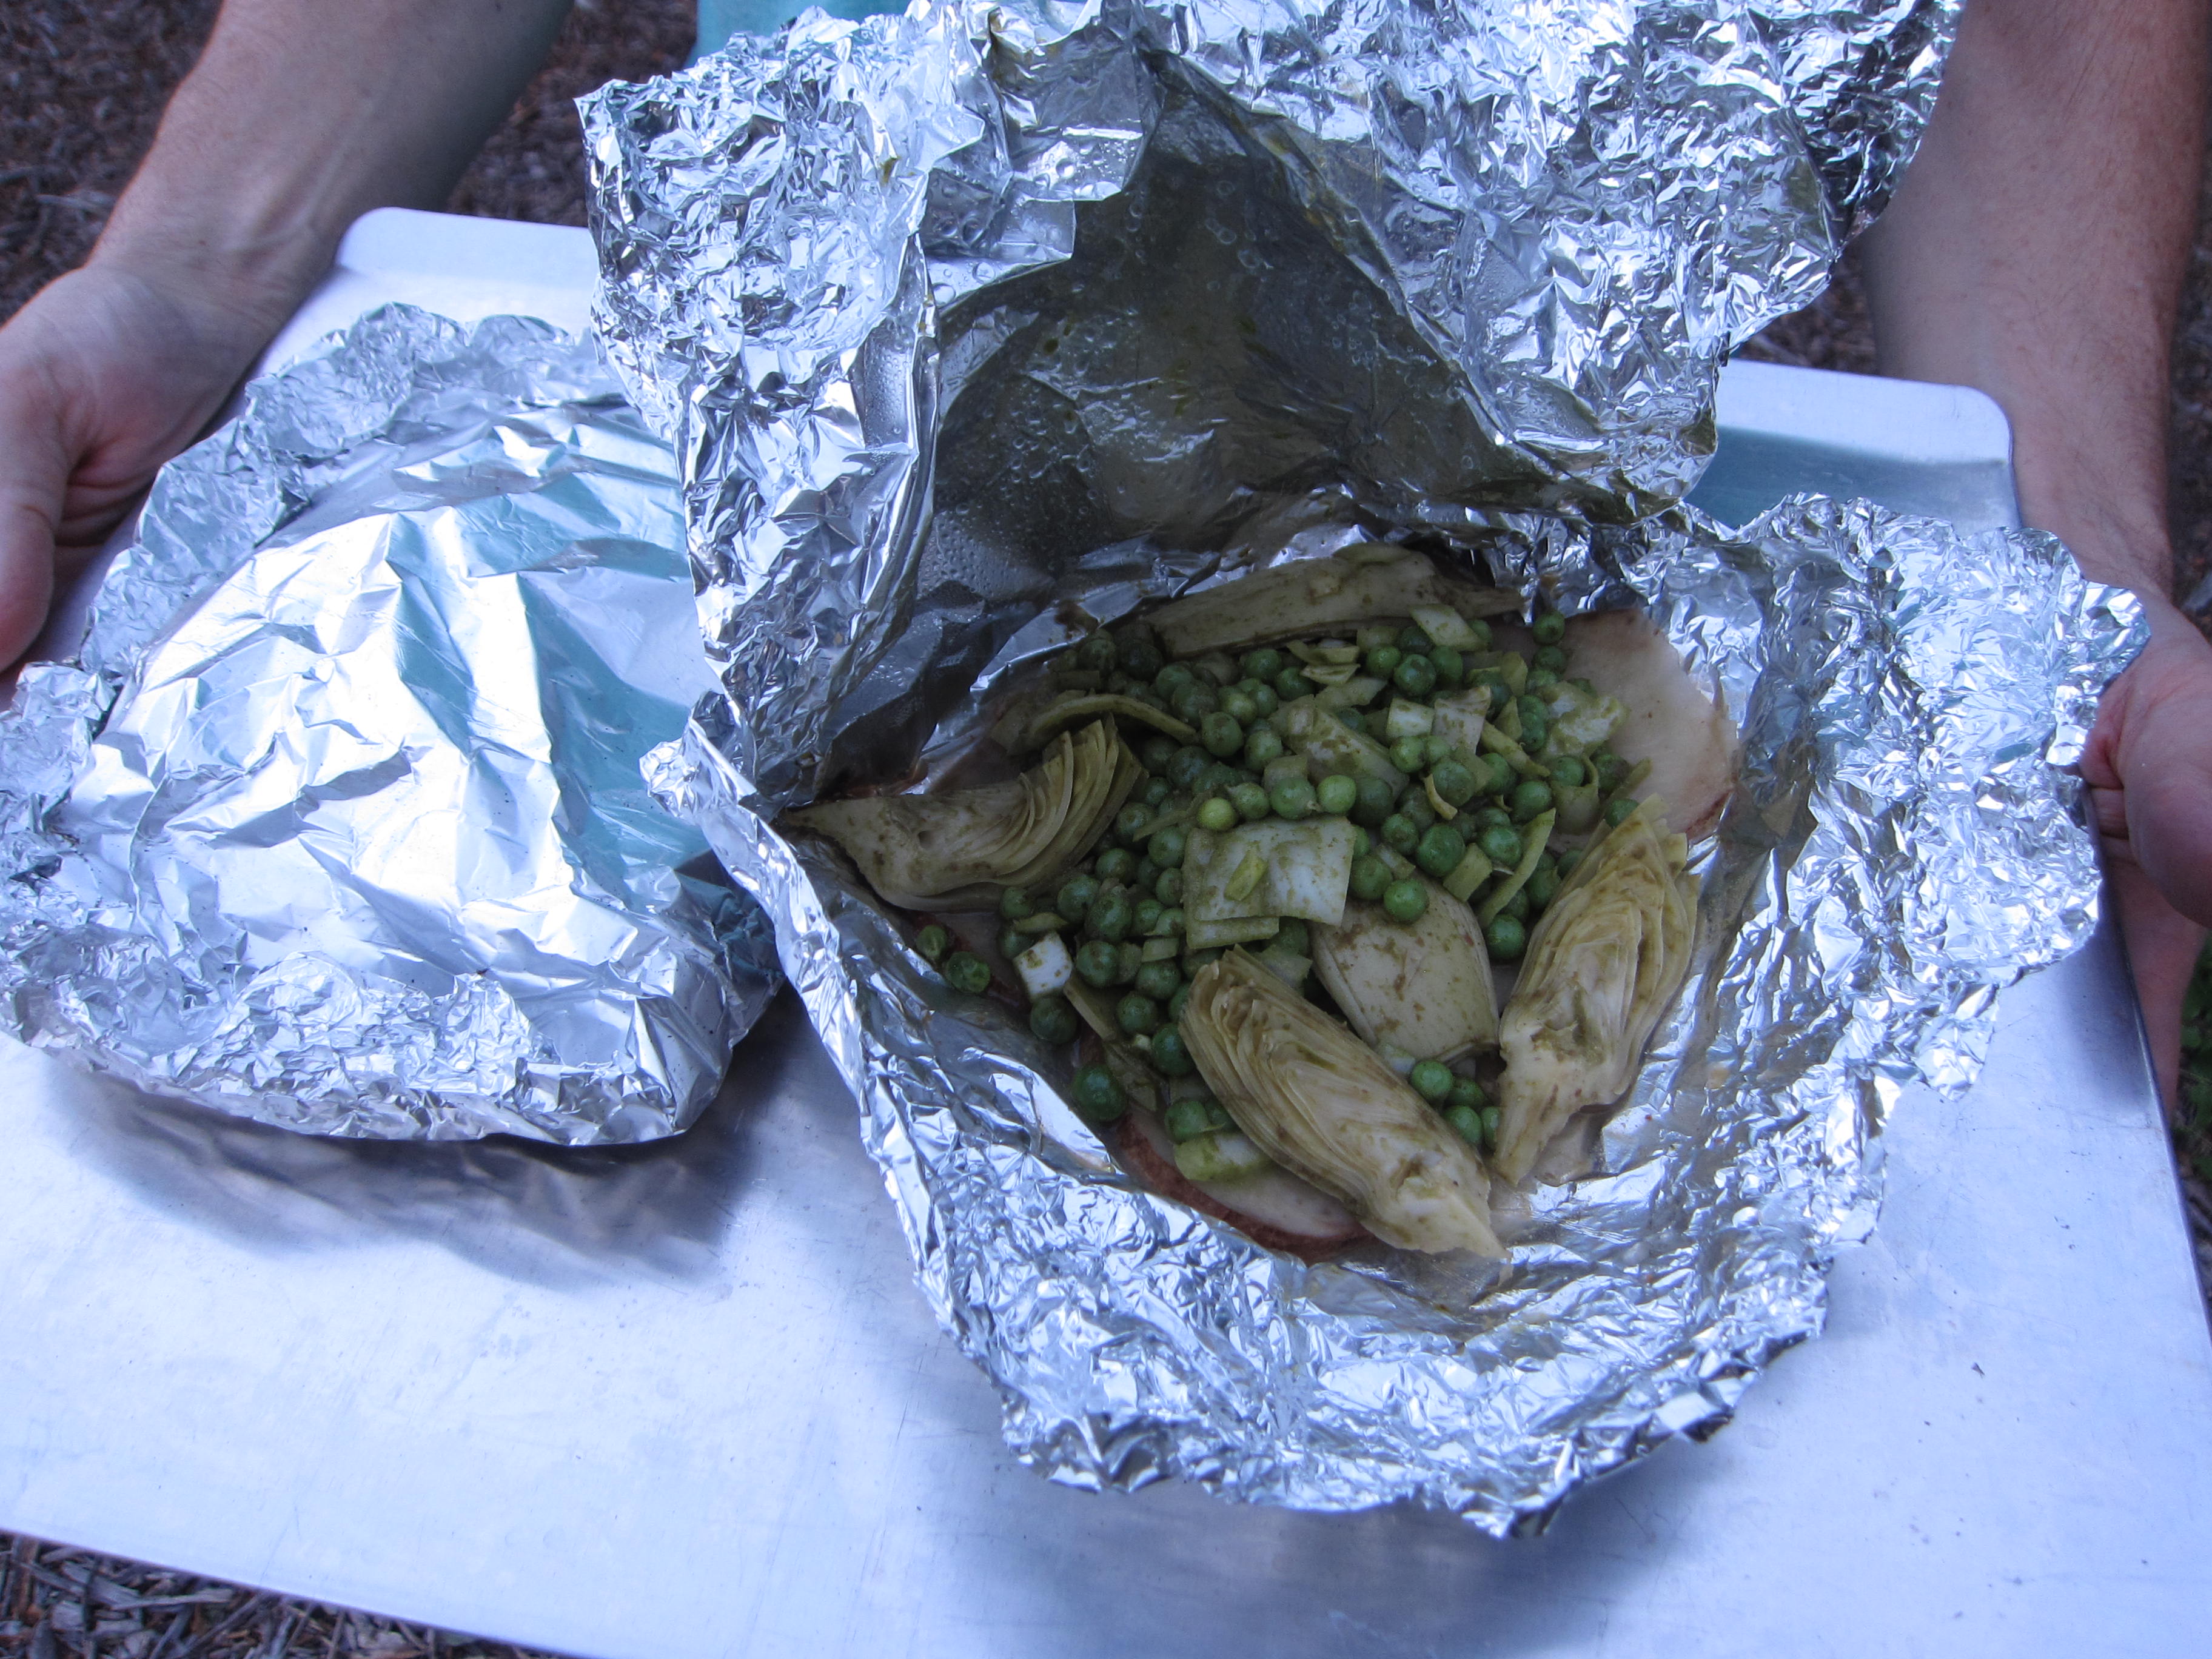
We were eager to test the new stove, and the weather complied by providing us with a 90 degree day. Perfect for outdoor cooking. We choose a “packet” style recipe from Vegetarian Times and heated up the stove.
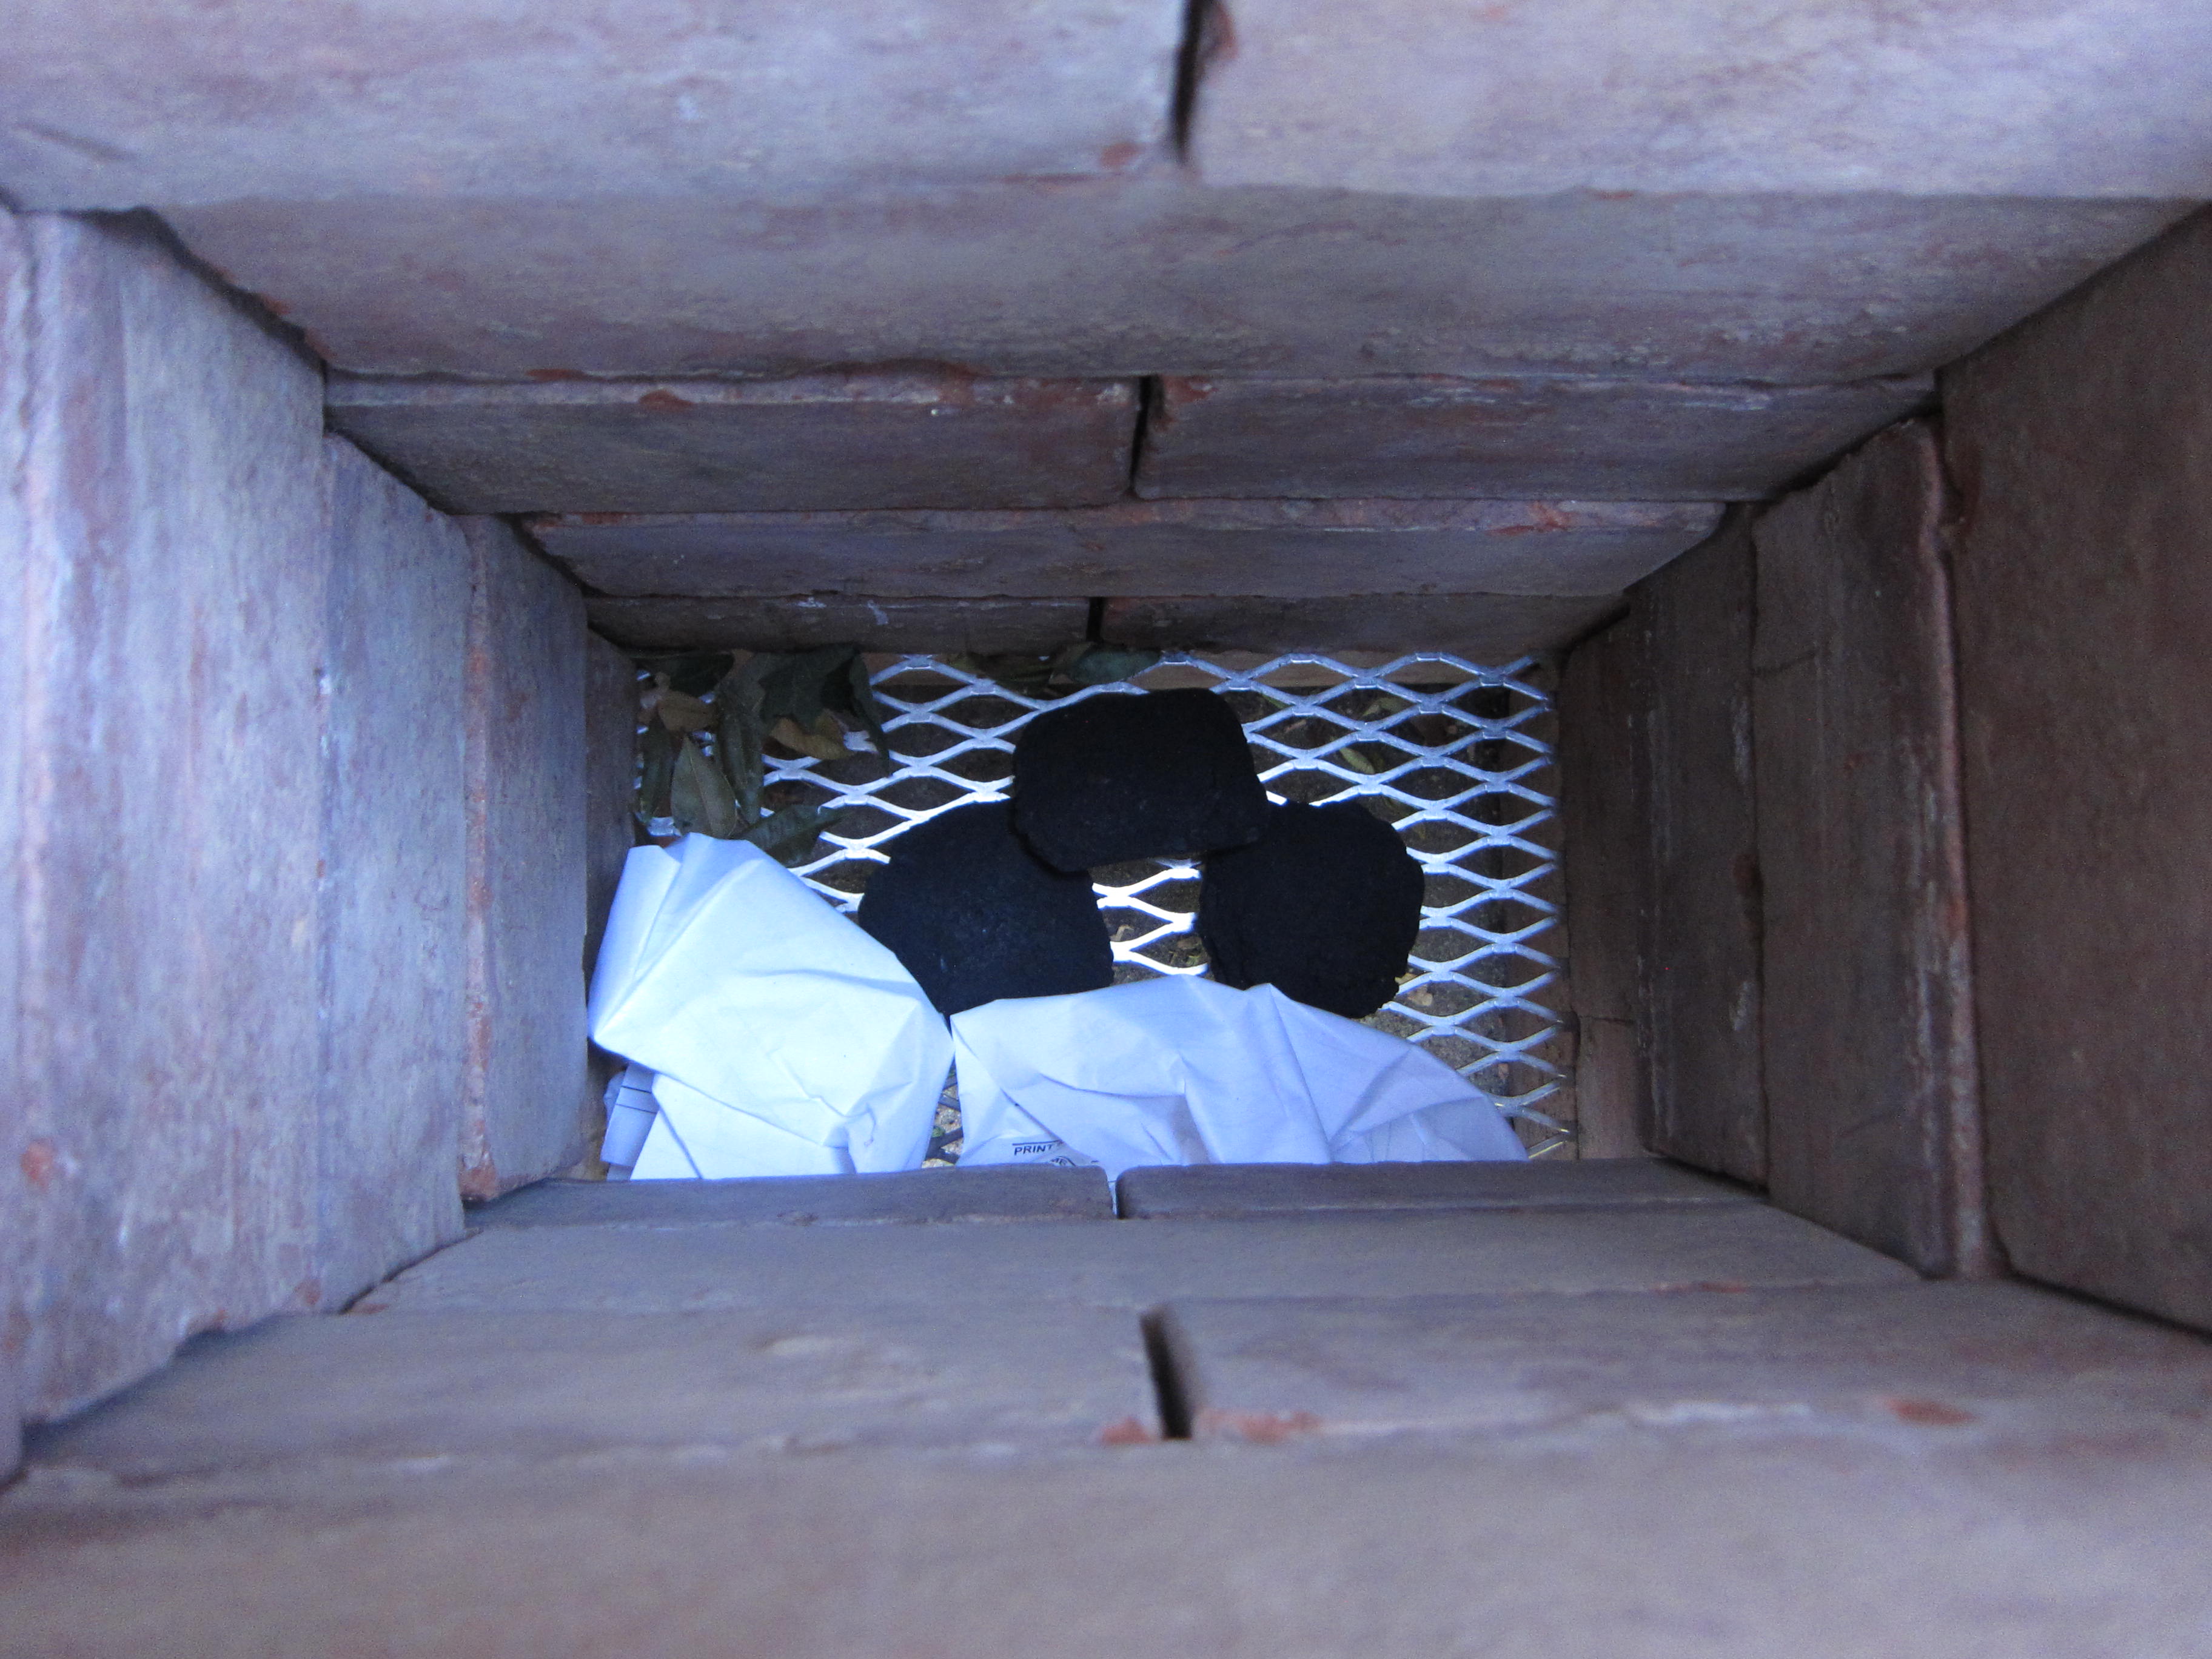
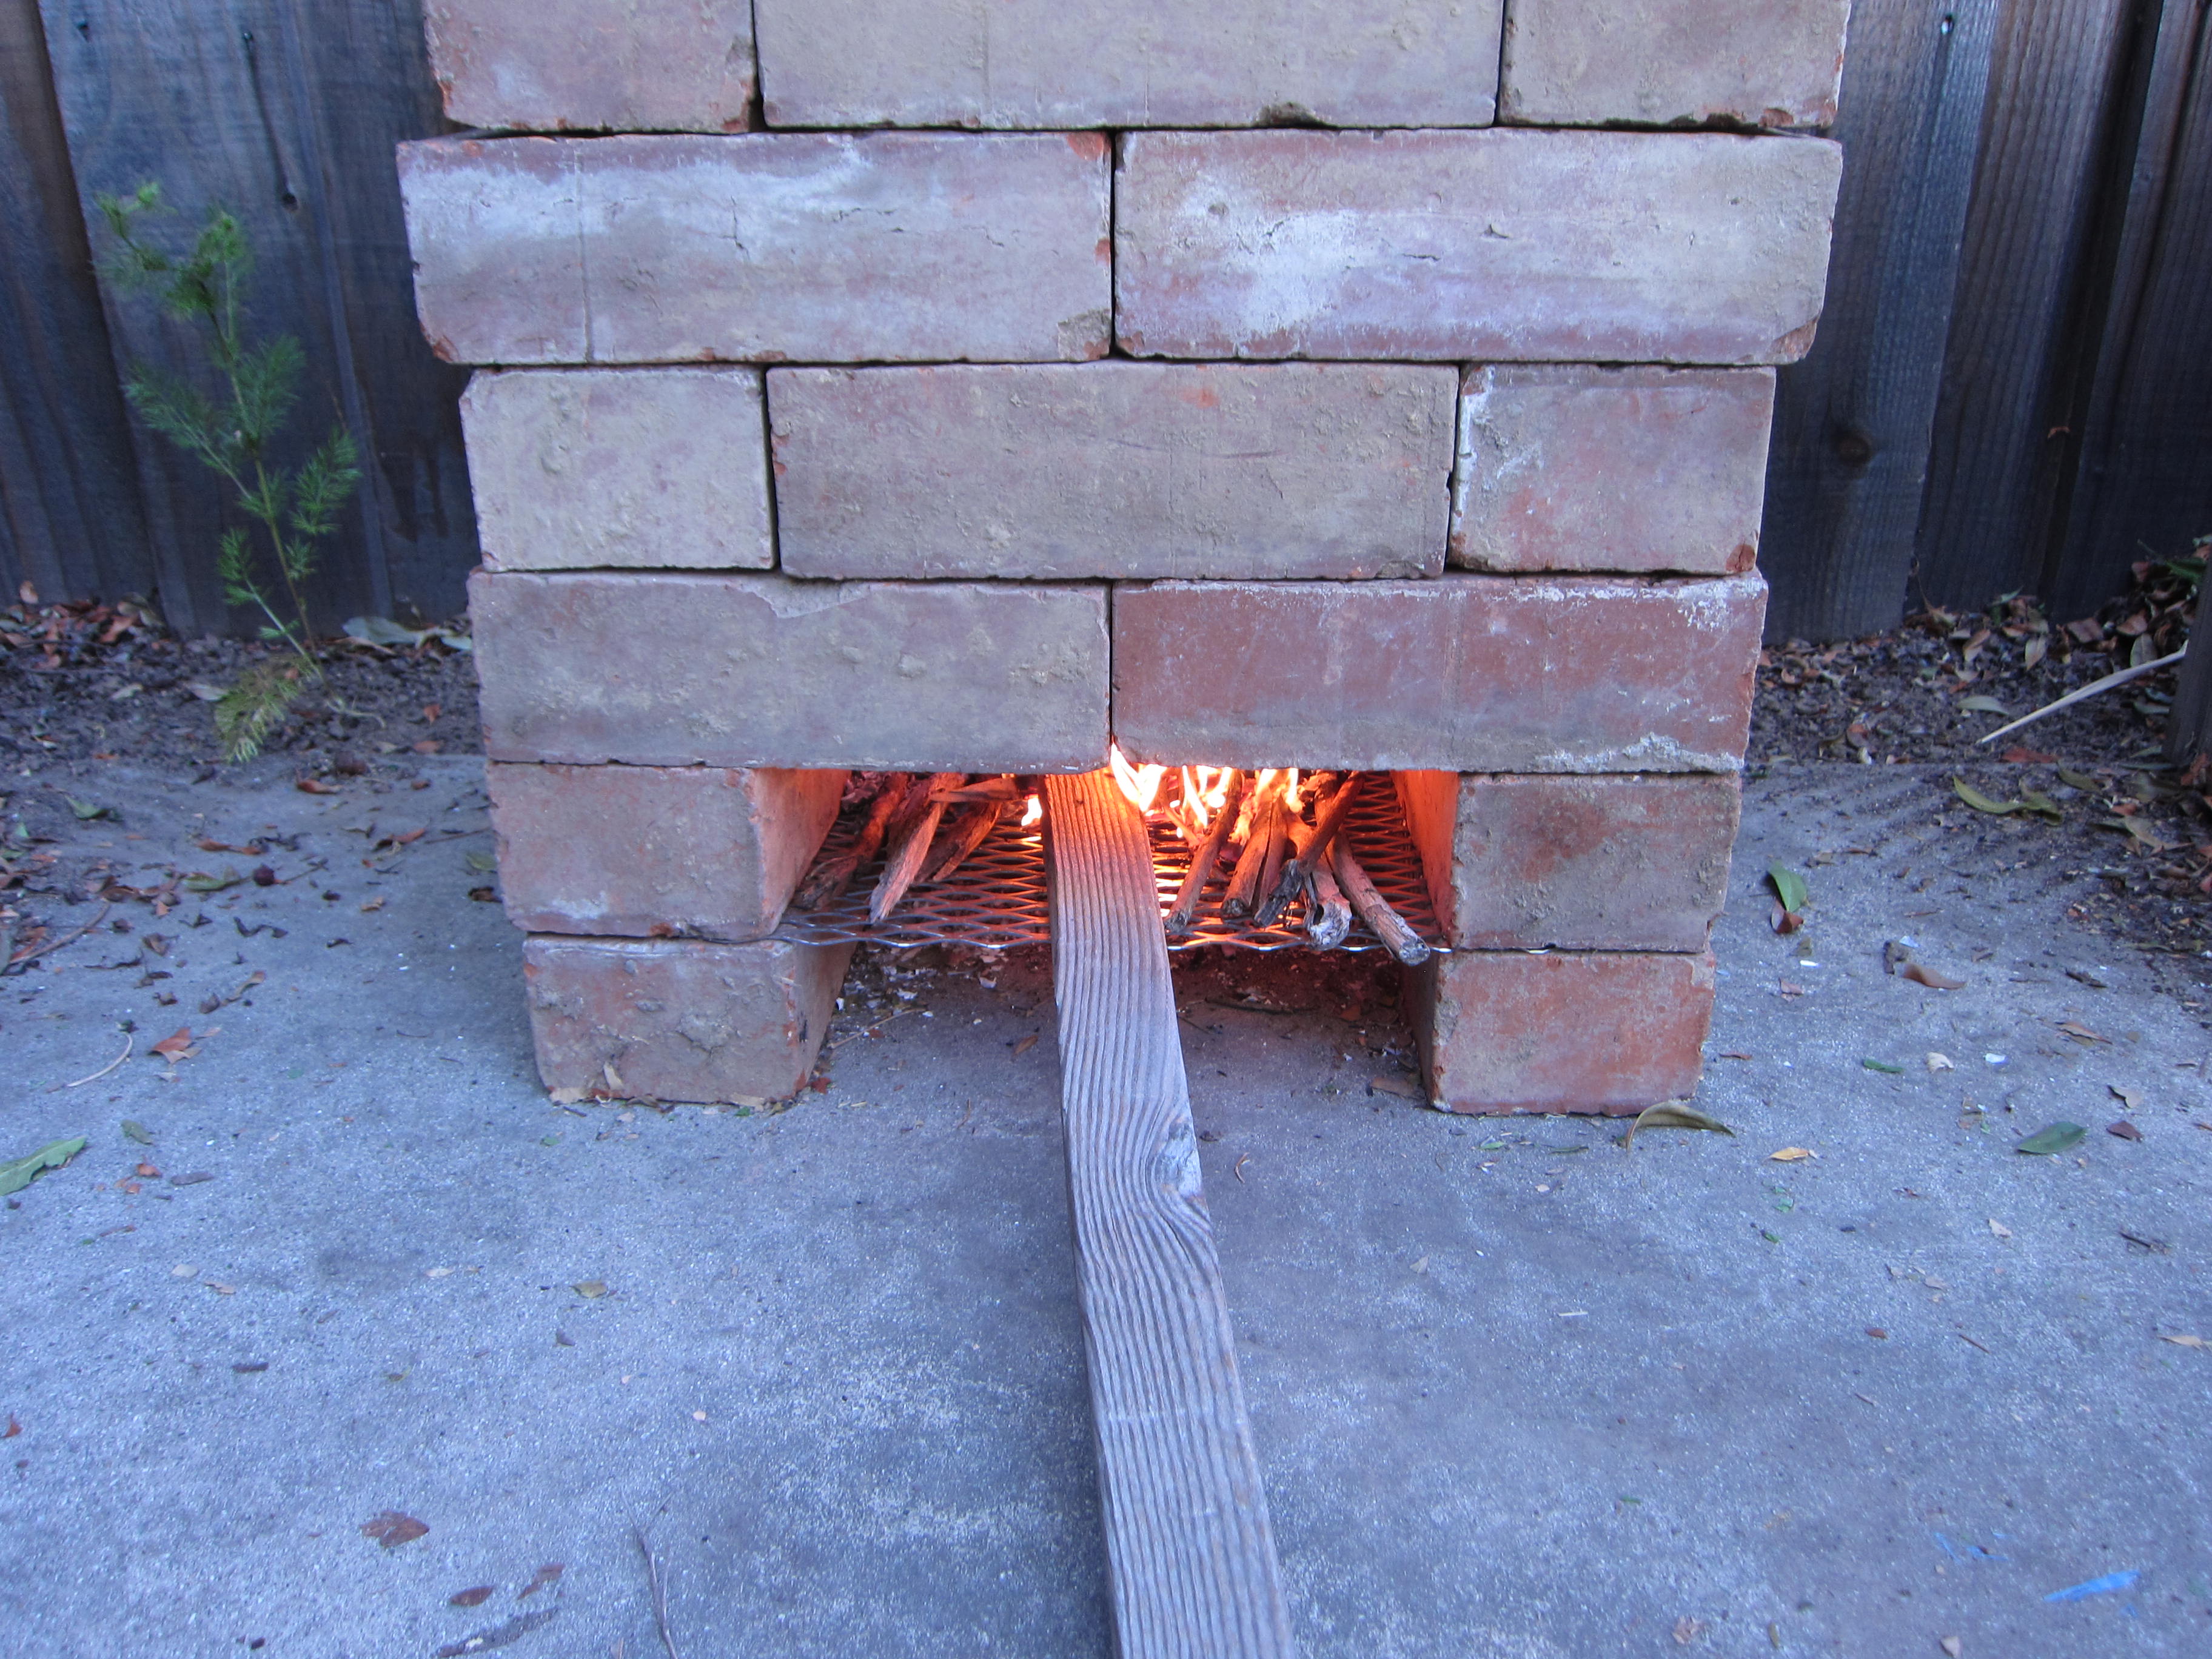
We made Artichoke and New Potato Packets with Pesto for a first time effort. Admittedly we didn’t use enough fuel to cook the potatoes all the way through (fire wasn’t quite hot enough), but next time we’ll use twice as many coals and twigs. A few minutes in the toaster oven finished off the process. As someone who has never owned a BBQ, this first dip into the grilling pool opened my eyes about the art of getting the coals just right. As with gardening, this is a learning process.
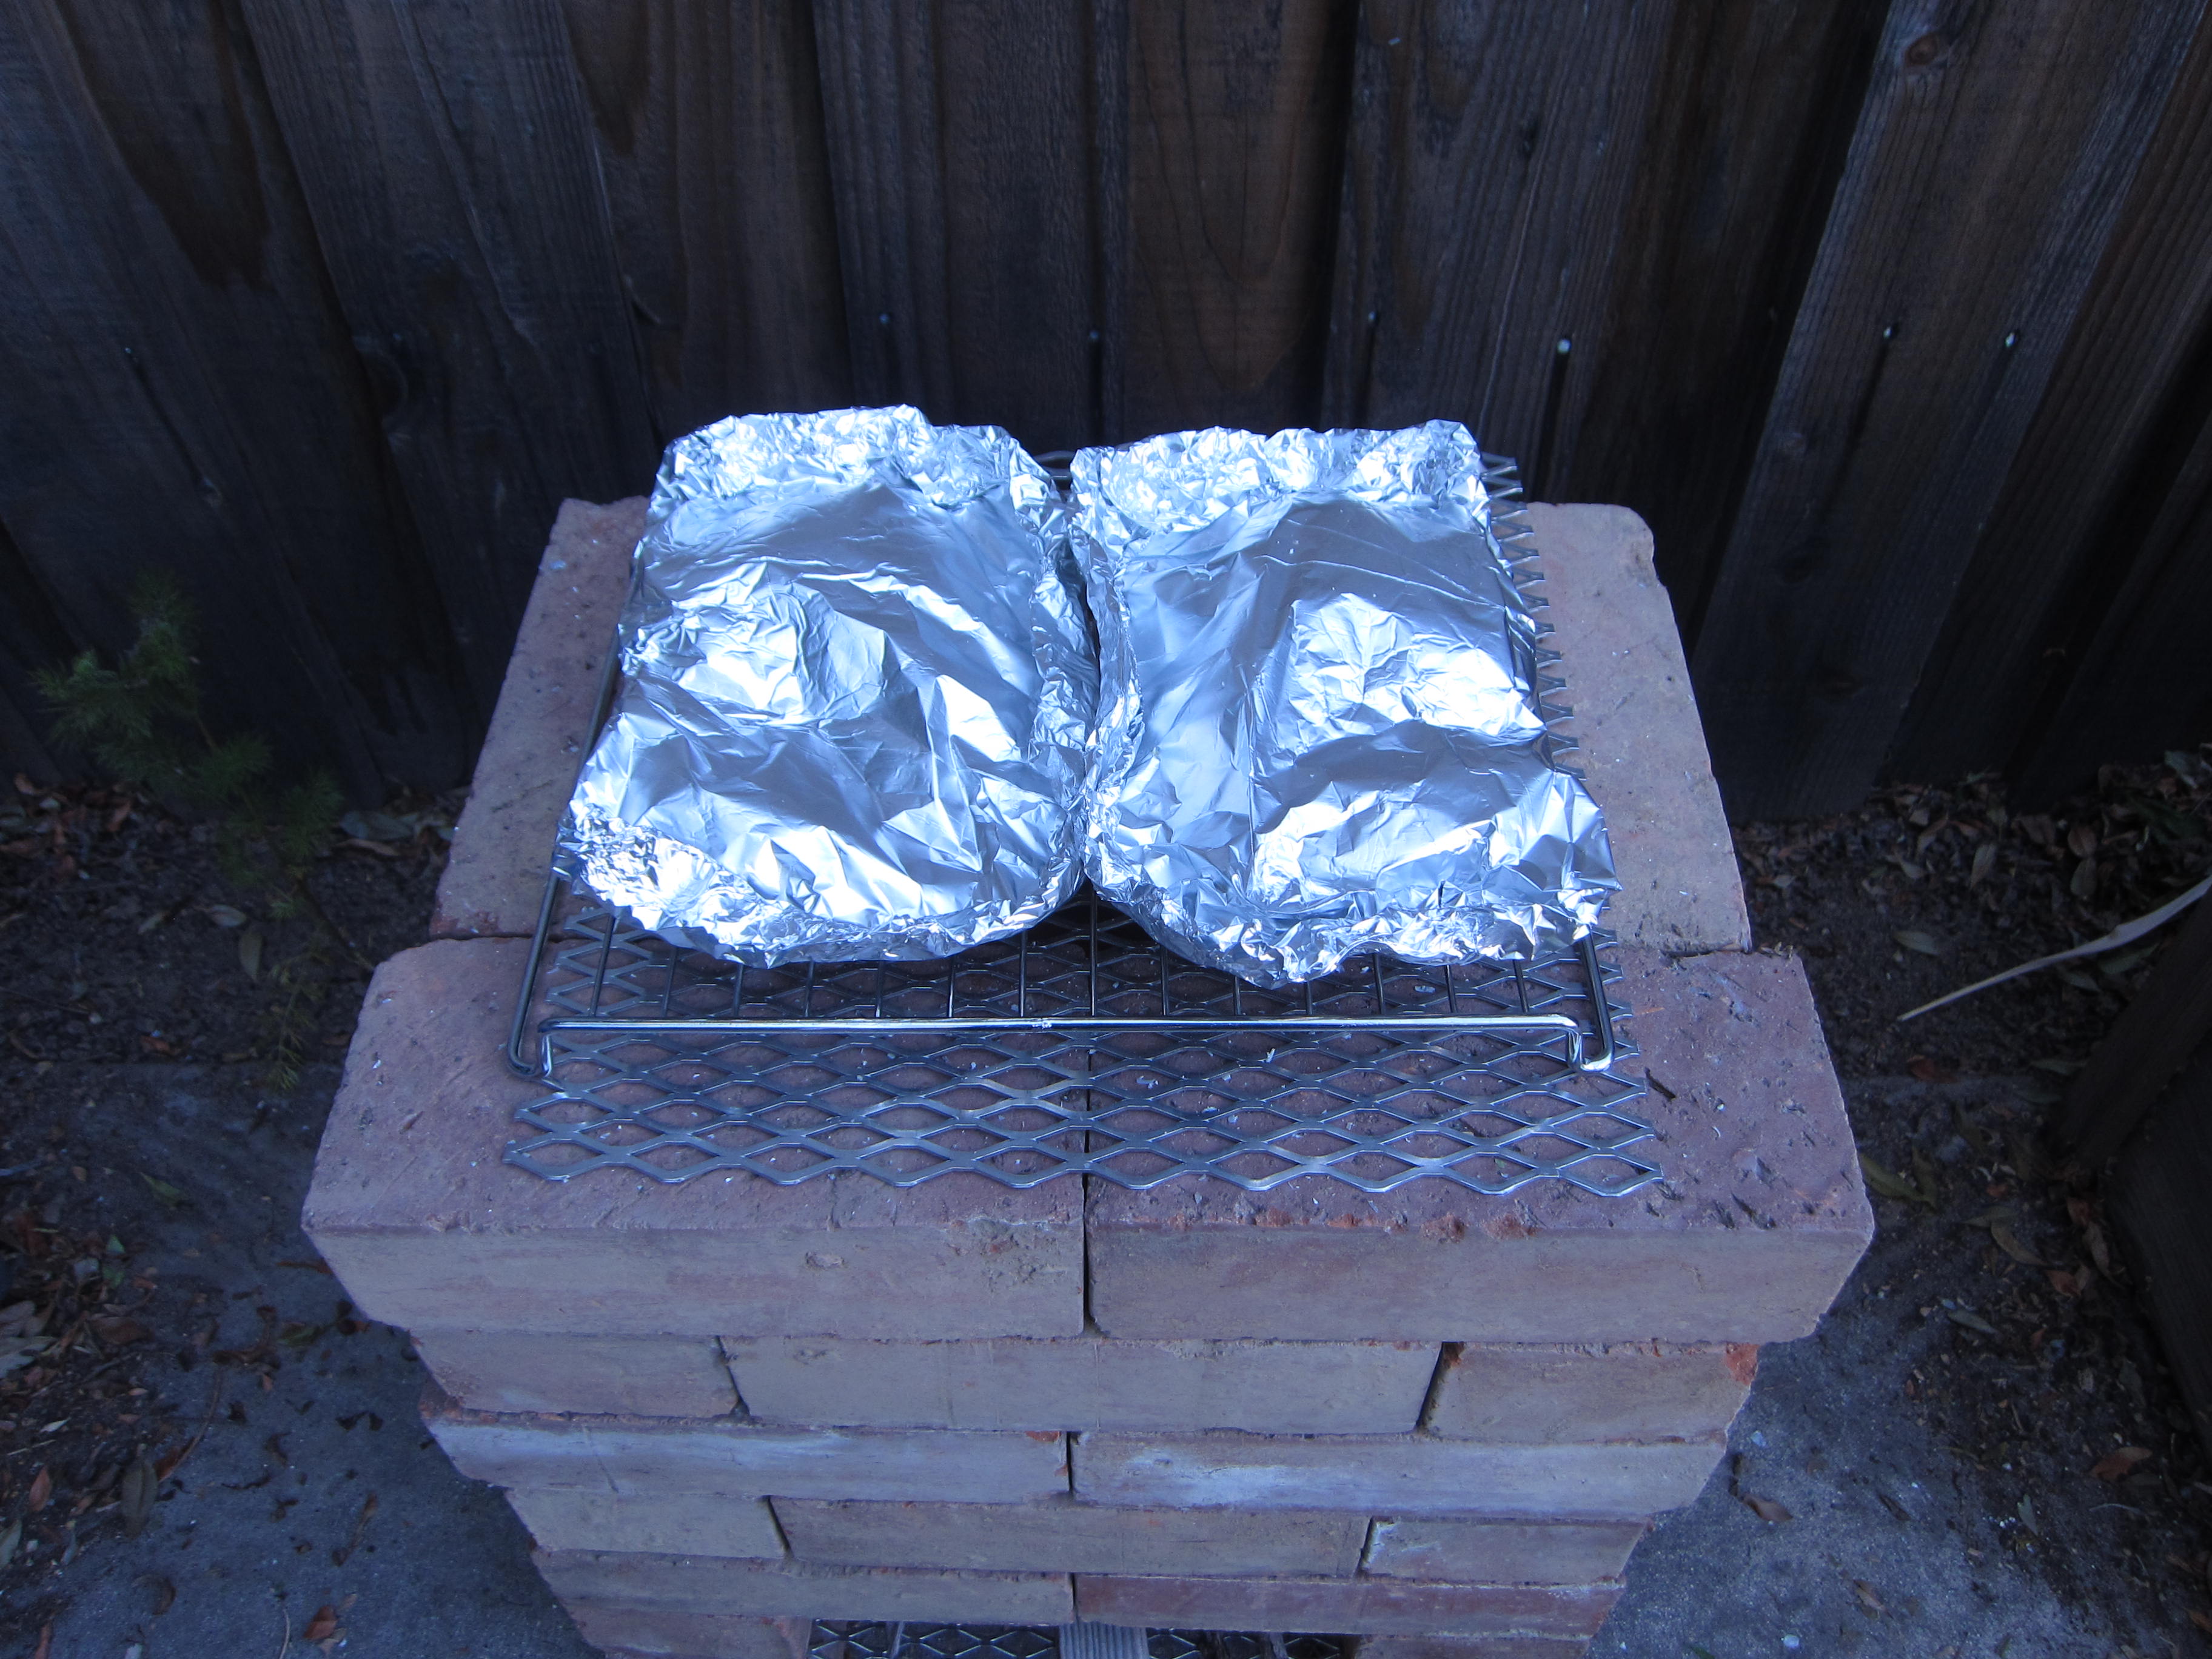
Think of a rocket stove as a burner. It’s not a full-sized barbecue, but it’s enough to cook a pot of stew or a few packets of veggies without heating up the kitchen on a hot day. This whole project cost $10 using free bricks on hand and an old toaster oven rack.
For the full set of instructions, visit Instructables.

Pingback: DIY Rocket Stove Plans for Good Cooking - DIYnCrafty
Pingback: 31 DIY Rocket Stove Plans - Susie Harris
can it be built on a balcony?
Yes, but you definitely need to take appropriate precautions for fire safety. For example, if your balcony is not made of concrete, you need to put something fireproof on the bottom. Low ceilings are also a concern, as flames and sparks can travel. Be careful and don’t leave it unattended.
I would not suggest having an open flame burning on any balcony, whatsoever…