A lot of new gardeners started their Coronavirus gardens in containers, so here’s a helpful video on how to set up basic drip irrigation for containers and small spaces. Drip irrigation is like LEGOs; you can make any system you want if you have all the parts.
We’ve been using drip irrigation for decades to keep pots watered year-round. It all started with a quick trip out of town, and the need for vacation watering. But the system has stayed in place ever since. Learn how to create your own system for under $100.
Basic Drip Irrigation for Container Gardens
Correction: In the video Christy states that you can lose 50-90% of water to evaporation. The stats are actually between 30-50% to evaporation. The 50-90% statistic includes runoff. Overhead watering can be very wasteful if not monitored for runoff and absorption rates. Drip is much more efficient and leads to very little runoff.
Resources
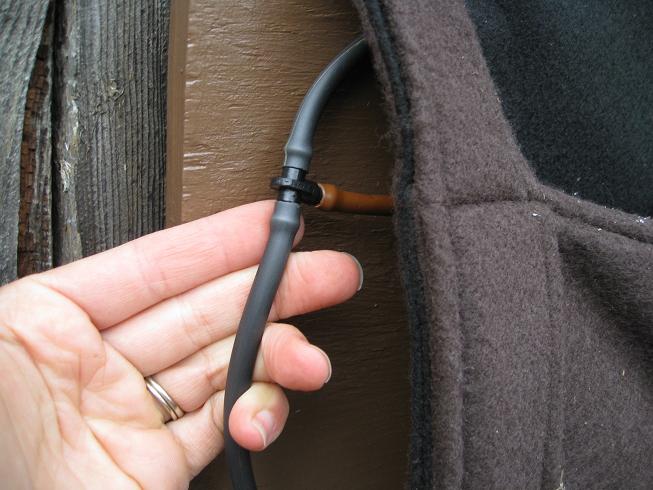
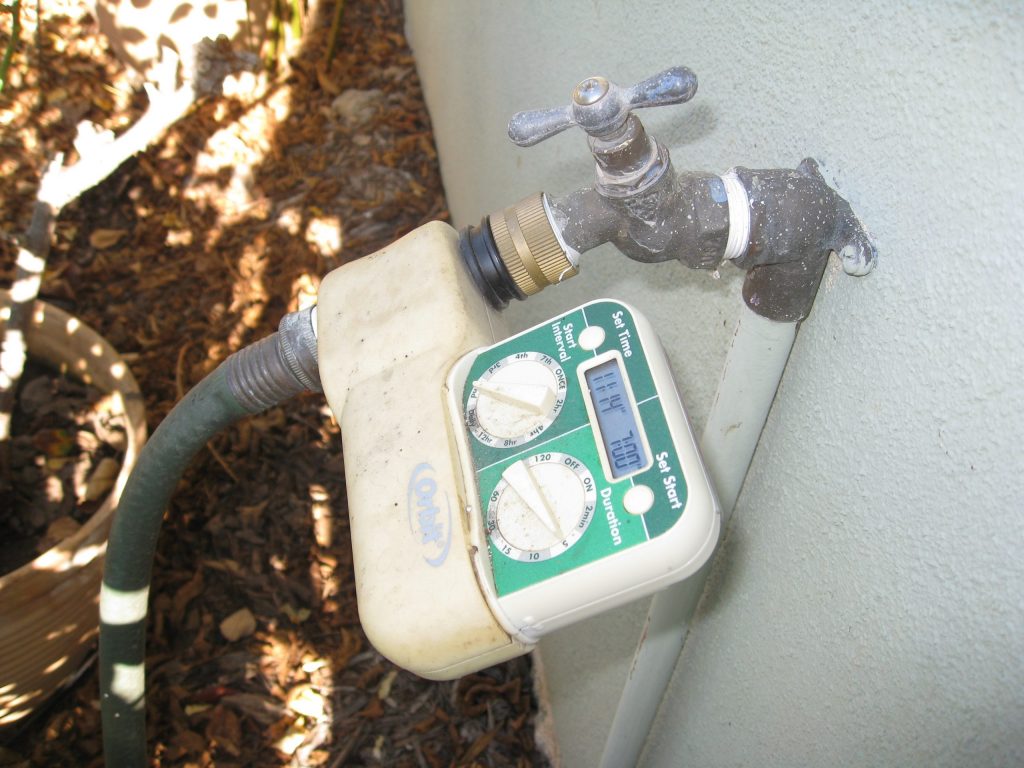
With the right tools, this project is easier. Find an irrigation supply store near you and support local businesses (we love Aquaflo in Southern California). Big box hardware stores May have what you need, but they often don’t carry 1/4″ tubing with 6″ emitters, which is the ideal size for small gardens (easy to coil through your garden without kinking up). You’ll need:
A battery operated timer, preferably with a display screen
1/2″ tubing to run behind the length of the container garden
End caps and adapters to fit
Plumbers tape
1/4″ barbed connectors or T-connectors (if using)
1/4″ tubing without emitters
1/4″ tubing with 6″ or 12″ emitters
A standard irrigation hole punch
Need a little more guidance? Read this blog post.
Read up on drip irrigation in Gardening for Geeks – find formulas for calculating PSI and more.
Save time, save water, and save money by installing a drip irrigation system for your garden. You will enjoy watching it work from your chair.
