Mark Rainville is back to finish his series on making bokashi (here’s Part 1 & 2, in case you missed it). In today’s post, find out how to use this great fertilizer/compost to grow a thriving garden. Back to you, Mark…
In the previous two posts we discussed the history behind bokashi, described a basic definition, and explained the process of mixing bokashi bran. In this post we will review how to use the fermentation bucket, layer your materials and harvest or extract the compost juices.
Using the bokashi bran with your food waste is a simple process. The variety of food scraps bokashi can process is more diverse than that of traditional composting. With a bokashi system you can process almost any food element, cooked or raw including limited amounts of meat and dairy. I have not experimented with adding meat, in our house what we make is usually gobbled up, but I have had no problem with adding cheese cuttings to our bucket.
Food scraps cut into small pieces (see the Second Step below)
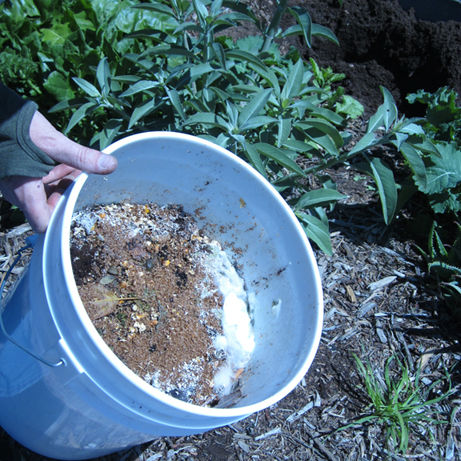
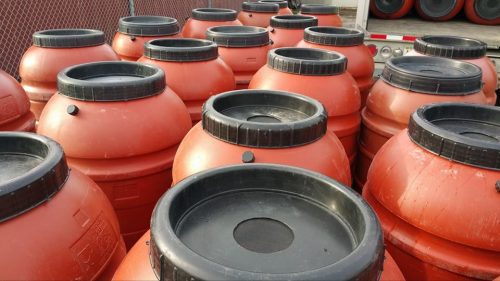
We currently use buckets without spigots, although we are looking into alternatives to begin using a spigot to harvest any fermentation juices that accumulate. If you have a standard bucket without a spigot you will need to cover the bottom of the bucket with a ½ – ¾ inch layer of bran to soak up any possible juices produced during the fermentation. A bucket with a spigot will need to have an elevated perforated tray to allow the liquid to accumulate for collection.
Let us start fermentation!
First, collect your organic material, I tend to collect our scraps for a couple of meals or one large meal before heading to the fermentation bucket. This affords enough material to create one or more layers while reducing the amount of time the bucket is open per day. As you may have experienced, if food scraps are uncovered for more than a few hours, the aerobic bacteria begin to decompose your material, which starts the rot and smell. To avoid this, keep your scraps in a tight lid container before bringing them to the fermentation bucket. Furthermore, food that has begun to smell will make for a stinkier bucket. The fresher the scraps, the less odor produced in the bucket. We have experienced both: buckets with some odor, but mostly buckets with virtually no odor.
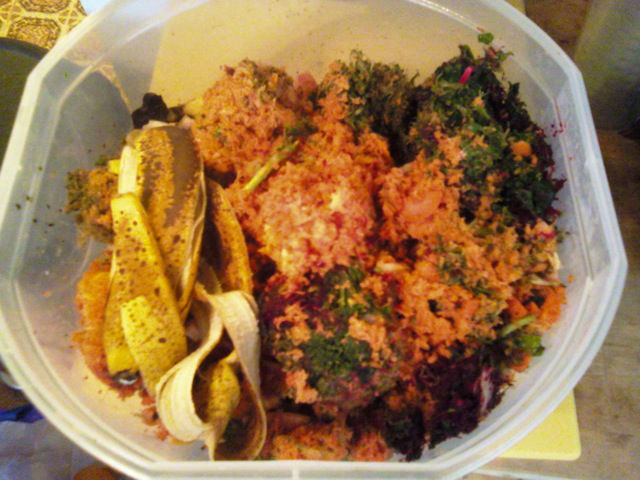
Collected food scraps before chopping
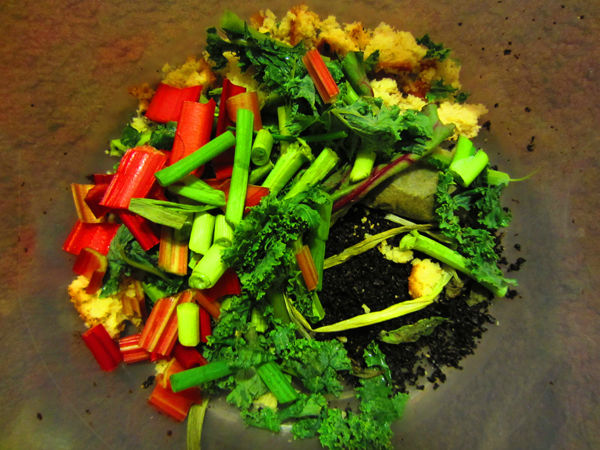
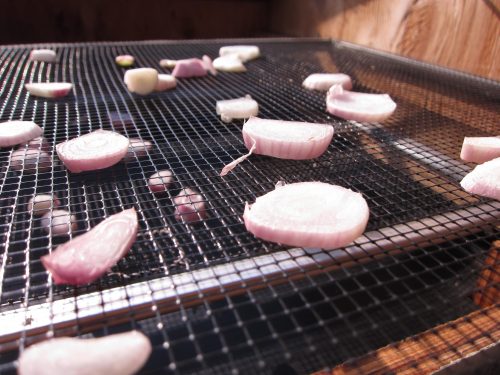
Second, cut up your scraps into relatively small pieces (the smaller the pieces the more total surface area for microorganisms to grow and culture). Layer an inch of food scraps in the bucket and sprinkle or lightly broadcast the bokashi bran over your food scraps. Repeat this process until you no longer have any scraps. Once you have completed the layering, compress the material to push out as much air from below. Compressing the material also helps make better contact between scraps and bran to facilitate microbial transition from bran to food. Once the mixture is compressed and covered with either wax paper, a plate or some other weighted object, close the bucket and let the microorganisms get to work. The use of wax paper or a plate is an inexpensive way to keep the top layer away from air as much as possible.
Food scraps layered with bokashi bran
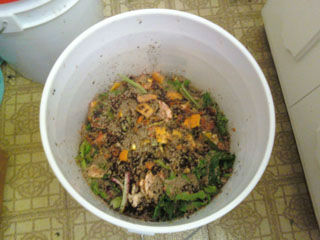
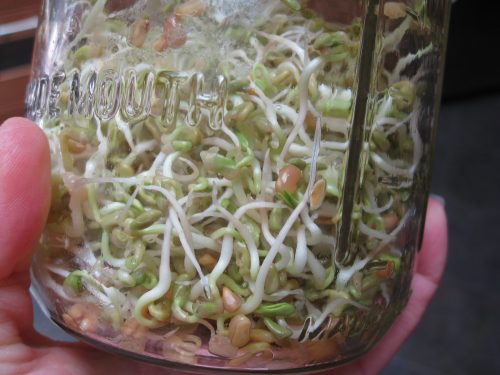
Third, put aside the filled bucket for a minimum of 10 to 14 days, and longer if you want the scraps to break down even further. During this time you may want to check the bucket and burp out any built up gas if the lid looks expanded. Once two weeks have passed, the material in the bucket is ready for the second phase where native soil microorganisms begin the aerobic processes of decomposition. Dig a trench or shallow hole in your garden a little larger than the volume of the bucket, dump the bucket in the trench. Then mix some of the native soil with the fermented scraps and bury the mixture under four to six inches of soil. This stimulates the microorganisms (local and bucket), which invigorates the soil food web.
Finished bokashi ready to be buried in the garden
Fourth, water the area of the trench and wait a minimum of two weeks. The moisture will keep the microorganism’s functioning and awake. After two weeks you can plant directly into the food-scraps-turned-soil in the trench. The soil at the trench location becomes more alive than soil with chemical fertilizers and better than the average store bought soil. Eventually you will not need to add any fertilizer to your garden at all.
Why bokashi?
Your fermented waste can save you money on disposal fees, and you won’t have to buy fertilizers and bagged soil. A single small household can create around 800-1,000 pounds per year of nutrient and microorganism-rich soil teeming with life.
But Wait, There’s More!
With greater amounts of water-based organic matter input, there will be more liquid at the bottom of the bokashi bucket. The liquid is high in nutrients and is often called compost tea or liquid gold. Some fermentation buckets come with a perforated disc providing a liquid reservoir with a spigot at the bottom to drain the precious fluid. This super potent liquid should be mixed 10:1 water to tea and then it can be used as a fertilizer or sprayed on the leaves as a foliant. One thing to remember when harvesting the juices: they need to be drained frequently or else it will start to go bad and smell. The same goes for the tea mixture; use the mix quickly for best results.
To recap, collect organic material (waste food scraps, cooked or prep scraps), mix with inoculated bran, ferment in an air tight bucket (with or without a spigot), mix your native soil with the fermented scraps, and bury under four to six inches of soil.
Whether or not your fermented compost is kept strictly organic or more anything goes, what matters is returning the wasted nutrients back to the soil with added beneficial microorganisms while keeping this valuable material out of landfills.
Thank you for reading,
-Mark Rainville
mobokashi
Email: mobokashi@gmail.com
Twitter: twitter.com/MoBokashi
YouTube:https://www.youtube.com/watch?v=f4jqDrQfkHs
Pingback: Gardenerd: Do you Bokashi? Part-2
Contact Mark at any of the contacts listed above. He’s going to be able to hook you up soon if not now.
This is something new for me! I think you should sell it or sell kits. Thanks!
Your site is very inspirational, as I am planning a small business with an environmentally friendly theme. I enjoyed reading your posts and plan to stay tuned in for more great info- thanks!