This one is especially for anyone out there who thinks we’re perfect here at Gardenerd. Hang on to your hats, it’s gonna be great.
Years ago, when traveling to Italy, we picked up this great cookbook from a vegetarian farm hotel in Umbria.
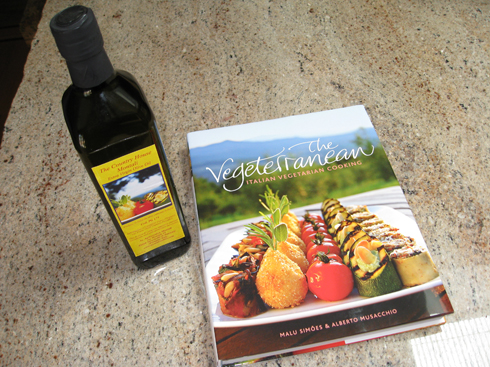
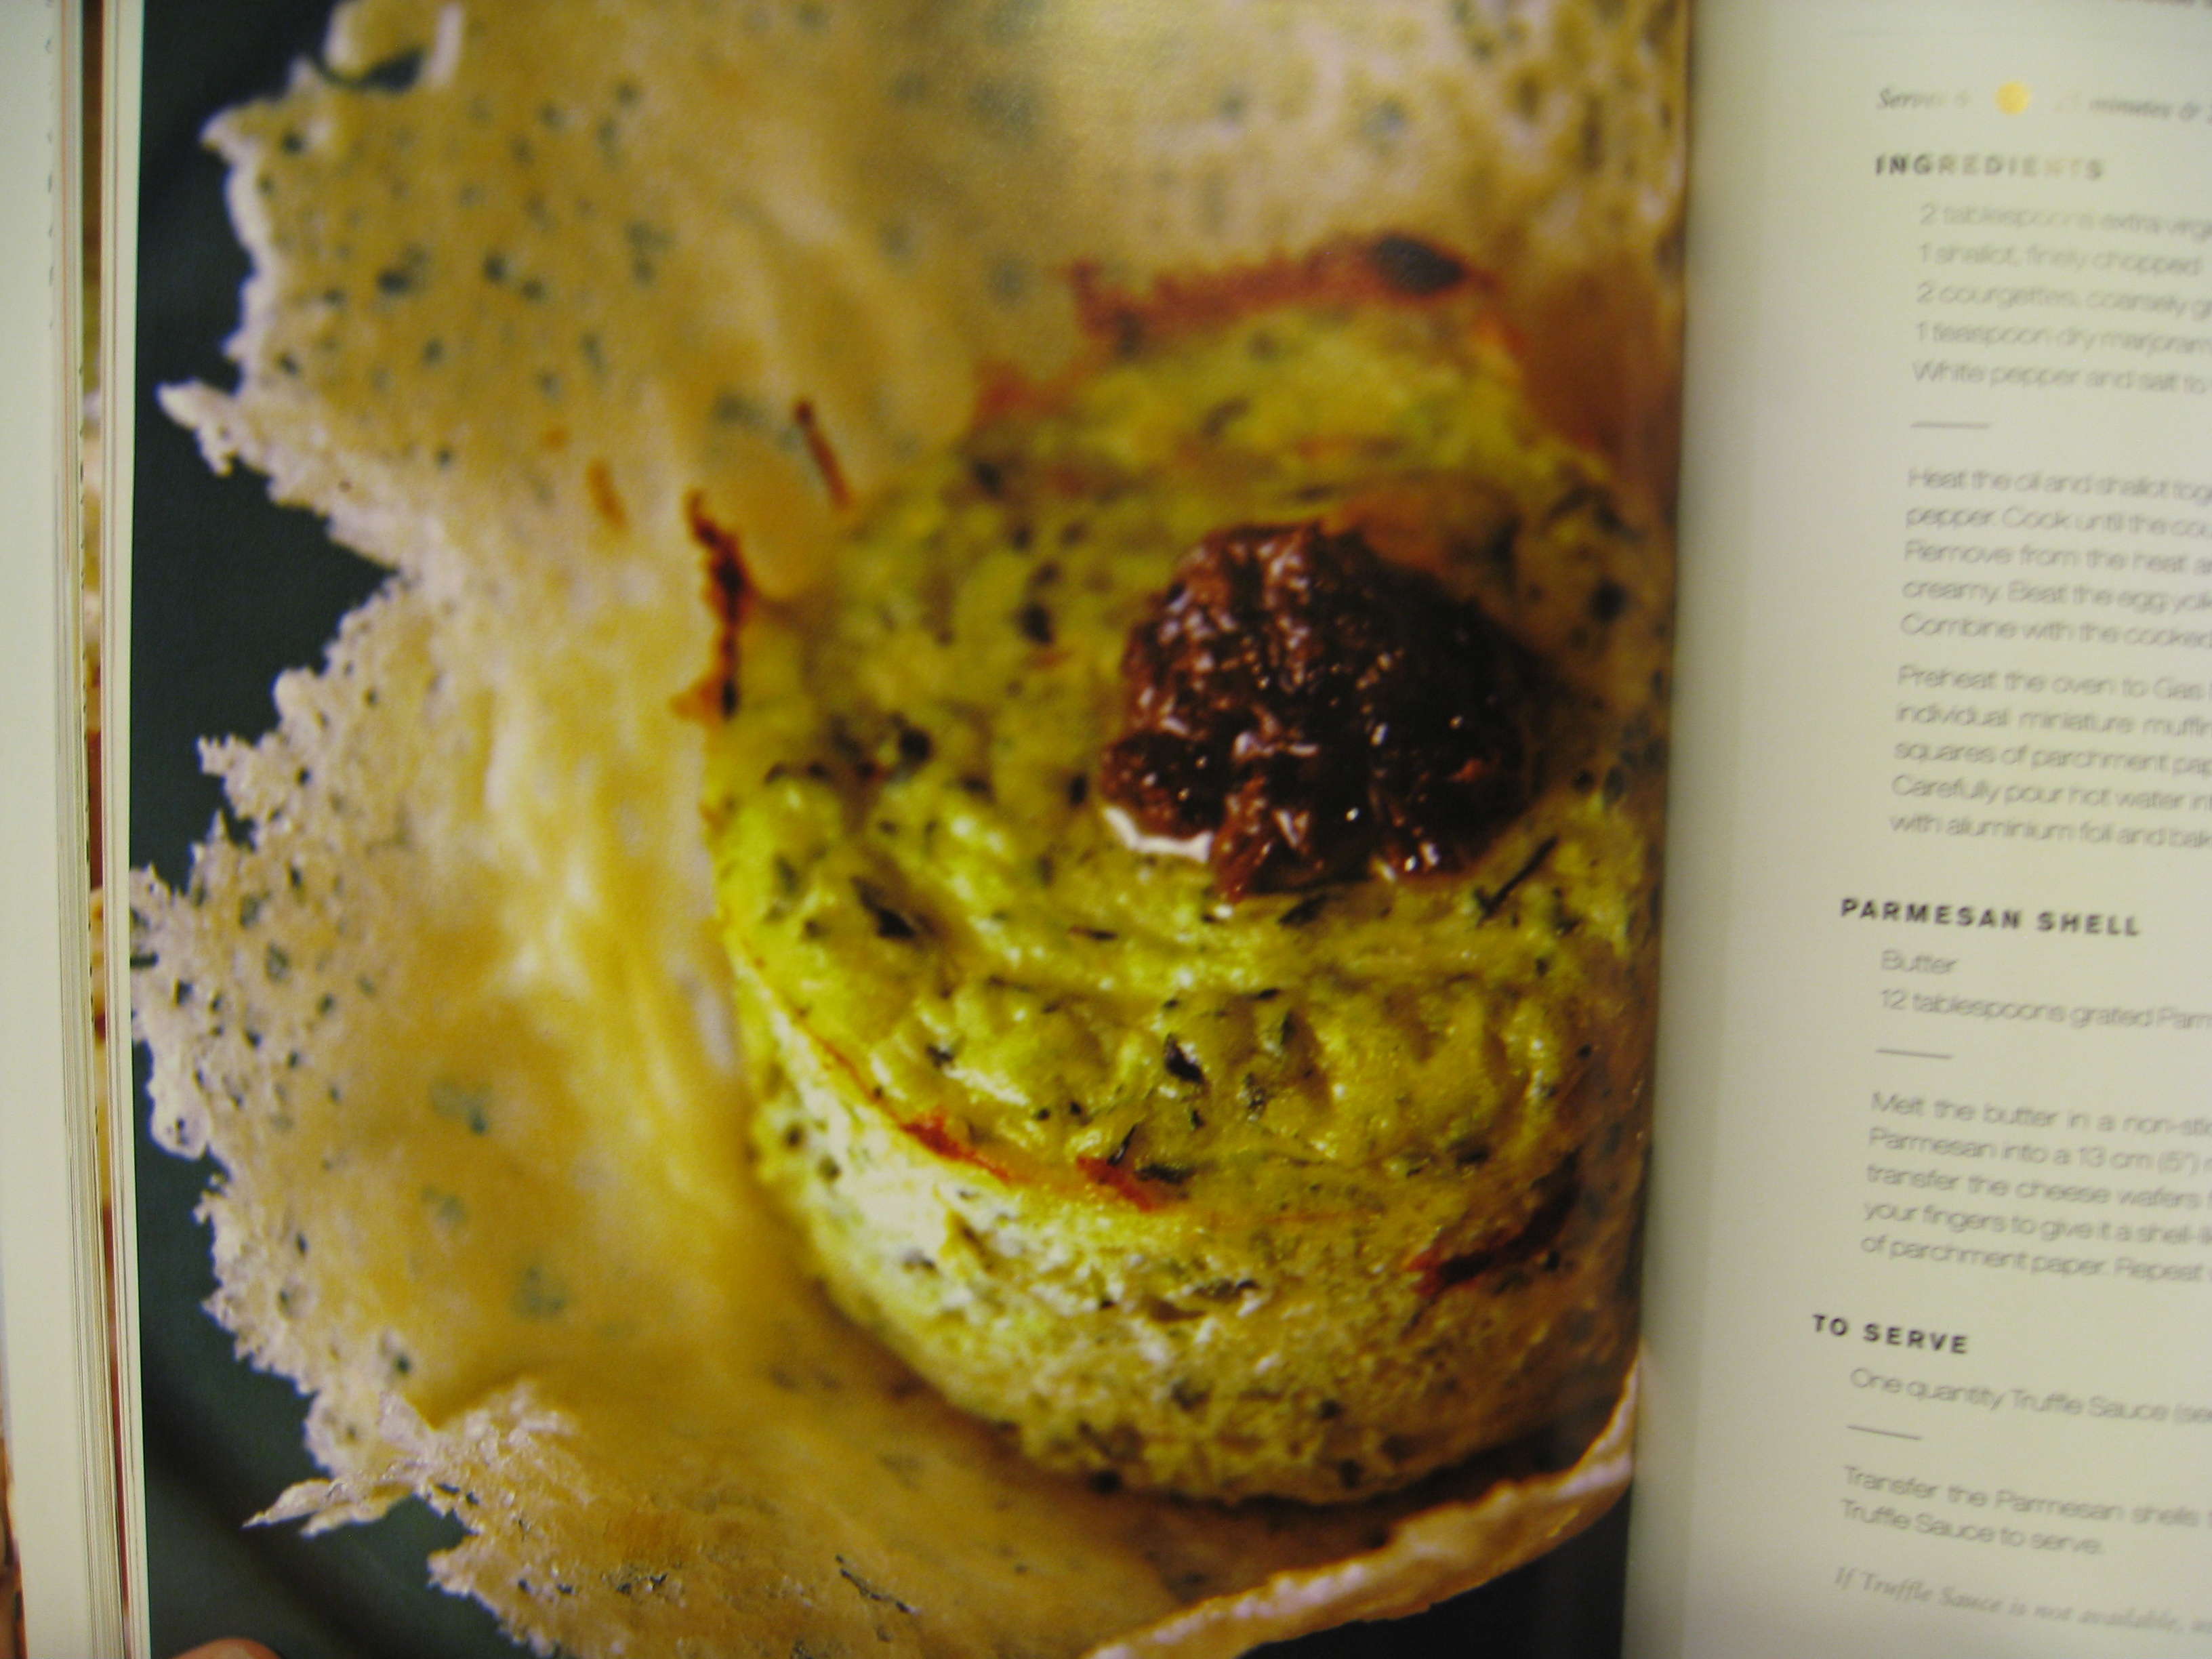
We bought it mainly for one recipe: the sformatini di zucchine, a “soft creamy ricotta cheese and courgette flan with a hint of marjoram.” It came to us in a cup/dish made from Pamagiano Reggiano cheese that looked so impressive. We were set on making this ourselves. Here’s what it looked like on the plate at the hotel:

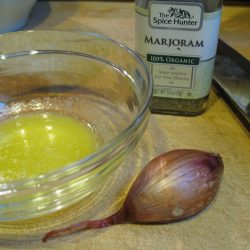
Fast forward 3 years, and finally having the gumption to try it at home. Our ingredients:
For the flan:
2 tablespoons extra virgin olive oil
1 Shallot, finely chopped
2 courgettes (zucchini), coarsely grated
1 teaspoon dry marjoram
White pepper and salt to taste
100 g (3 1/2 oz) ricotta
1 tablespoon grated Parmesan
1 egg & 2 egg whites, beaten together
For the Parmesan shell:
Butter
12 tablespoons grated Parmesan cheese
How to:
Preheat over to 350°.
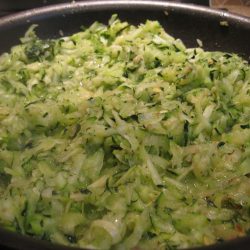
Saute the shallot in oil for about 30 seconds, then add shredded zucchini, marjoram and white pepper. Cook the mixture until the zucchini are soft and dry, stirring occasionally for about 15 minutes. Set aside and cool.
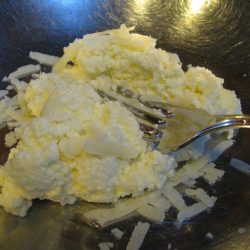
In a bowl, mix together the ricotta & cheese until blended (use a fork as in photo above). Mix in eggs to combine, then add zucchini mixture and season to taste.
Sounds easy so far, right? It is. Let’s continue…
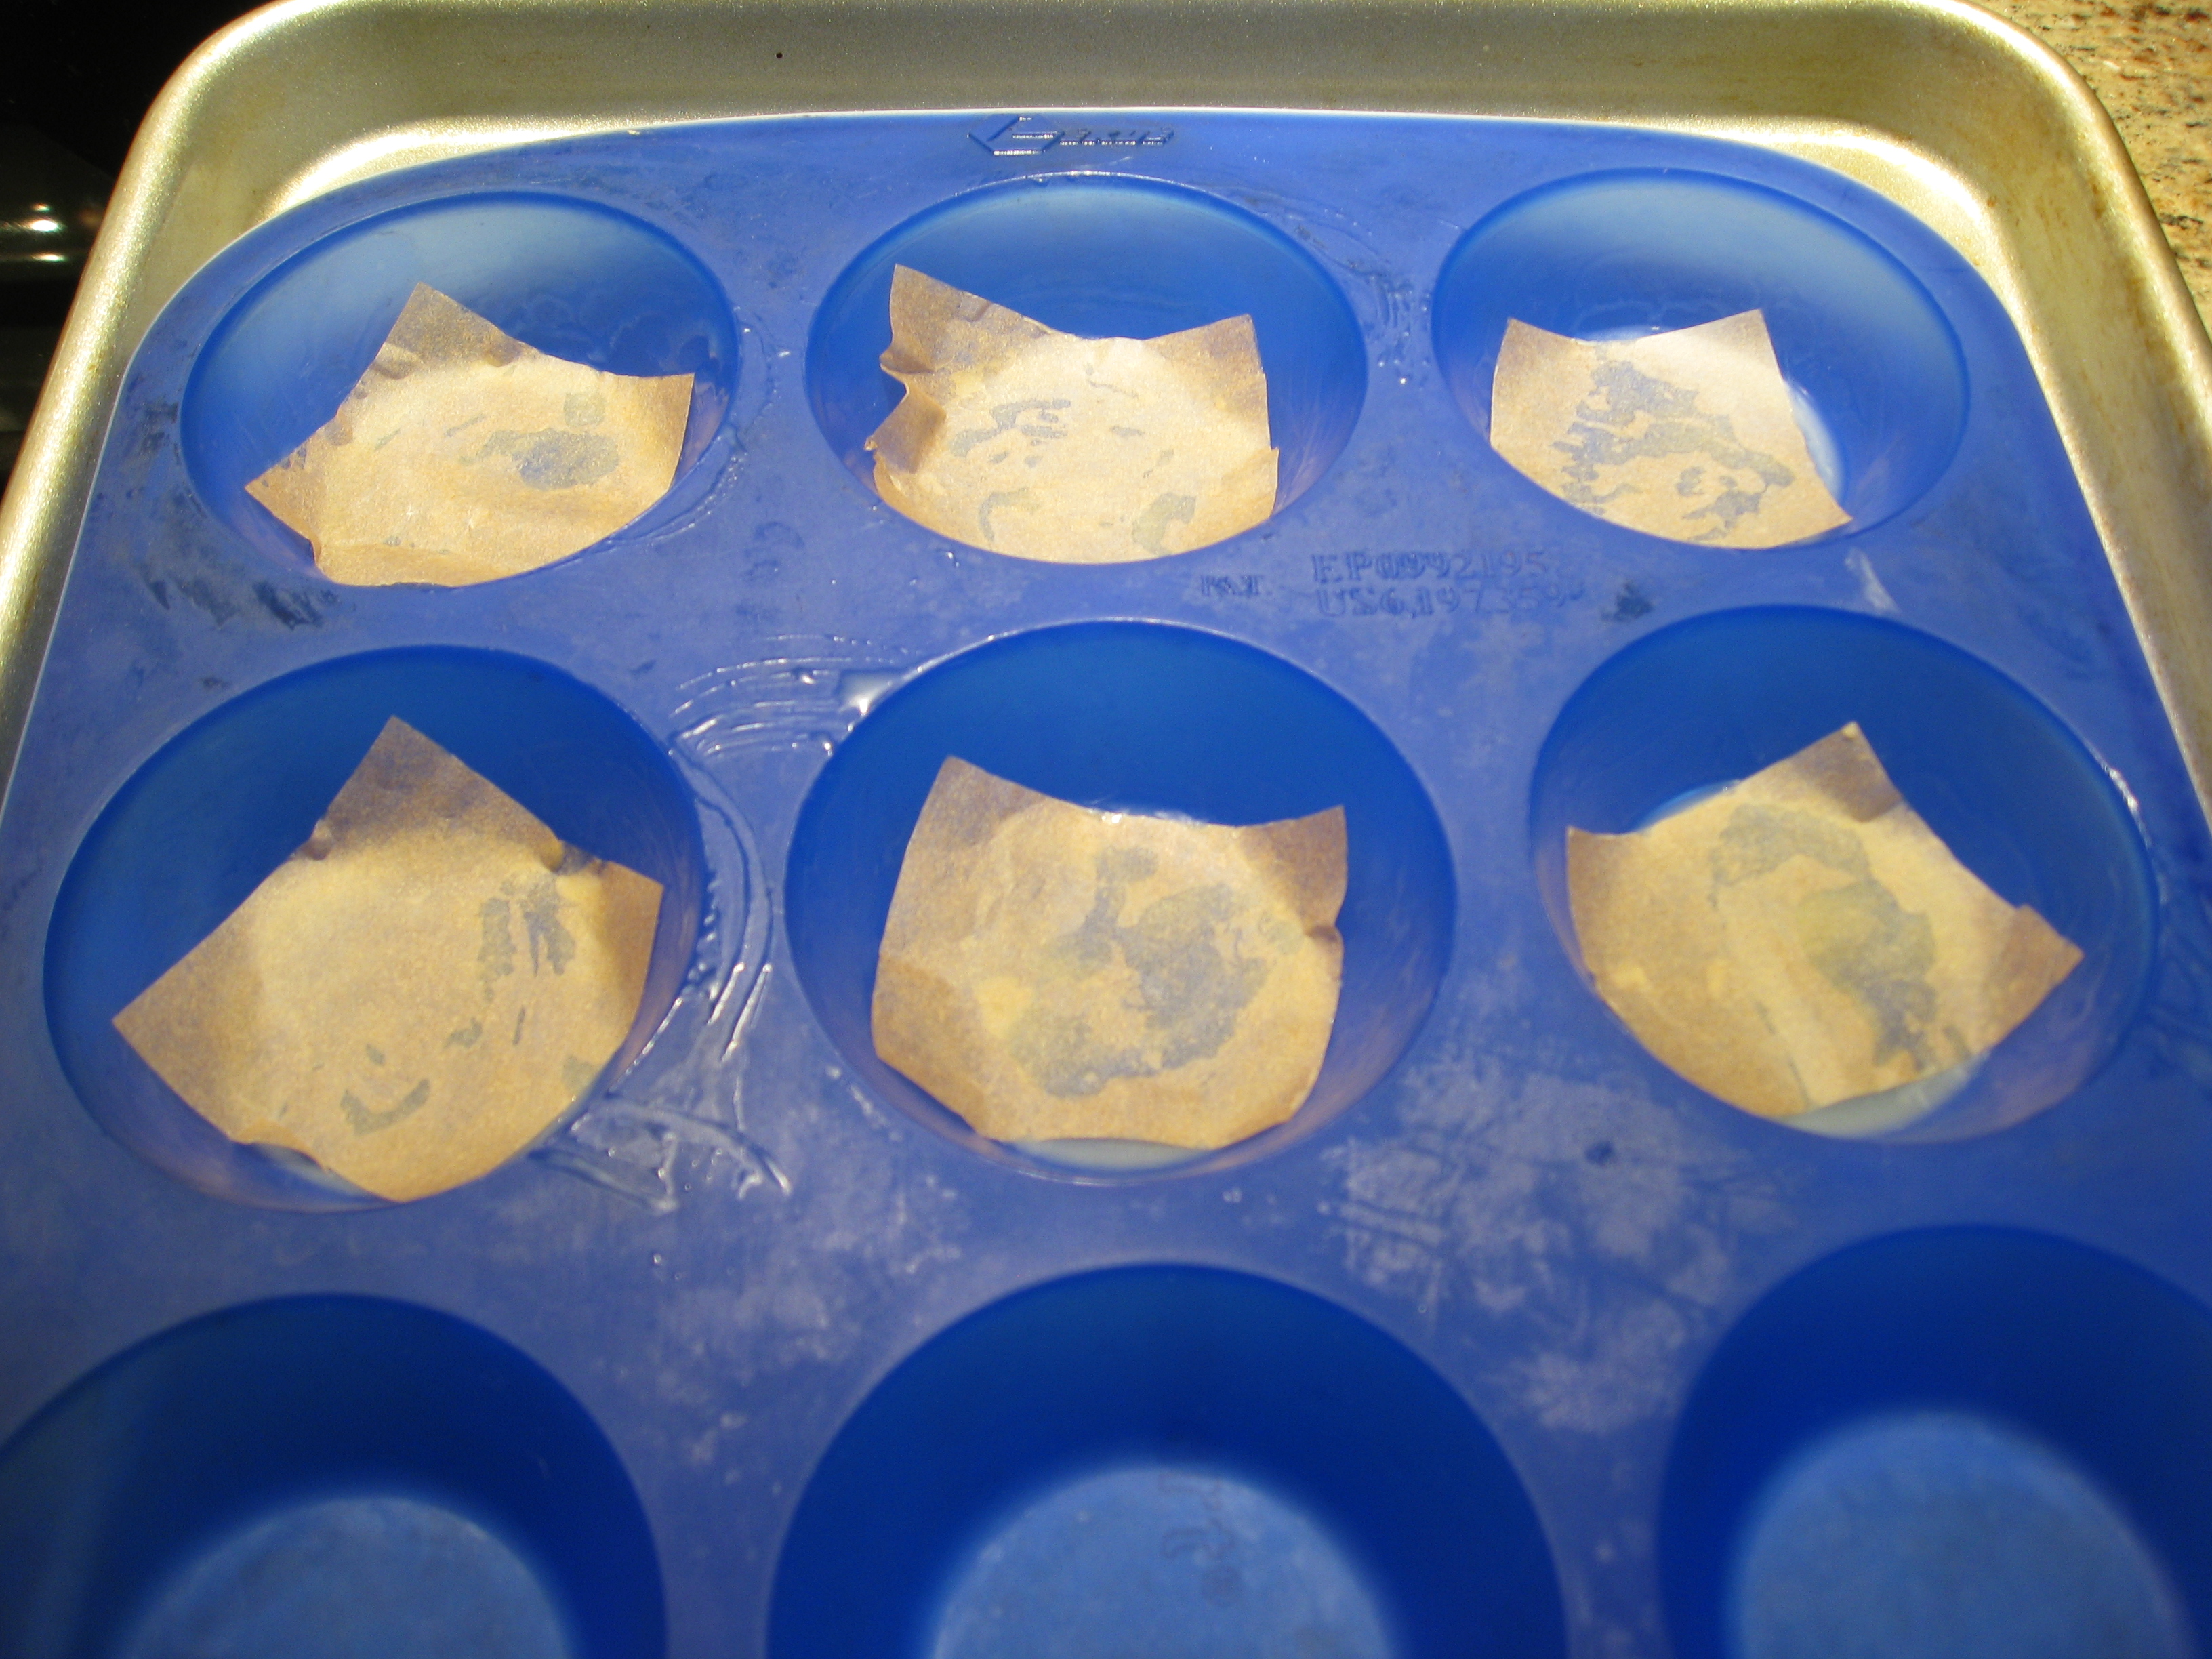
Butter 6 mini muffin tins and line the bottom with a piece of parchment paper. Divvy up the mixture between the tins. Note, the tins are placed on a baking sheet with sides. You’ll need this to create a water bath for cooking the flan.
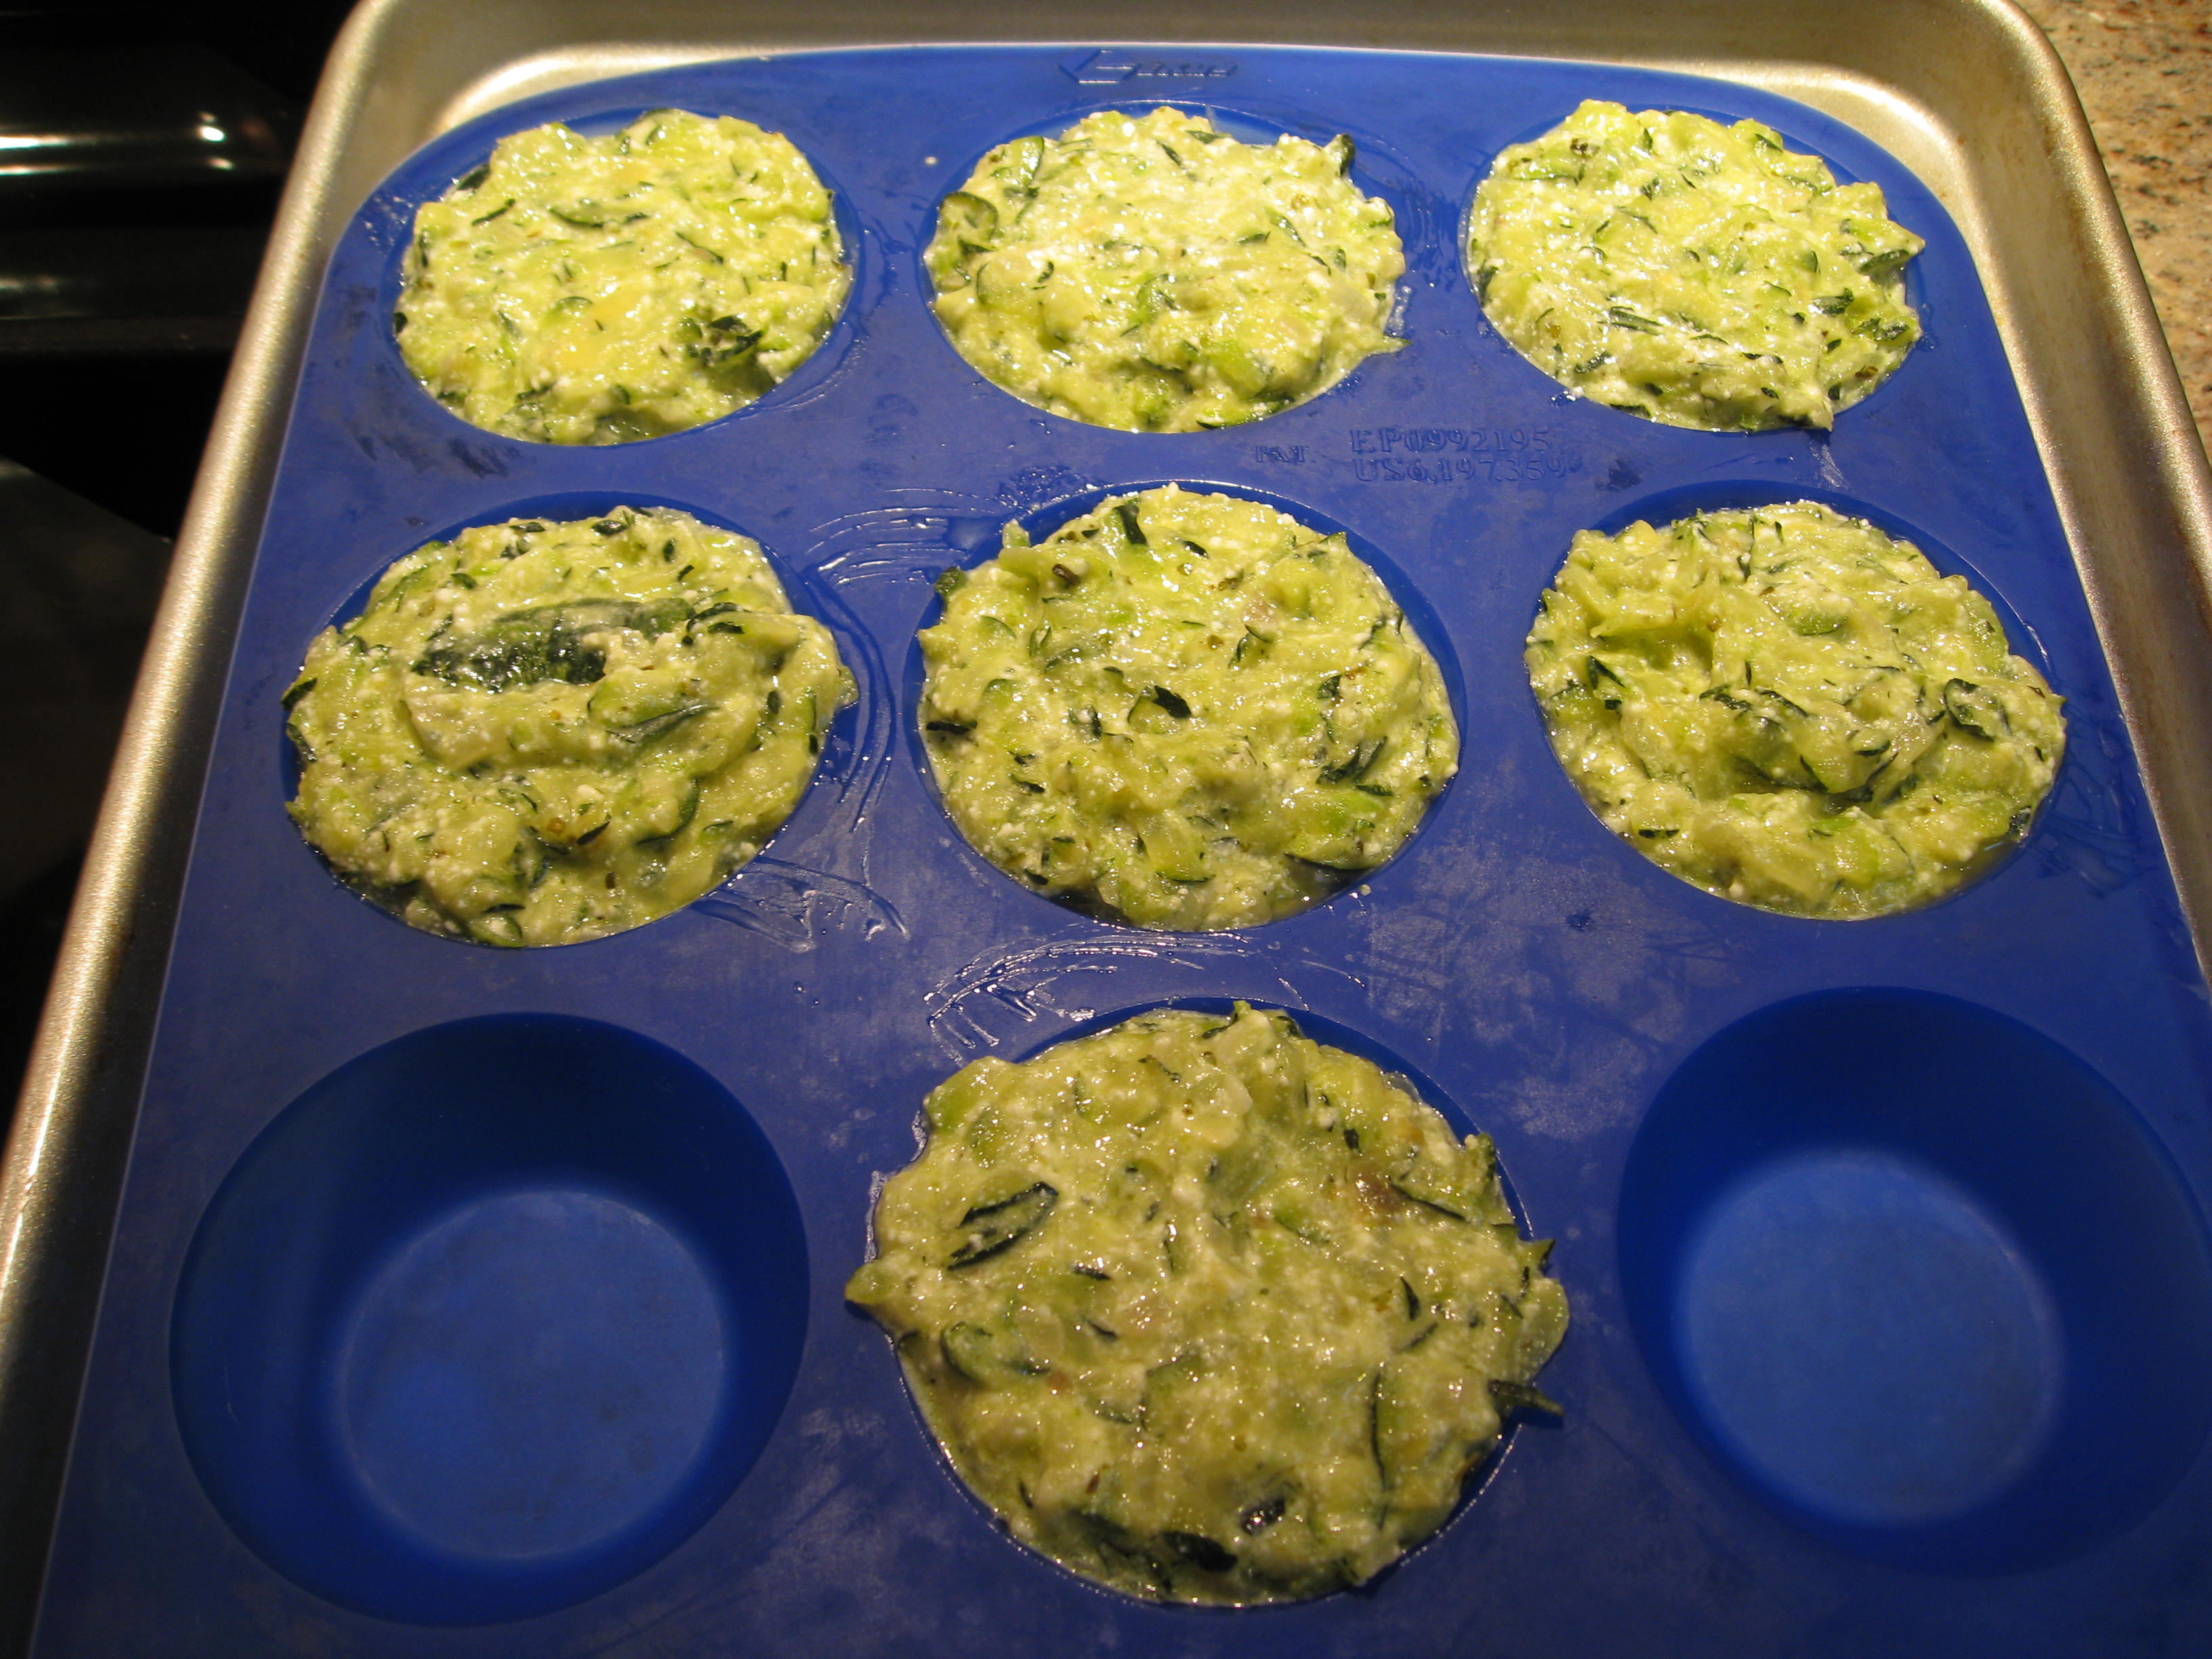
Pour boiling water in the baking pan (under the muffin tin) halfway up the side. Cover the whole thing with foil and bake for 20 minutes. Okay, here’s where things started to go wrong.
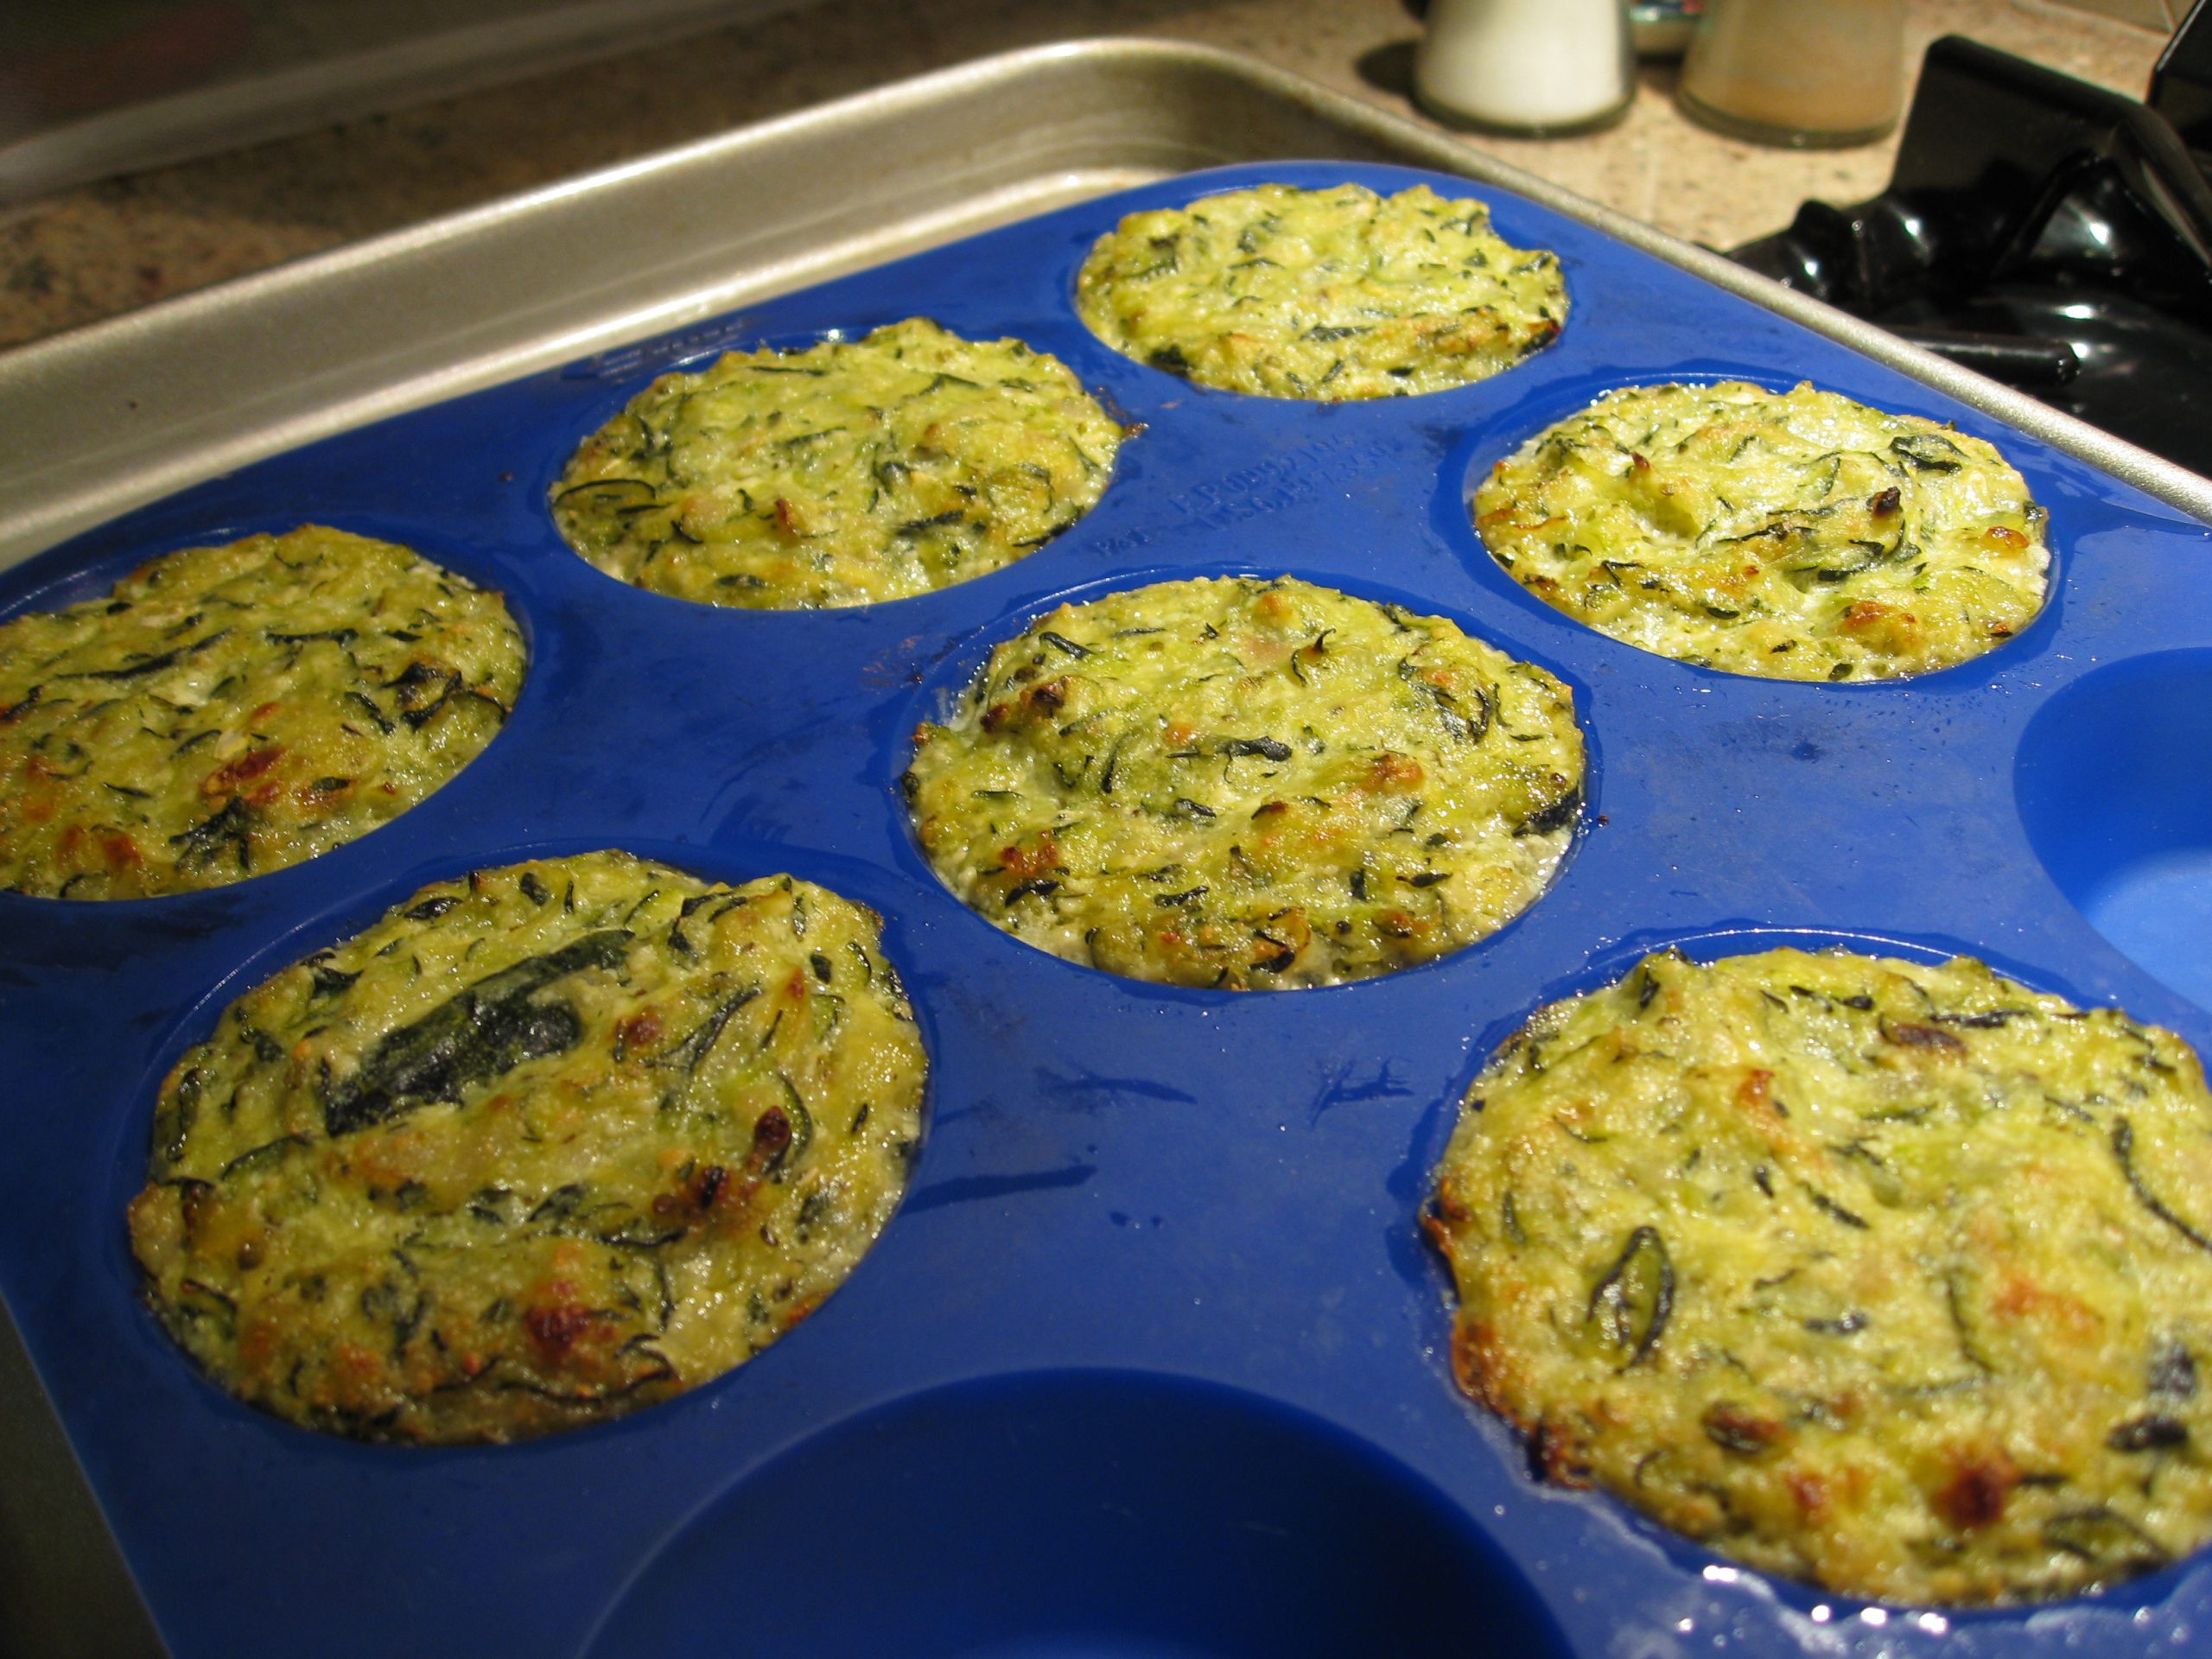
Notes: Do not attempt to make this dish with egg replacer. We did that. It doesn’t cook. We had to take the foil off after 20 minutes and bake it open-air for another 10-15 to get it to even start to turn brown on top. The result was pretty soft. This would not have happened if we had used actual eggs.
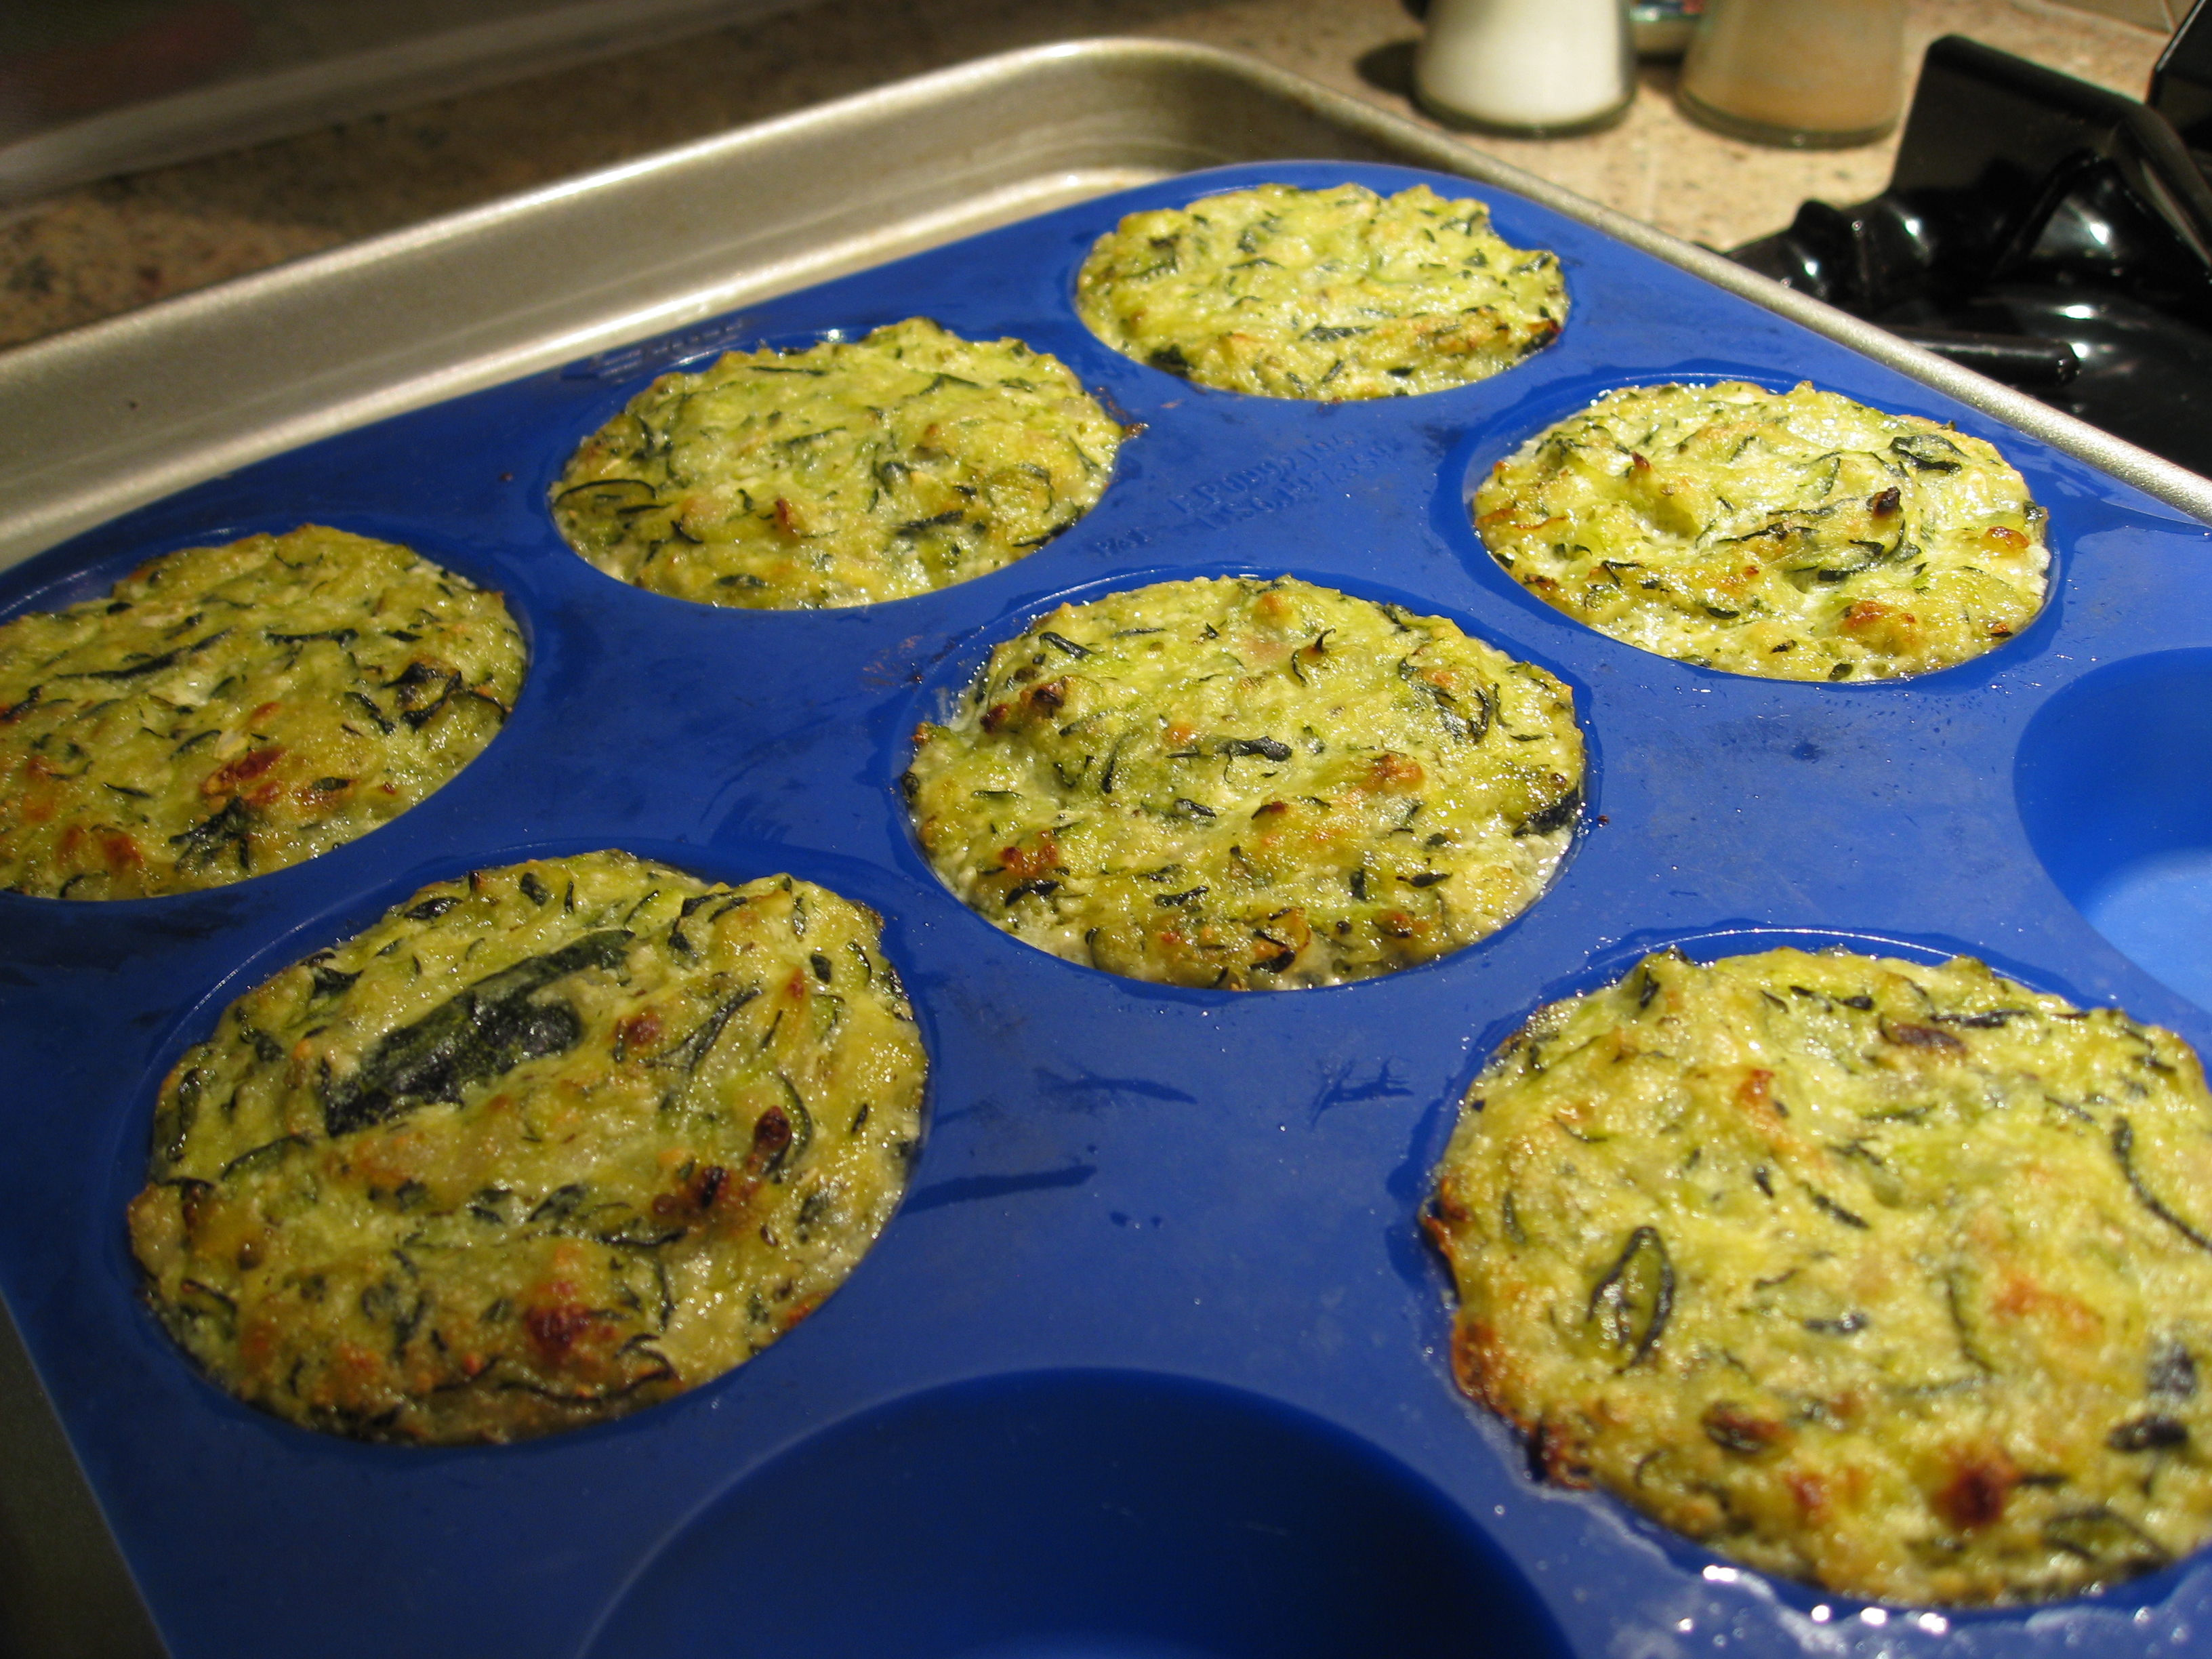
That was hurdle #1. Let’s move on…
While your flan is baking, make the Parmesan shells. This is clearly where we, as home cooks, fell off the wagon and were dragged behind it in the dust of professionals. The instructions say to melt butter in a non-stick pan over medium-high heat. Sprinkle 2 Tbs. grated cheese into a 5″ round on the pan.
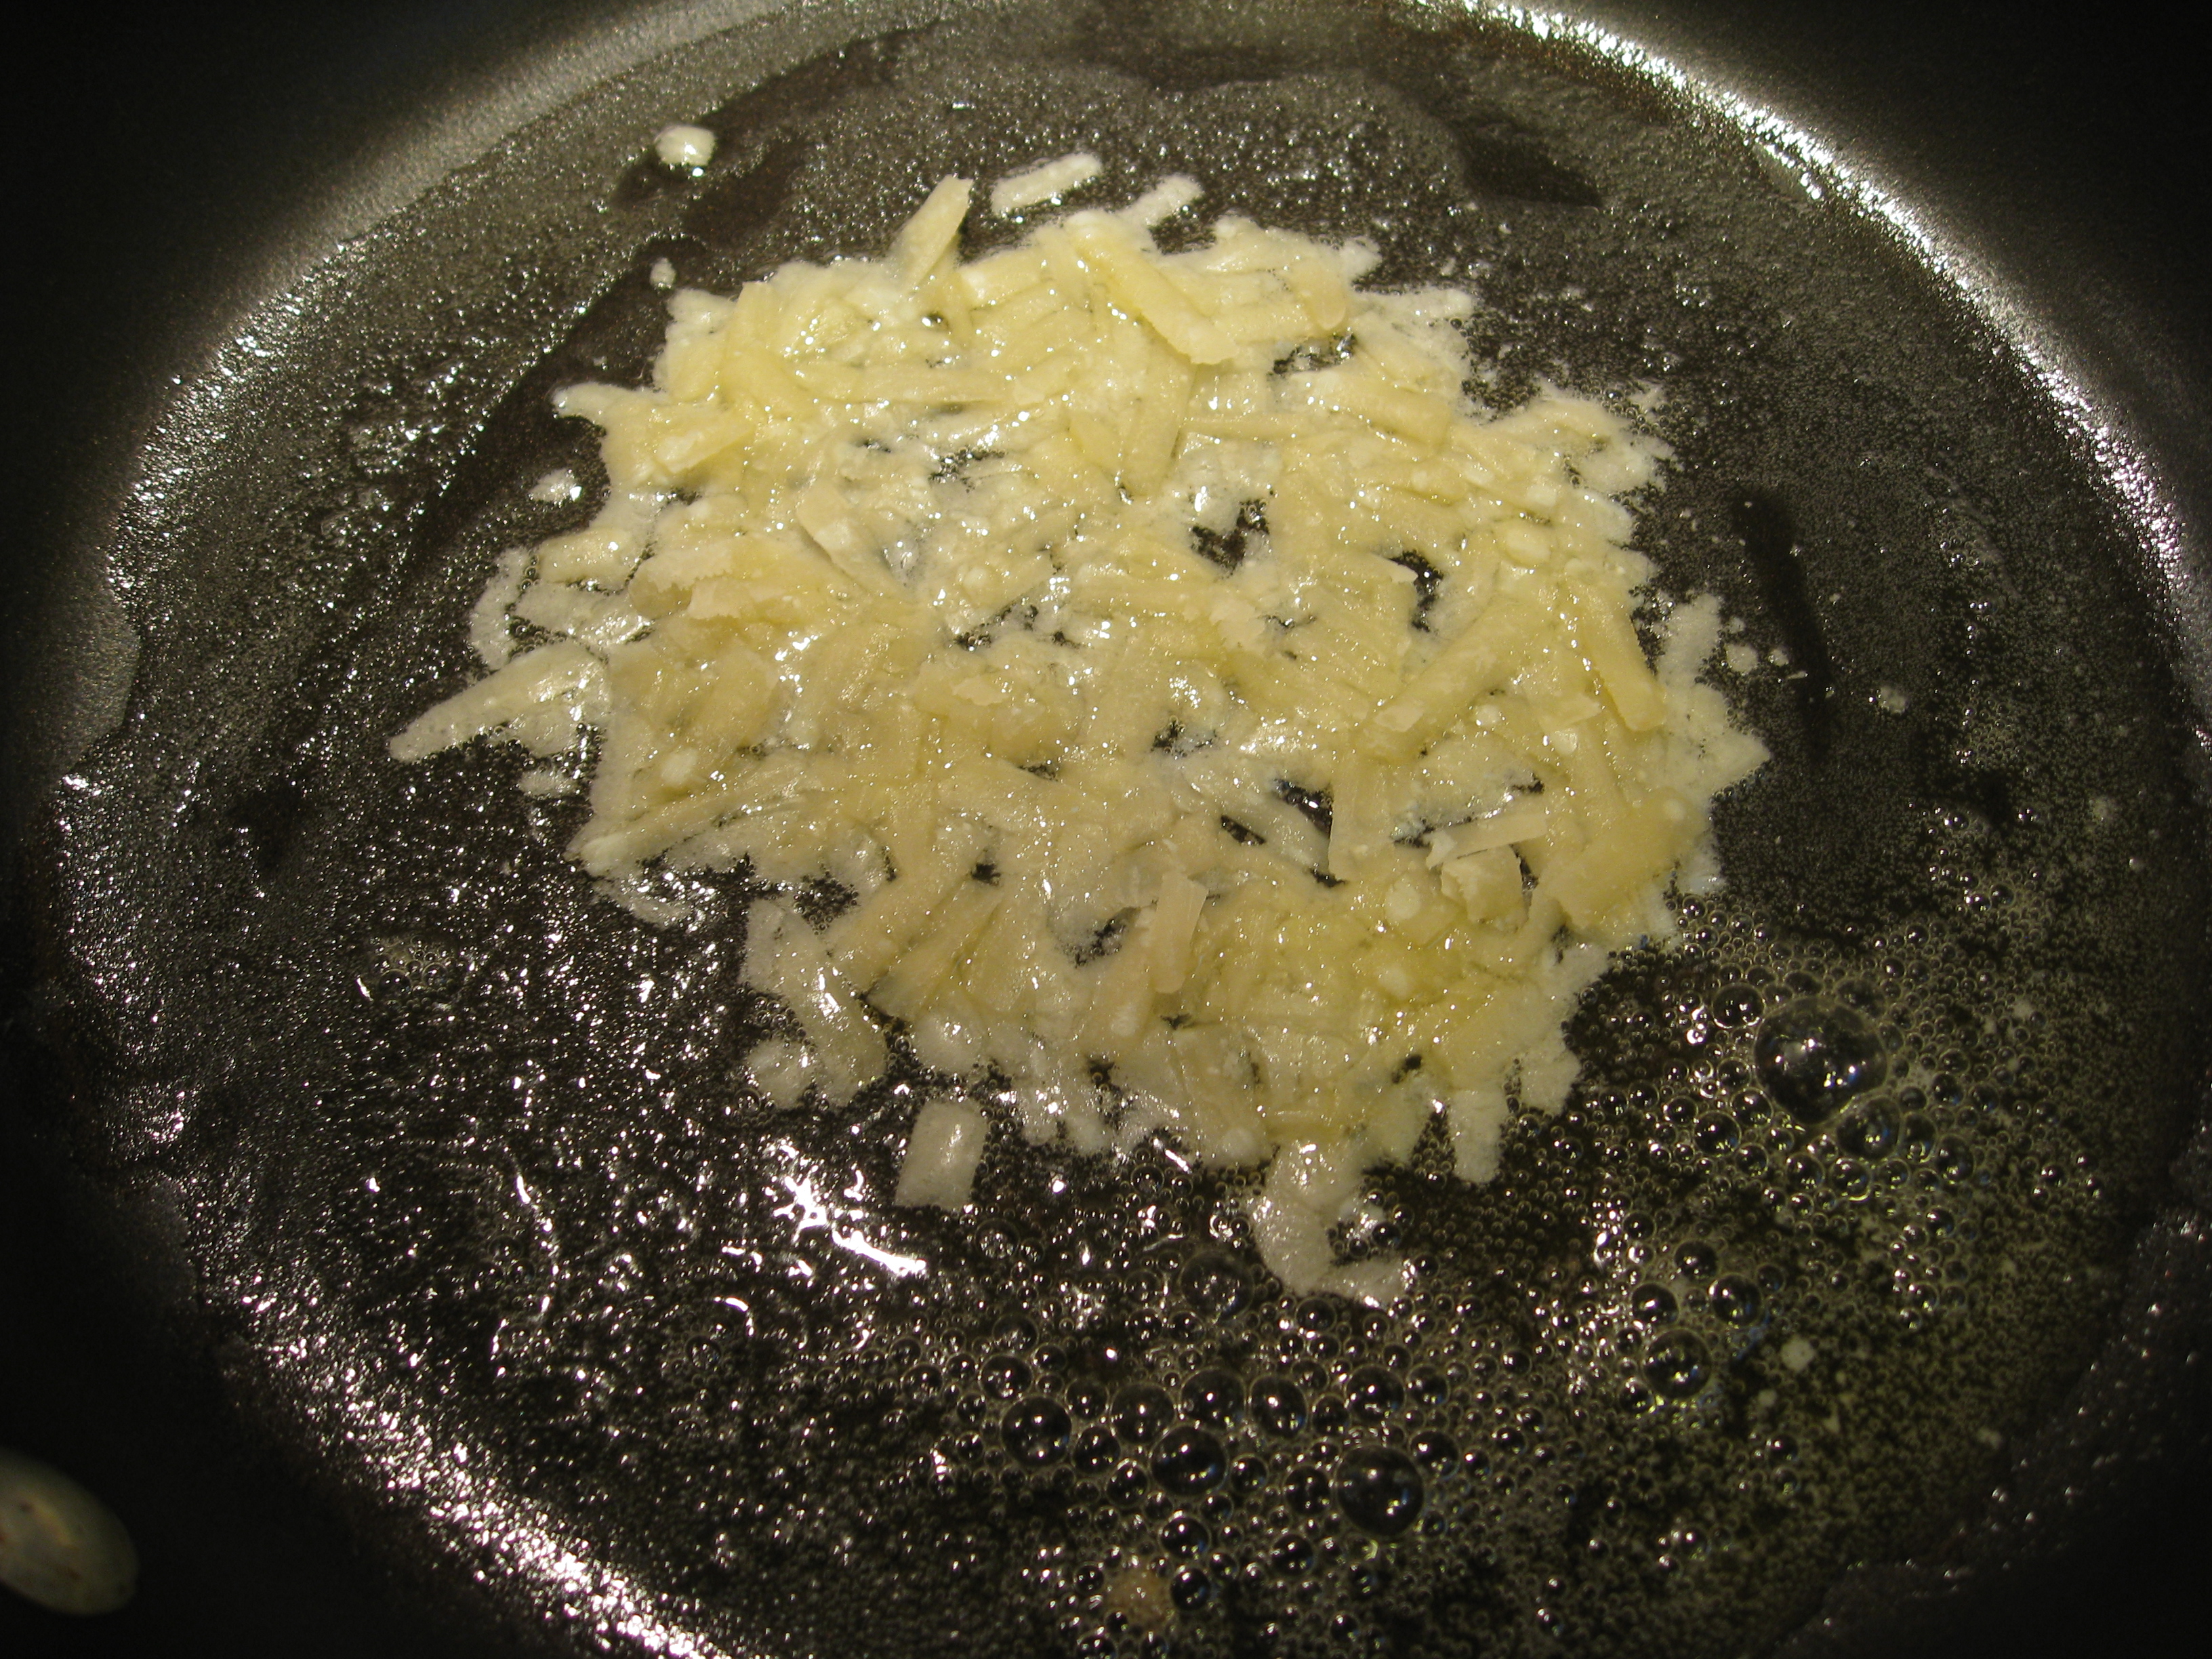
“When the cheese is melted”, the instructions say, “use a spatula and carefully transfer the cheese wafers from the pan to an inverted and greased ramekin. Press gently with your fingers to give it a shell-like shape.” Once it cools, you flip it right-side up onto parchment paper. Yeah, maybe. What happened to ours?
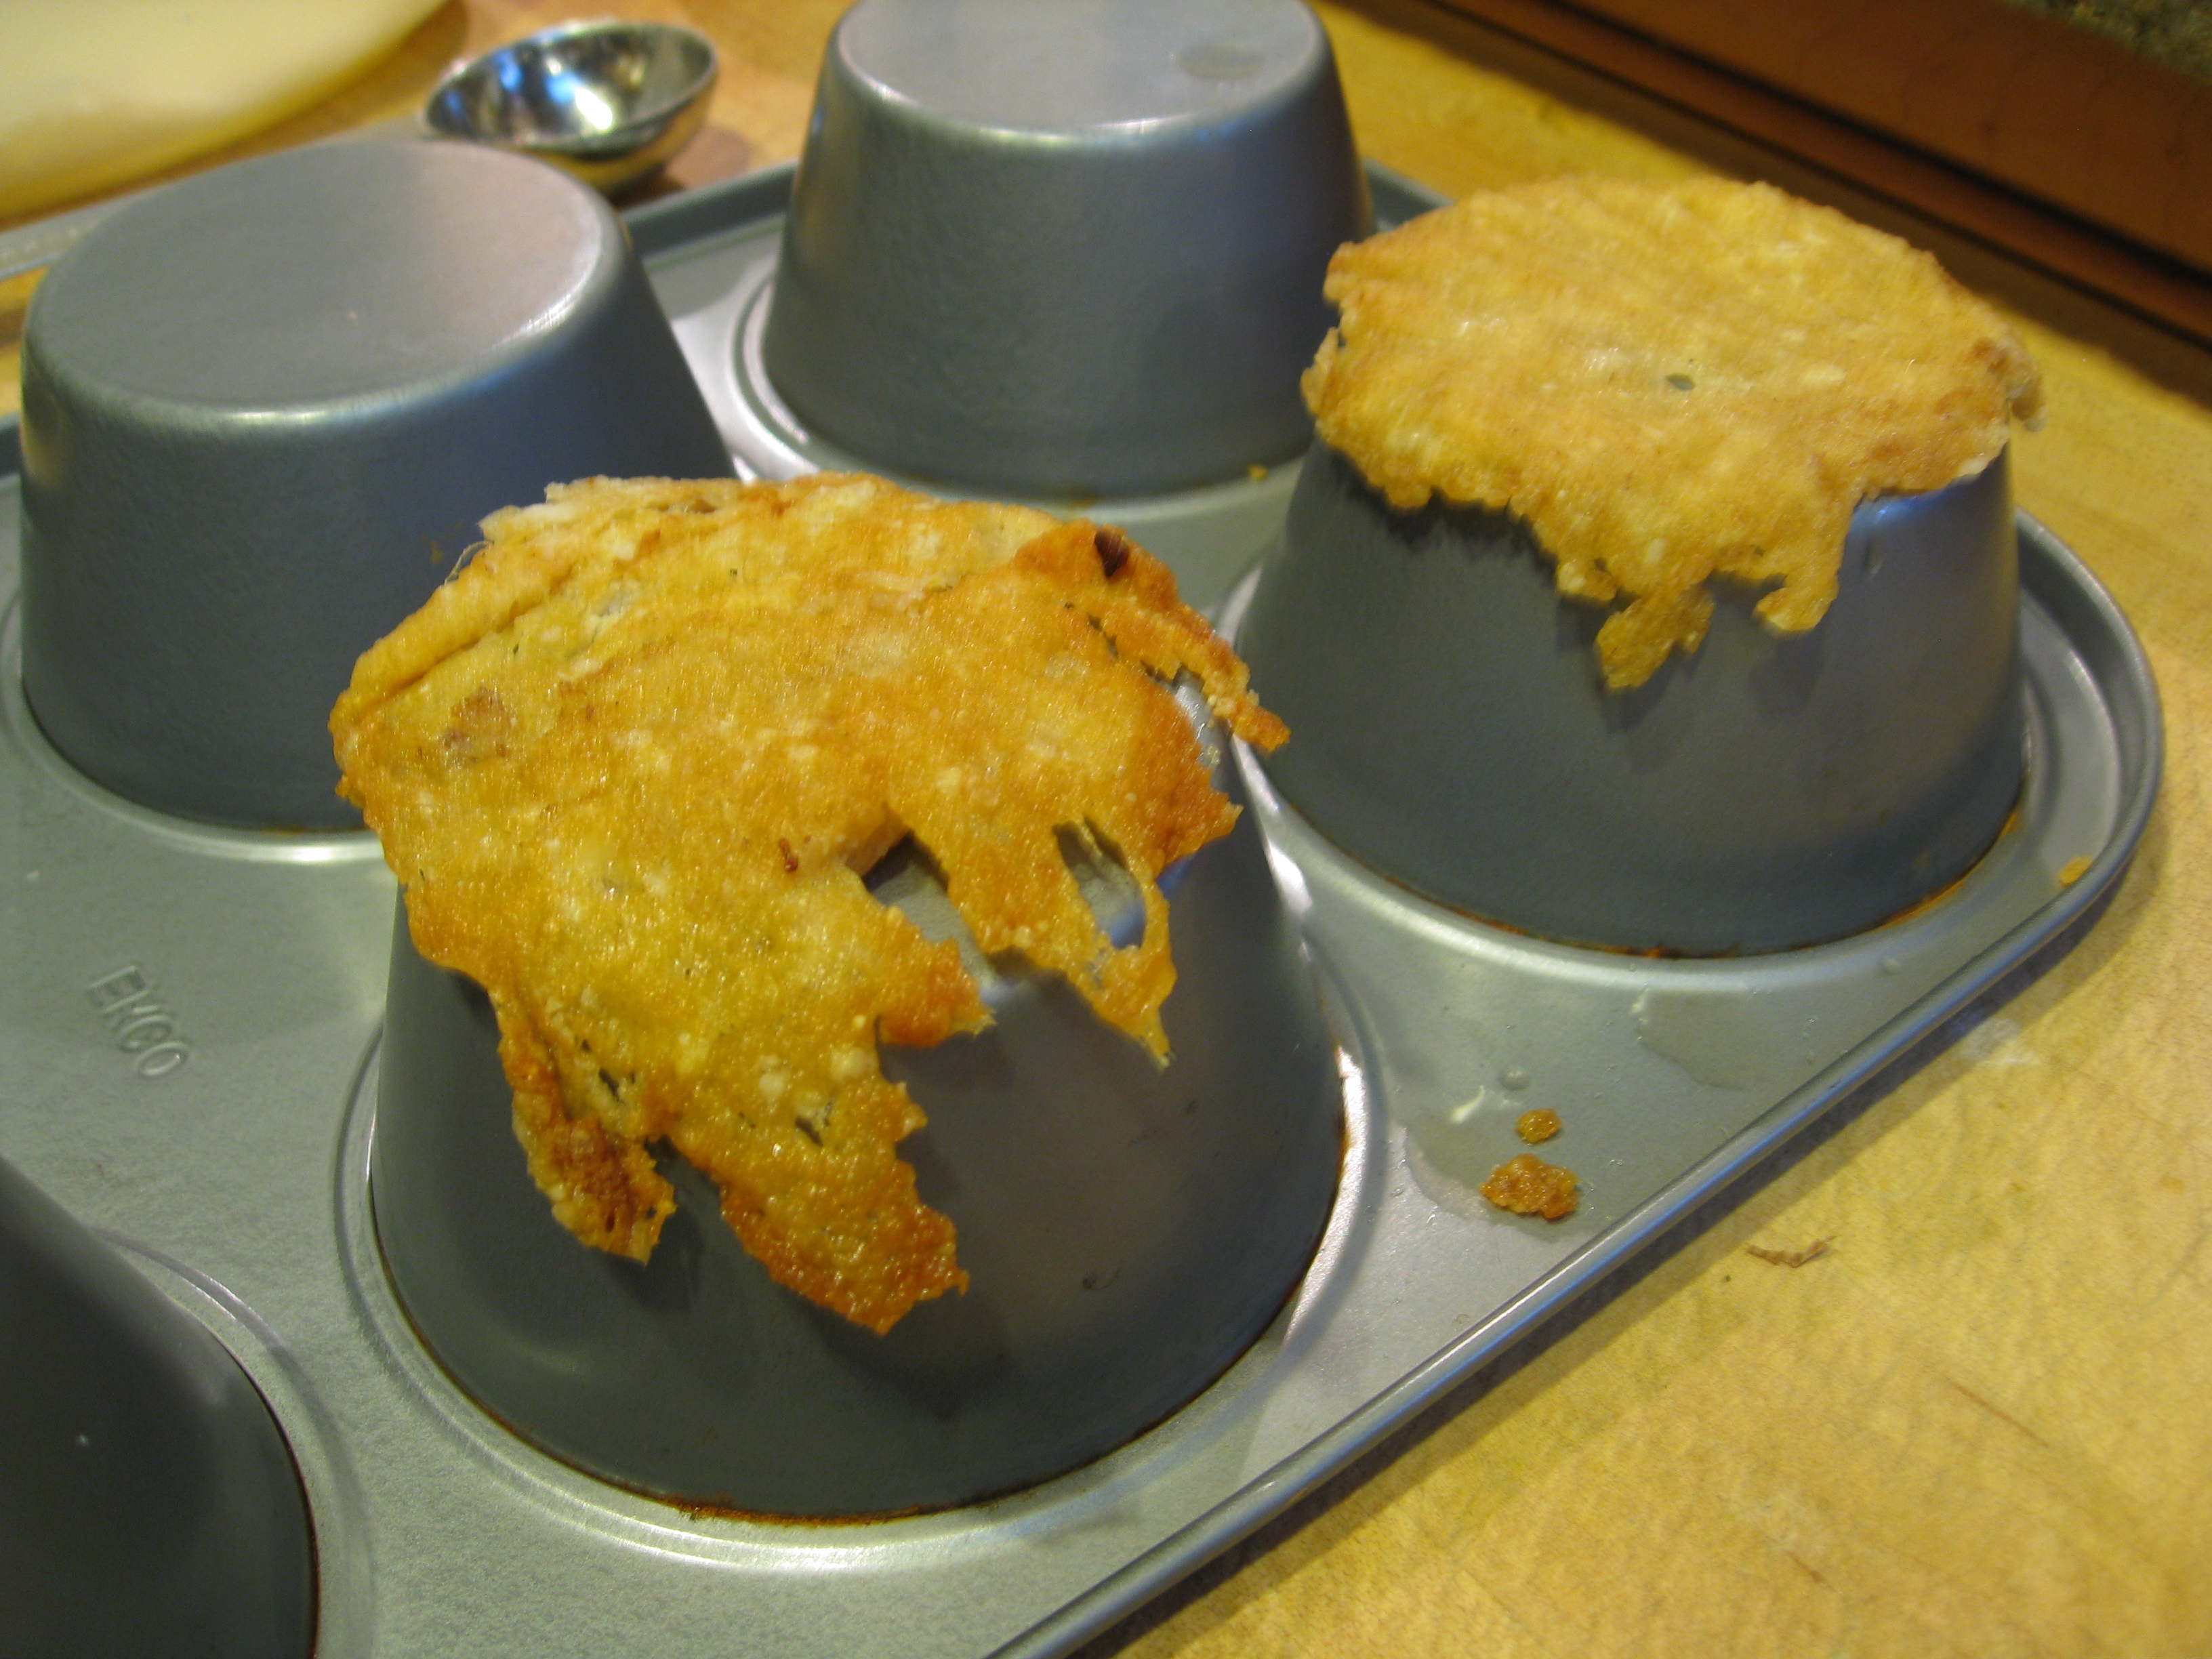
Soooo not as advertised (but still tasty!). We figured we must be doing something wrong, so we sought out and found this video to help. We were doing the same thing, but we suspect that our cheese was not shredded finely enough, and we probably should have used a silicon spatula as well, instead of the rubber one. Note: we also suspect that starting with an 8″ circle of cheese will help yield the desired diameter, as the video suggests.
Needless to say, things were headed downhill. Plating up the tenuous flan was our next challenge. Silicon muffin tins don’t exactly “flip over,” they sort of undulate. Given that our flan was undulating as well, unmolding it required a bit of a dance with a fork, a spatula, and a prayer. Oh, and don’t forget that there’s a tiny, hidden square of parchment paper on the underside that has to be removed, too. It was like defusing a bomb with chopsticks.
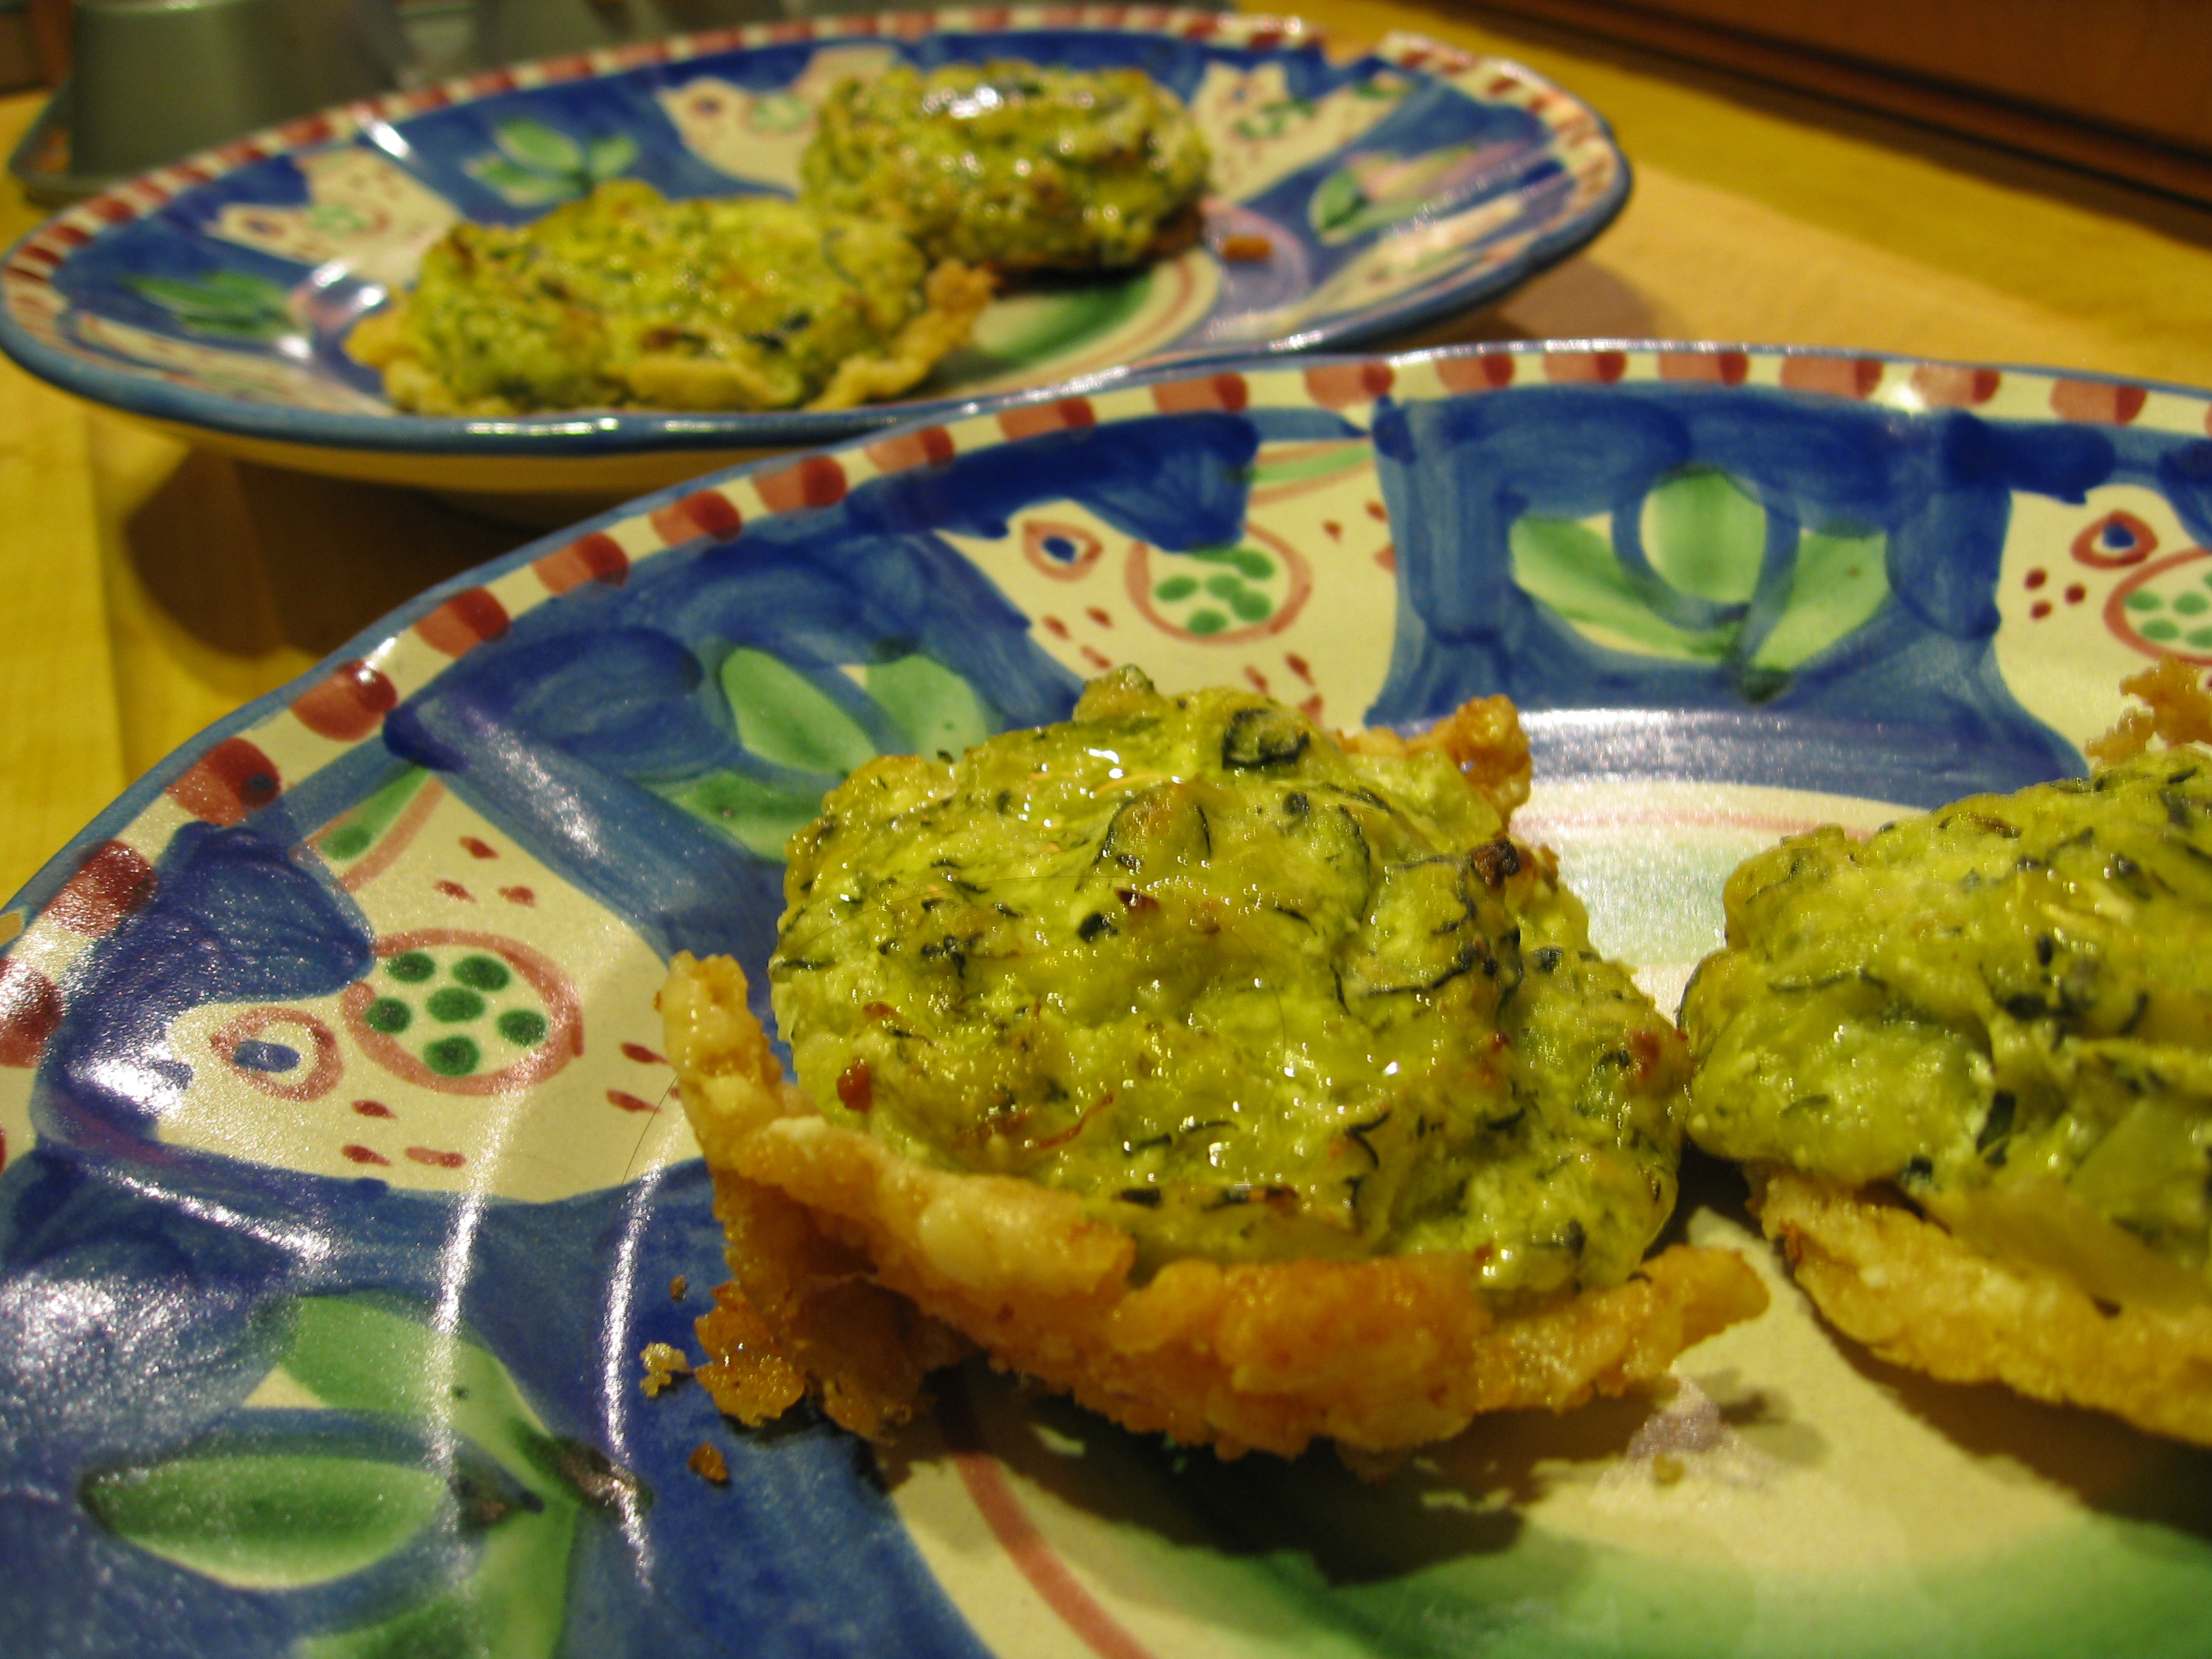
Despite the visual let-down, this actually tasted pretty good. In fact, we could have eaten a plateful of ruined cheese wafers and called it dinner, but the flan was a bonus. Once again, here’s what it’s supposed to look like:
Theirs
Ours
Nailed it!
Hey gardenerds, post your favorite cooking failure below and share the joys of imperfection. Let’s all have a good laugh and make some great tasting (not necessarily looking) food. To get you started, here’s one of our favorite “Nailed it” posts ever.

