We’ve recently returned from a trip to the Emerald Island of Ireland and the beautiful region of Provence in the South of France. There were so many camera-ready images for the eyes to feast on, but that’s for another blog coming soon.
Right now I want to talk about the miracle of drip irrigation, a.k.a. vacation watering! A few days before we left for our trip, I was biting my nails over the fact that we were about to leave our garden completely unattended for close to 3 weeks.
We hadn’t planned to find someone to care for the garden while we were gone, because we intended to dig most of it up when we got back. My newly planted herb garden, however, would surely be dead by the time we returned if left to fend for itself. So with car keys in hand and a head full of ideas, we headed off to Home Depot to bring imagination to life.
I was going for a simple strategy, one that involved using what we already have. No digging, no poking holes in hoses, no spending of all our vacation cash before we even board the plane. It didn’t have to look pretty, it just needed to do the job for now. After about a half hour in Home Depot, we exited the warehouse outfitting with all we needed for our project. Here are the components:
Drip Irrigation – Parts for your Vacation Watering System
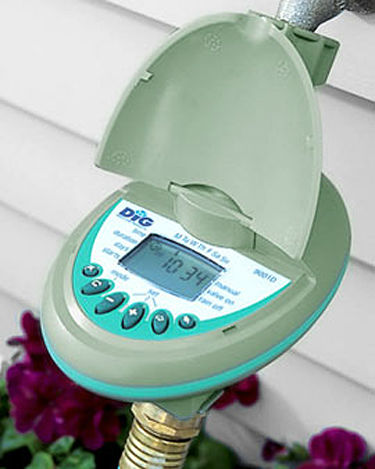
1: The Dig Watering Solutions Digital Water Timer. You can set how often you want to water, and how long. It couldn’t be easier. If you don’t have a hardware store near you, you can order one from places like this one.
2: A Back Flow Preventer. You can see in the picture that there is a black fitting between the spigot and the timer. That’s the back flow preventer. It screws right into your spigot and the other end screws right on to the timer. There was what I will call the low flow gasket in the back flow preventer that I had to remove in order for it to work with the hardware on my spigot, but you may not need to do that.
3: Your garden hose. We used some white plumbers tape around the base of the timer where it threads onto the hose to insure a tight seal. It worked like a charm.
Almost there…
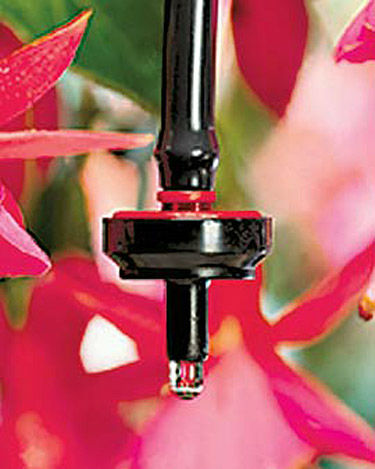
4: An Adapter from your hose to 1/4″ drip irrigation tubing. It screws on the the end of your garden hose, then funnels to a small opening where you feed the 1/4″ tubing into the other end. (Let me take a moment to say that we wouldn’t have known all of this without the help of the diagram that was on the package for the timer, which made it very easy to assemble all the parts.)
5: 1/4″ tubing with emitters. We used a brand called Toro that had built in holes all along the tubing. We bought the 100-foot size. Again, if you’d rather shop via internet, you can get it online from Home Depot.
6: A plug for the end. There is a name for this, but unfortunately, I can’t find the package right now. I have a vague memory that it had the word “oops” on it, to correct mistakes of all kinds. Basically you can use these plugs to close off the end of a 1/4″ drip irrigation tubing, or to plug irrigation holes that you didn’t mean to make on 1/2″ tubing (if you choose to use the do it yourself tubing). They come in a packet of about 20, and we only needed 1, but they were only a couple dollars.
How To Assemble Your Vacation Watering System
When I put it all together, I started from the spigot and tested each part as I connected it to make sure it didn’t leak before assembling the whole thing. We have 3 spigots in our back yard, but I found out quickly that only one of them doesn’t leak from from the hose bib.
Luckily that one was close to the herb garden. After assembling the project, I set the timer and tested it to see if the water pressure and timing was adequate. What setting worked best for this project? Every other day for 15-45 minutes (for a hot July in Southern California).
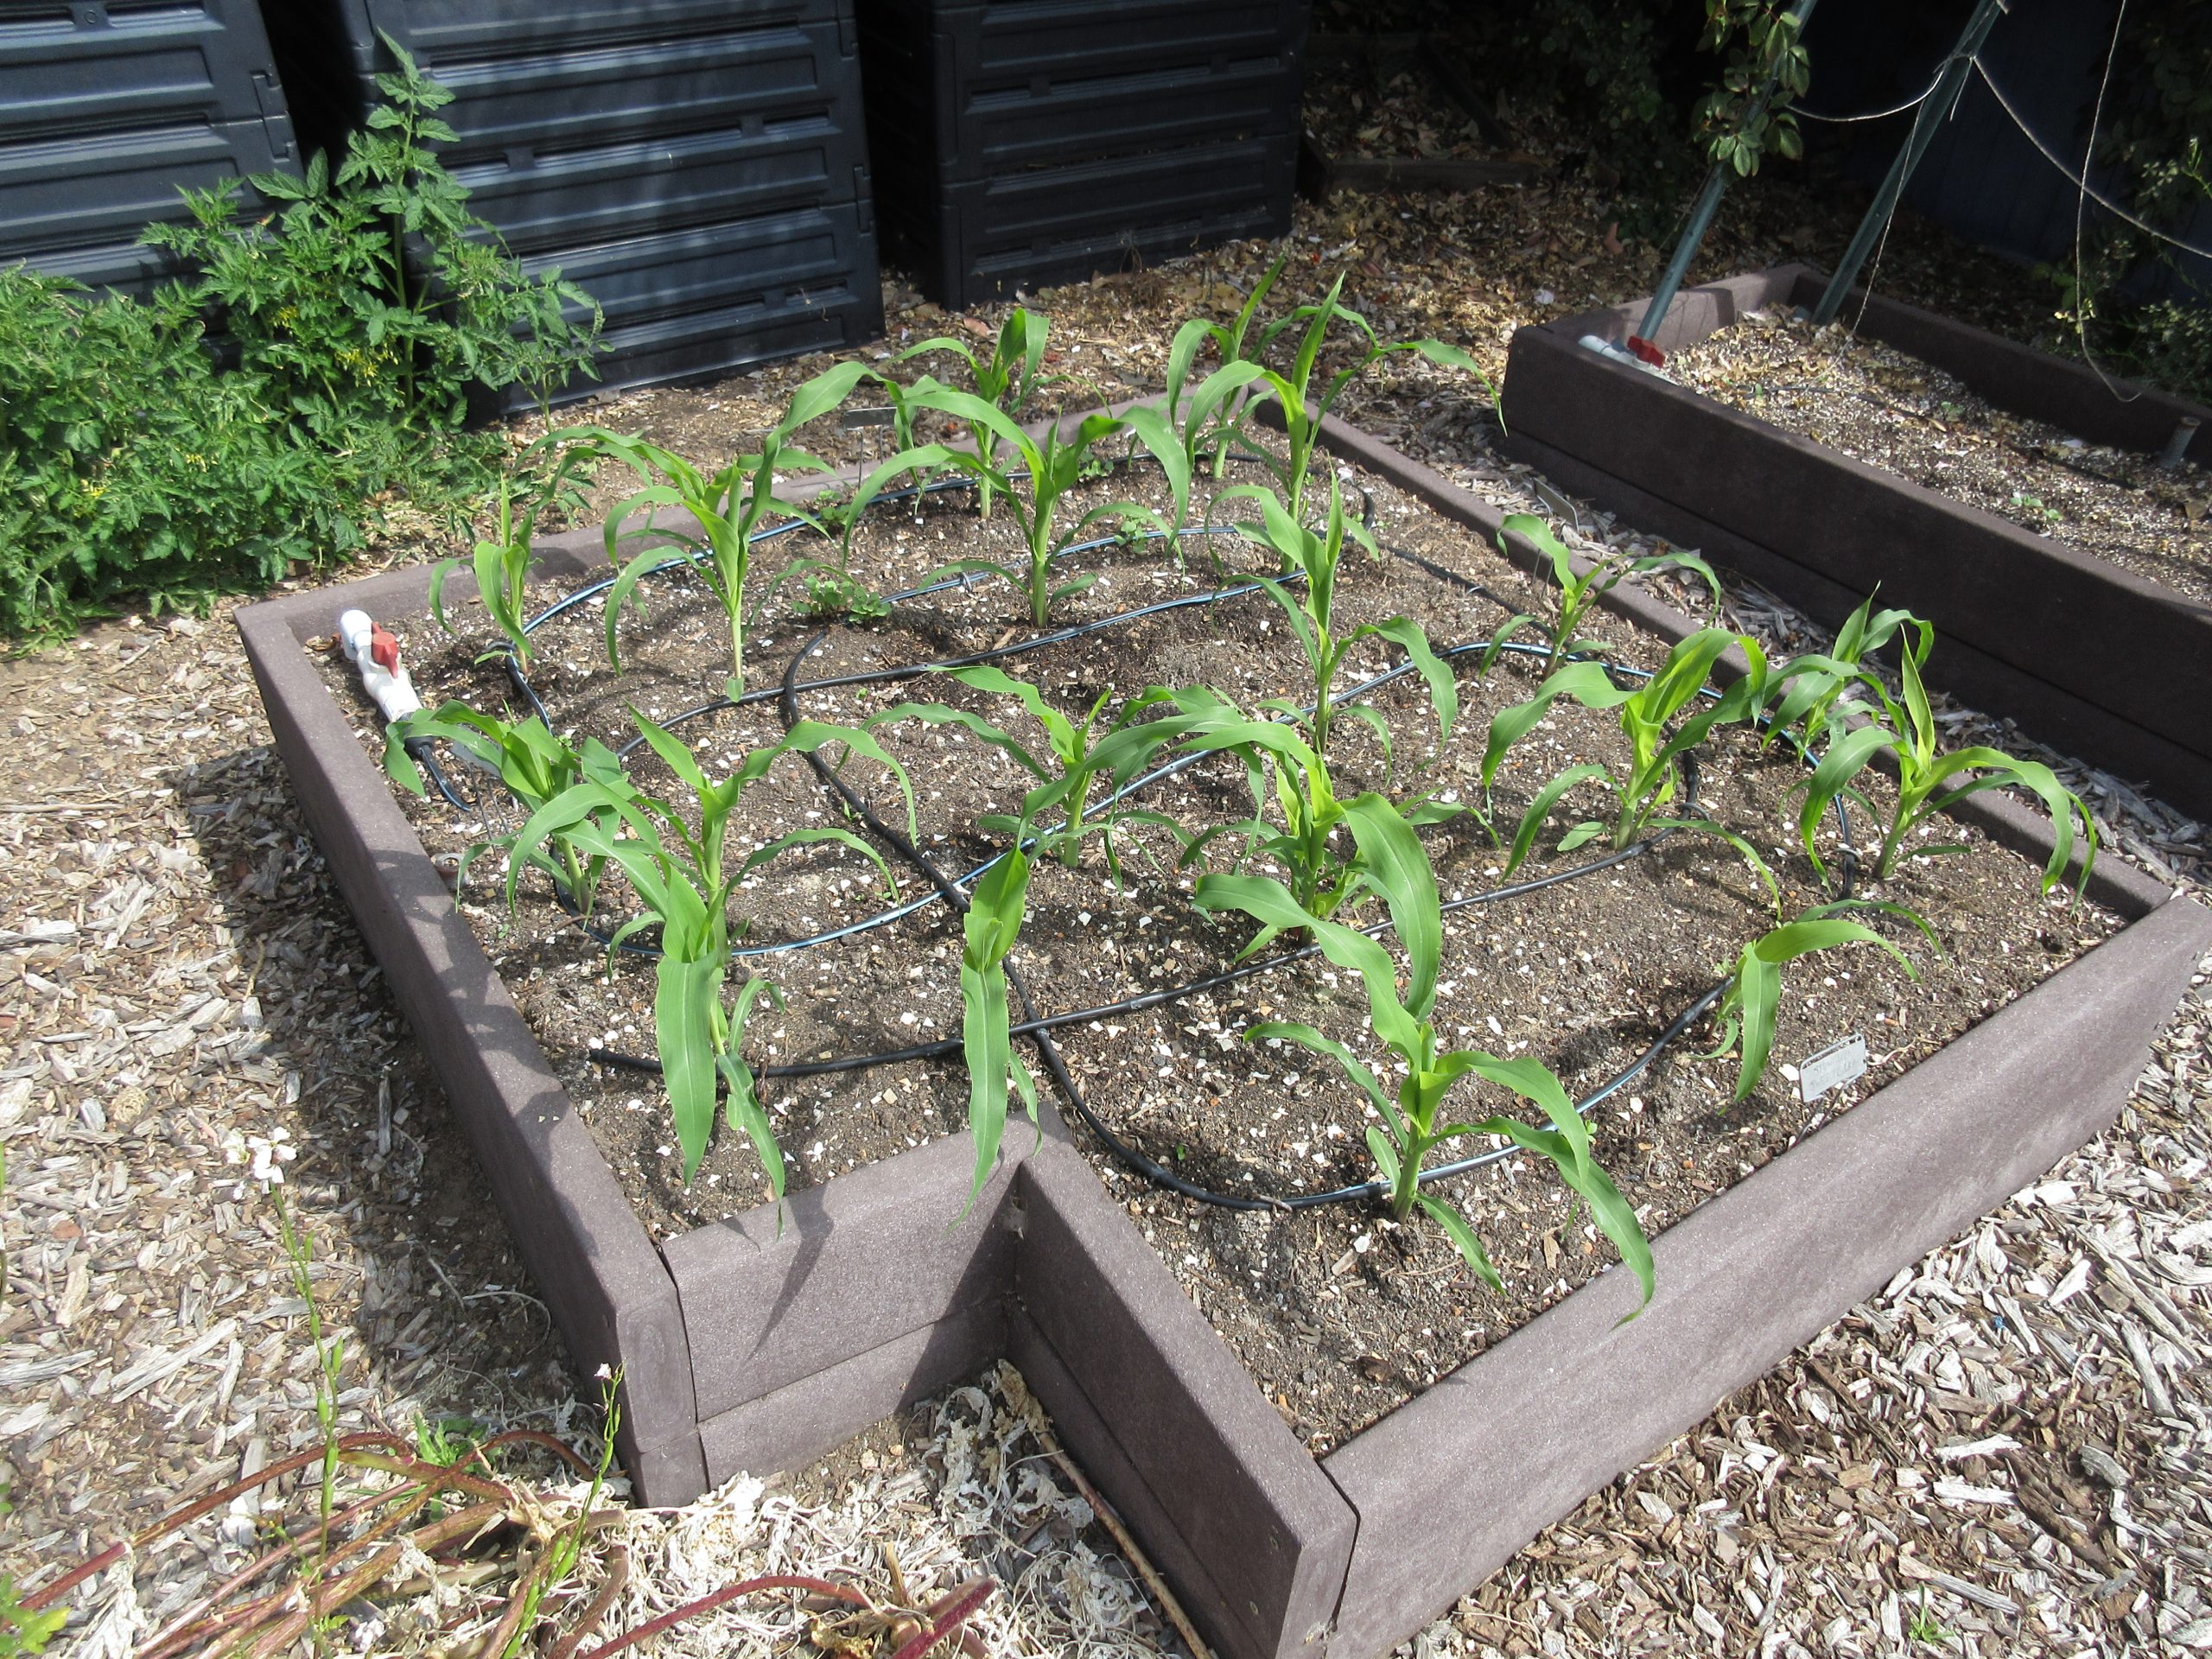
While it was running, I strategically wove the hose through the plants that needed watering and used the end length of the tubing near plants that didn’t need much water. As it turns out, the flow of water at the end of the tubing is less than at the beginning or middle.
I weighted the tubing down with bricks (Let us remember that I wasn’t trying to make this pretty for the time being) to keep it in place. It worked like a charm.
When we returned from our trip, the herb garden had gone from being a group of little starter plants to a well established garden, green and lush. All for about $75 total. I can’t wait to outfit my entire garden with drip irrigation in the future.
Do you have any vacation watering techniques that you’d like to share? We’re all ears!
UPDATE: If you need more visual guidance to create your drip irrigation system, watch this video.

Pingback: YouTube: Basic Drip Irrigation for Container Gardens - Gardenerd