Today’s guest post is from Chris Wimmer, an urban hydroponic hobbyist who uses hydroponics to maximize his 400 square foot yard and extend the short Chicago growing season. Chris blogs about how to start growing with hydroponics at HealthSmartLiving. Today he’s offering his advice for growing with indoor lighting. Take it away Chris!
Keys to Lighting Your Indoor Gardening System
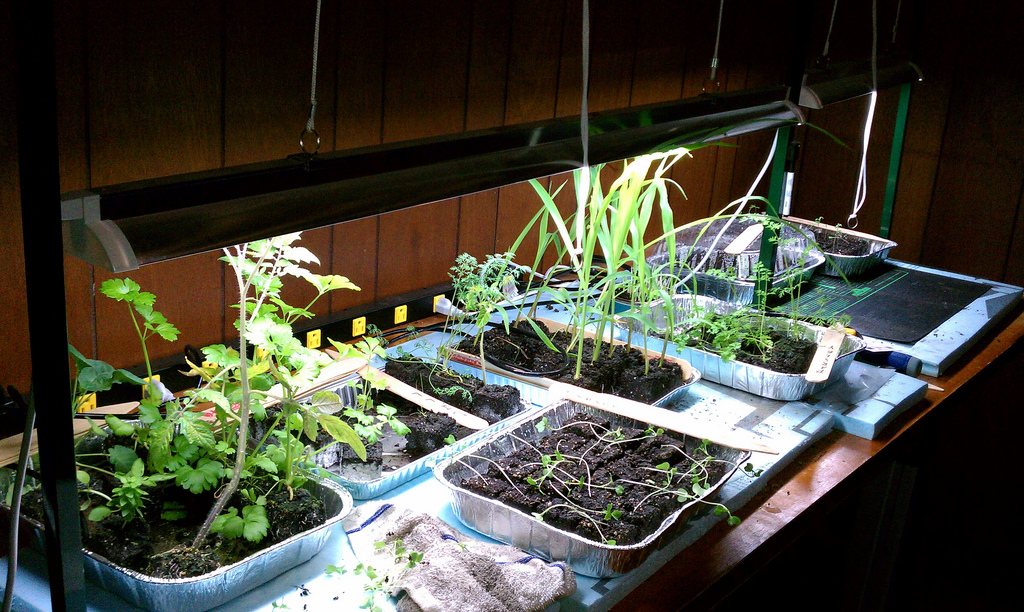
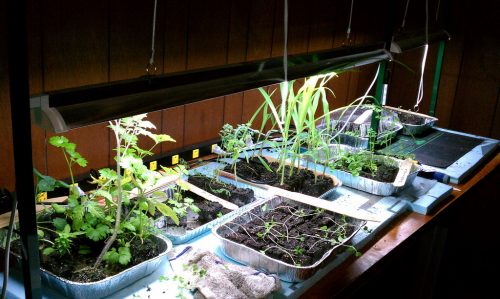
Indoor gardening is a great way to grow vegetables, herbs, and other flowering plants year round. One of the biggest challenges most people have in creating an indoor garden is providing enough light to the plants. A sunny window is often not enough so you’ll need to provide a secondary light source for your plants to grow.
Now before we talk about lighting, let’s take a quick look at the benefits of having an indoor garden in the first place.
3 major benefits to having an indoor garden:
- Longer growing season – Most gardeners have a limited ability grow through the winter. You can’t grow at all in Chicago due to snow, and the shorter, cooler days in many areas greatly limit the types of plants you can grow.
- Healthier plants – A clean well maintained indoor space will usually allow you to avoid insect infestation which in turn allows you to avoid chemical sprays.
- Improved air in your home – Plants consume carbon dioxide and emit oxygen. Cleaner air with more oxygen indoors is great for you and your family’s health.
Challenges involved in lighting your indoor garden
Most lighting issues can be grouped into 2 buckets:
- Length of light exposure
- Providing the right type of light
Length of exposure: I highly recommend purchasing a daily timer that allows you to automatically turn your lights on and off. Most plants like 12 to 16 hours of light each day and this is a simple way to automate the lighting. This is also why a sunny window will often fail you especially in the winter.
The right kind of light: This can be a bit more complex but if you follow this simple primer your most of your plants should be just fine inside.
- Total Watts – You should provide 25 to 50 watts of lighting per square foot. So for a 3’ by 3’ garden you will need at least 225 total watts (3 x 3 x 25 = 225) but not more than 450 (3 x 3 x 50 = 450).
- Distance – Keep your lights 18 to 24 inches above the foliage. (Editor’s note: when starting seeds, however, light should be no more than 3 inches away from tops of plants)
- Light Spectrum – This is where you can really over-read and complicate things. While it is true that certain light spectrums are best at each stage of a plant’s life, I find a good full spectrum light works just fine the entire time.
Additional Tips for improved lighting and growing outcomes
- Preparation is key: Take time creating the right indoor setup. Stress kills plants, so you don’t want to have to disturb them when they’ve started growing by tweaking your lighting setup.
- Know your times: Check the back of your seed packets (or Google) for the exact lighting recommendations. You probably won’t kill your plants missing this by a couple hours but it is an easy way to improve the growth and health of your plants.
- Monitor for overheating: Introducing a strong light source could impact your indoor growing environment. This can usually be managed by improving your ventilation.
- Watch your distances: Start your lights 2 feet above your plants and check the tops of the plants for browning after several hours. Raise the light if you find brown leaves. If not, consider lowering the light to give a little more lighting punch.
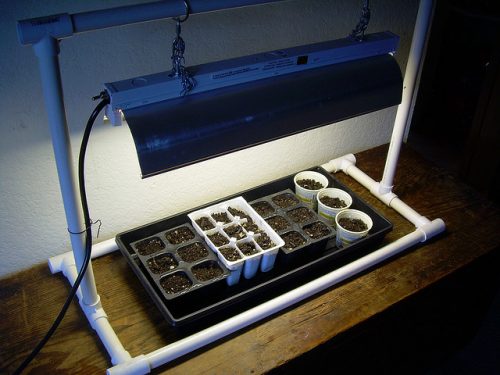
- It’s okay to be cheap: While there’s nothing wrong with buying an out of the box lighting system. I also recognize all the investments into garden toys can add up. If you like DIY solutions then it’s pretty easy and cheap to build your own. Here’s an inexpensive homemade lighting system that I made in 20 minutes for less than $10.
If you keep these basic recommendations in mind you should find it’s cheap and easy to setup your lighting system.
