The next installment of Mark Rainville’s Bokashi series is here. If you missed the first post, find it here. Let’s find out how to make this wonder food for plants. Take it away, Mark:
Welcome to the second part of my bokashi series. Today, I will review the process of mixing the bokashi bran. I find it to be a relatively easy process as much of the work is done by microorganisms culturing the bran in a dark and air tight environment. This system can be a compact solution for urban dwellers or can be scaled up for larger institutions.
Bokashi is defined as microorganism inoculated dry carbon material; water or liquids awaken the microbes while drying makes them dormant. Mixing the ingredients is non-toxic. The process is fun and engaging for children of all age; it could even be used as a science project.
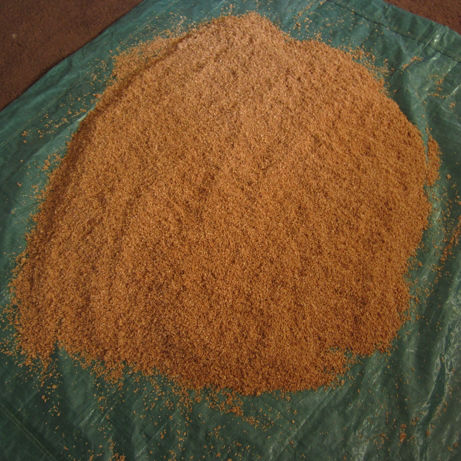
Microbial inoculant mixed with molasses and bran – find out how below
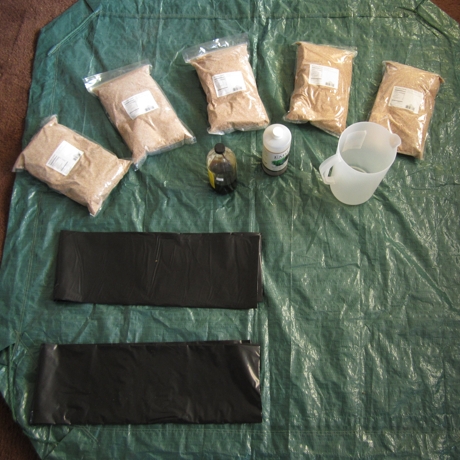
First, collect the ingredients (see image here from Part 1): organic wheat bran (dry carbon material), molasses (food source), water, microbial inoculant, a large container (about 1 gallon), a tarp, and two large black contractor bags (these allow the bran and microbes to ferment in darkness without air). I mix, store and dry my bokashi bran indoors all while living in an apartment. Larger quantities can be made outdoors to facilitate mixing; however, it must dry while shaded from direct sun.
Next, thoroughly mix the water, molasses, and microbial inoculant in the large container. The molasses is a food source for the microorganisms to feed on while they inoculate the bran, whereas the water keeps the microbes awake. By drying the bran, the microorganisms become dormant yet ready for fermenting action.
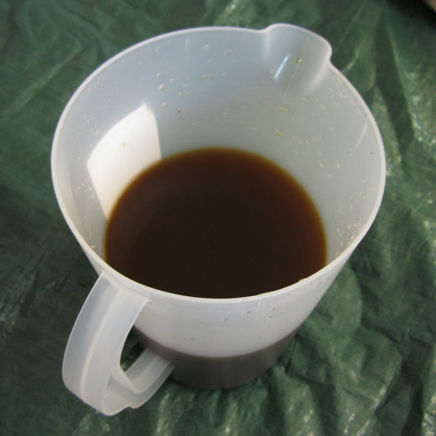
Now you’re ready – to open the bags of organic wheat bran (also called miller’s bran) and form a pile in the middle of the tarp. I prefer to make a volcano-like shape with a depression in the top – I always think of baking when I do it, too. Pour the mixture on the bran and knead until the bran is evenly wet. You’ll know the bran is ready when you grasp it in your hand and it holds its shape once released.
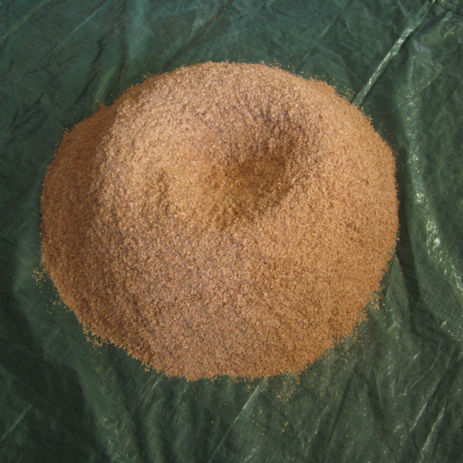
This is your bran on bokashi
Take the moist bran and put it in the first black contractor’s bag. Push out as much air as possible, twist and tie off. Take that bag and put it in the second bag, repeat air removal, tie it off and put it in a dark warm place for two weeks.
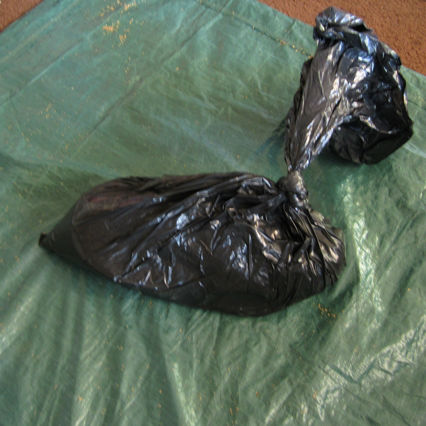
Bokashi bran in a bag. Don’t confuse it with your breakfast cereal
After at least two weeks, the bran will smell like a mixture of sweet molasses and home made beer, some white mold is okay. However, black or green mold is bad and you will have to dispose of the mixture and restart the process. As long as the bran smells like molasses and only has white mold if any, lay the bran out on the tarp or cookie sheets with parchment paper until dry.
Drying time will vary depending on the drying process chosen and climate conditions. I’ve been able to dry mine by sun through windows in an afternoon or within a couple days at room temperature. However if you are drying in sunlight through windows, excessive heat will damage the inoculated bran; therefore, check often to prevent burning or over drying.
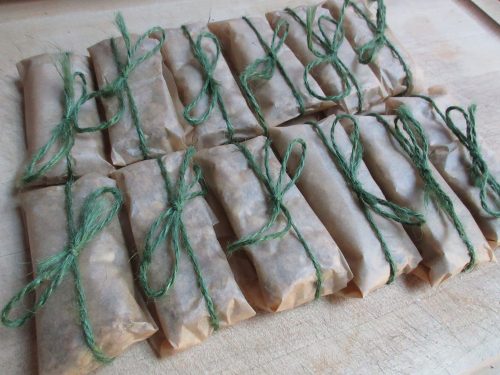
Once the bran is dried, package it in zip top plastic bags or an air tight bucket and store in a dark location such as a closet or cabinet. I like to keep a small amount in the area around my fermenting bucket for ease of processing my food scraps. In the next post, I will discuss the processing of your food scraps, and the role of bokashi in the garden.
Thank you for reading,
-Mark Rainville
MoBokashi
Email: mobokashi@gmail.com
Tumblr: www.genrenomad.tumblr.com
Twitter: www.twitter.com/genrenomad
Mark Rainville, originally from the Northeast, moved to SoCal in late
2007. He works in the architecture field. He is an aspiring artist,
gardener, writer and thinker. The joys of growing food has become a
major part of his life; it reminds us to think in the longer term and
that we can all overcome. He is a self-proclaimed modern renaissance man.


Pingback: Do you Bokashi? Part 1