I grew 23 tomato plants this year for two reasons: 1) to make up for last year’s blight and subsequent crappy harvest, and 2) to have enough to can some tomatoes. Well, blight struck again this year, despite the precautions, but there are still plenty of tomatoes to go around. Yesterday I picked about a pound of Roma tomatoes – not really enough for big batch canning, but enough to satisfy the urge to preserve.
Canning equipment was pulled out from the back of the pantry and dusted off. Grandma’s recipe for canning tomatoes was conveniently located in the box of equipment – sosmart! Jars and lids were washed, tomatoes were prepped and, I’m happy to say, canning happened. Here’s how:
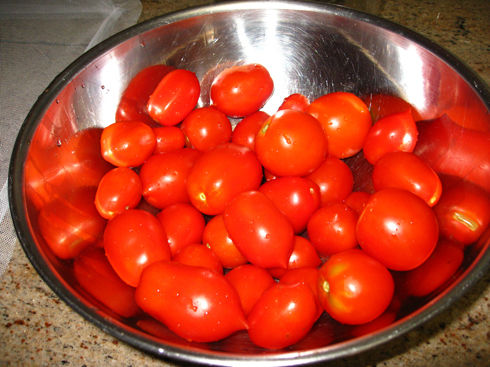
Rinsed tomatoes awaiting a bath of boiling water
The first and most time-consuming part is to peel the tomatoes. This is most easily accomplished by pouring a kettle of boiling water over your bowl of tomatoes. After about 20 seconds, drain the tomatoes (wait until you start to see the skin splitting and peeling away). The skins should slip off. If not, you can cut a slit in the tomato skin and it should start loosening. This took about 15 minutes for 1 pound of tomatoes.
Next, cut the tomatoes into halves or quarters, depending on how you plan to use them. At this point you are also supposed to squeeze out the seeds and juice, but I will stand by the words of Splendid Table’s Lynn Rossetto-Kasper and say that all the flavor is in those seeds and juice, so I’m keeping them. Yes, you’ll have a waterier finished product, but you can always drain them before using them in sauces or stews.
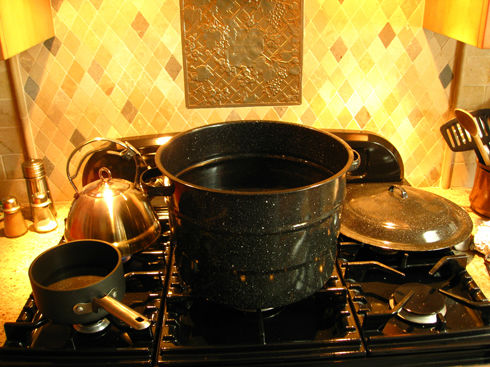
Water bath and boiled water for lids at the ready
You can keep your washed jars in a hot tap water bath until you’re ready to fill the jars with tomatoes. Boil some water in a saucepan and then turn it off. You’ll need that in a few minutes.
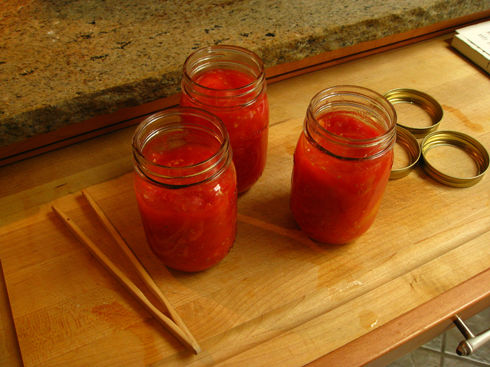
Filled jars, with bands on the side. We used bagel tongs to get the lids out of the hot water.
Take your jars out of the water bath and fill them with tomatoes, pressing them down to get the air bubbles out. Leave space at the top – that’s key. No space means no sealing of jars – you want your jars to seal, don’t you? In the photo above, the jar in the back is filled to the proper level. Use a plastic knife around the edges to push out air bubbles. Wipe the rim of each jar clean to ensure a good seal.
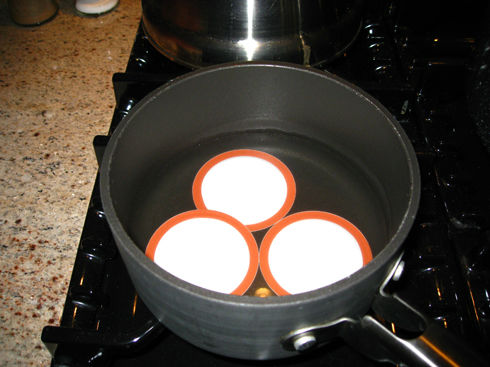
Lids waiting in hot water
Put your lids in the water that was boiling (make sure to turn the heat off first – don’t boil the lids). Leave them there for 3 minutes. Take them out with tongs (or one of those fancy magnetic lid-reacher-in-and-grabbers) and place them on top of each jar. Screw the band on securely, but not too tight.
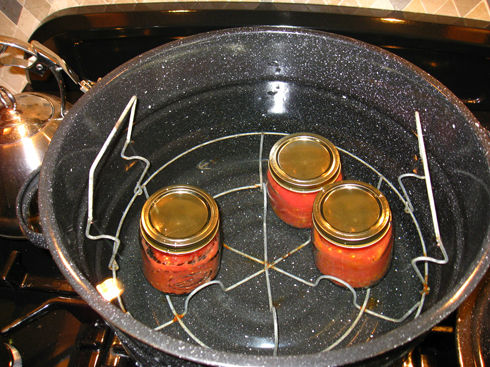
Tomatoes in a water bath
Place the jars in the water bath on a rack or a towel at the bottom of the pot. Bring the pot slowly to a boil and boil, covered, for 30 minutes. Then turn off the heat, take the cover off the pot and let it sit for another 10 minutes. Remove the jars with tongs (there are special tongs for canning that work much better than salad or BBQ tongs) and set them on a towel.
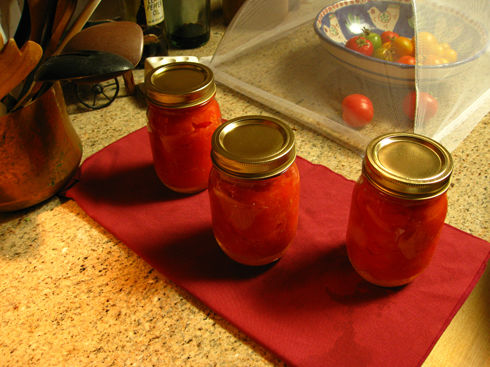
Finished tomatoes
Leave the jars undisturbed for 12 hours. The next morning, the center of each jar should be depressed so it doesn’t move when you push on it. Store your canned tomatoes in the pantry. If any jars didn’t seal, put them in the fridge and use them in the next week.
For the complete recipe from my Grandma, click here and scroll down to “Abundance” for all the details.
Are you canning this year? What are you putting up right now? Share it with us here.


Pingback: July To-Do List - Gardenerd