Late summer/early fall was the perfect time for harvesting honey, and while we’ve done it in the past on a small scale, our latest harvest required the right equipment to handle a larger batch. We looked to our friends at HoneyLove.org to help. As members of HoneyLove, we can check out community equipment instead of buying and storing bulky buckets ourselves. Believe me, this is the way to go.
The harvest was light, since it was the first year, but it was still worth getting out the big guns for the job. We borrowed an escape board that allows bees to leave the super, but not re-enter. It is placed between the top super (where the extra honey lives) and the lower supers of honey that will remain for the bees to consume all winter. 48 hours later, empty super.
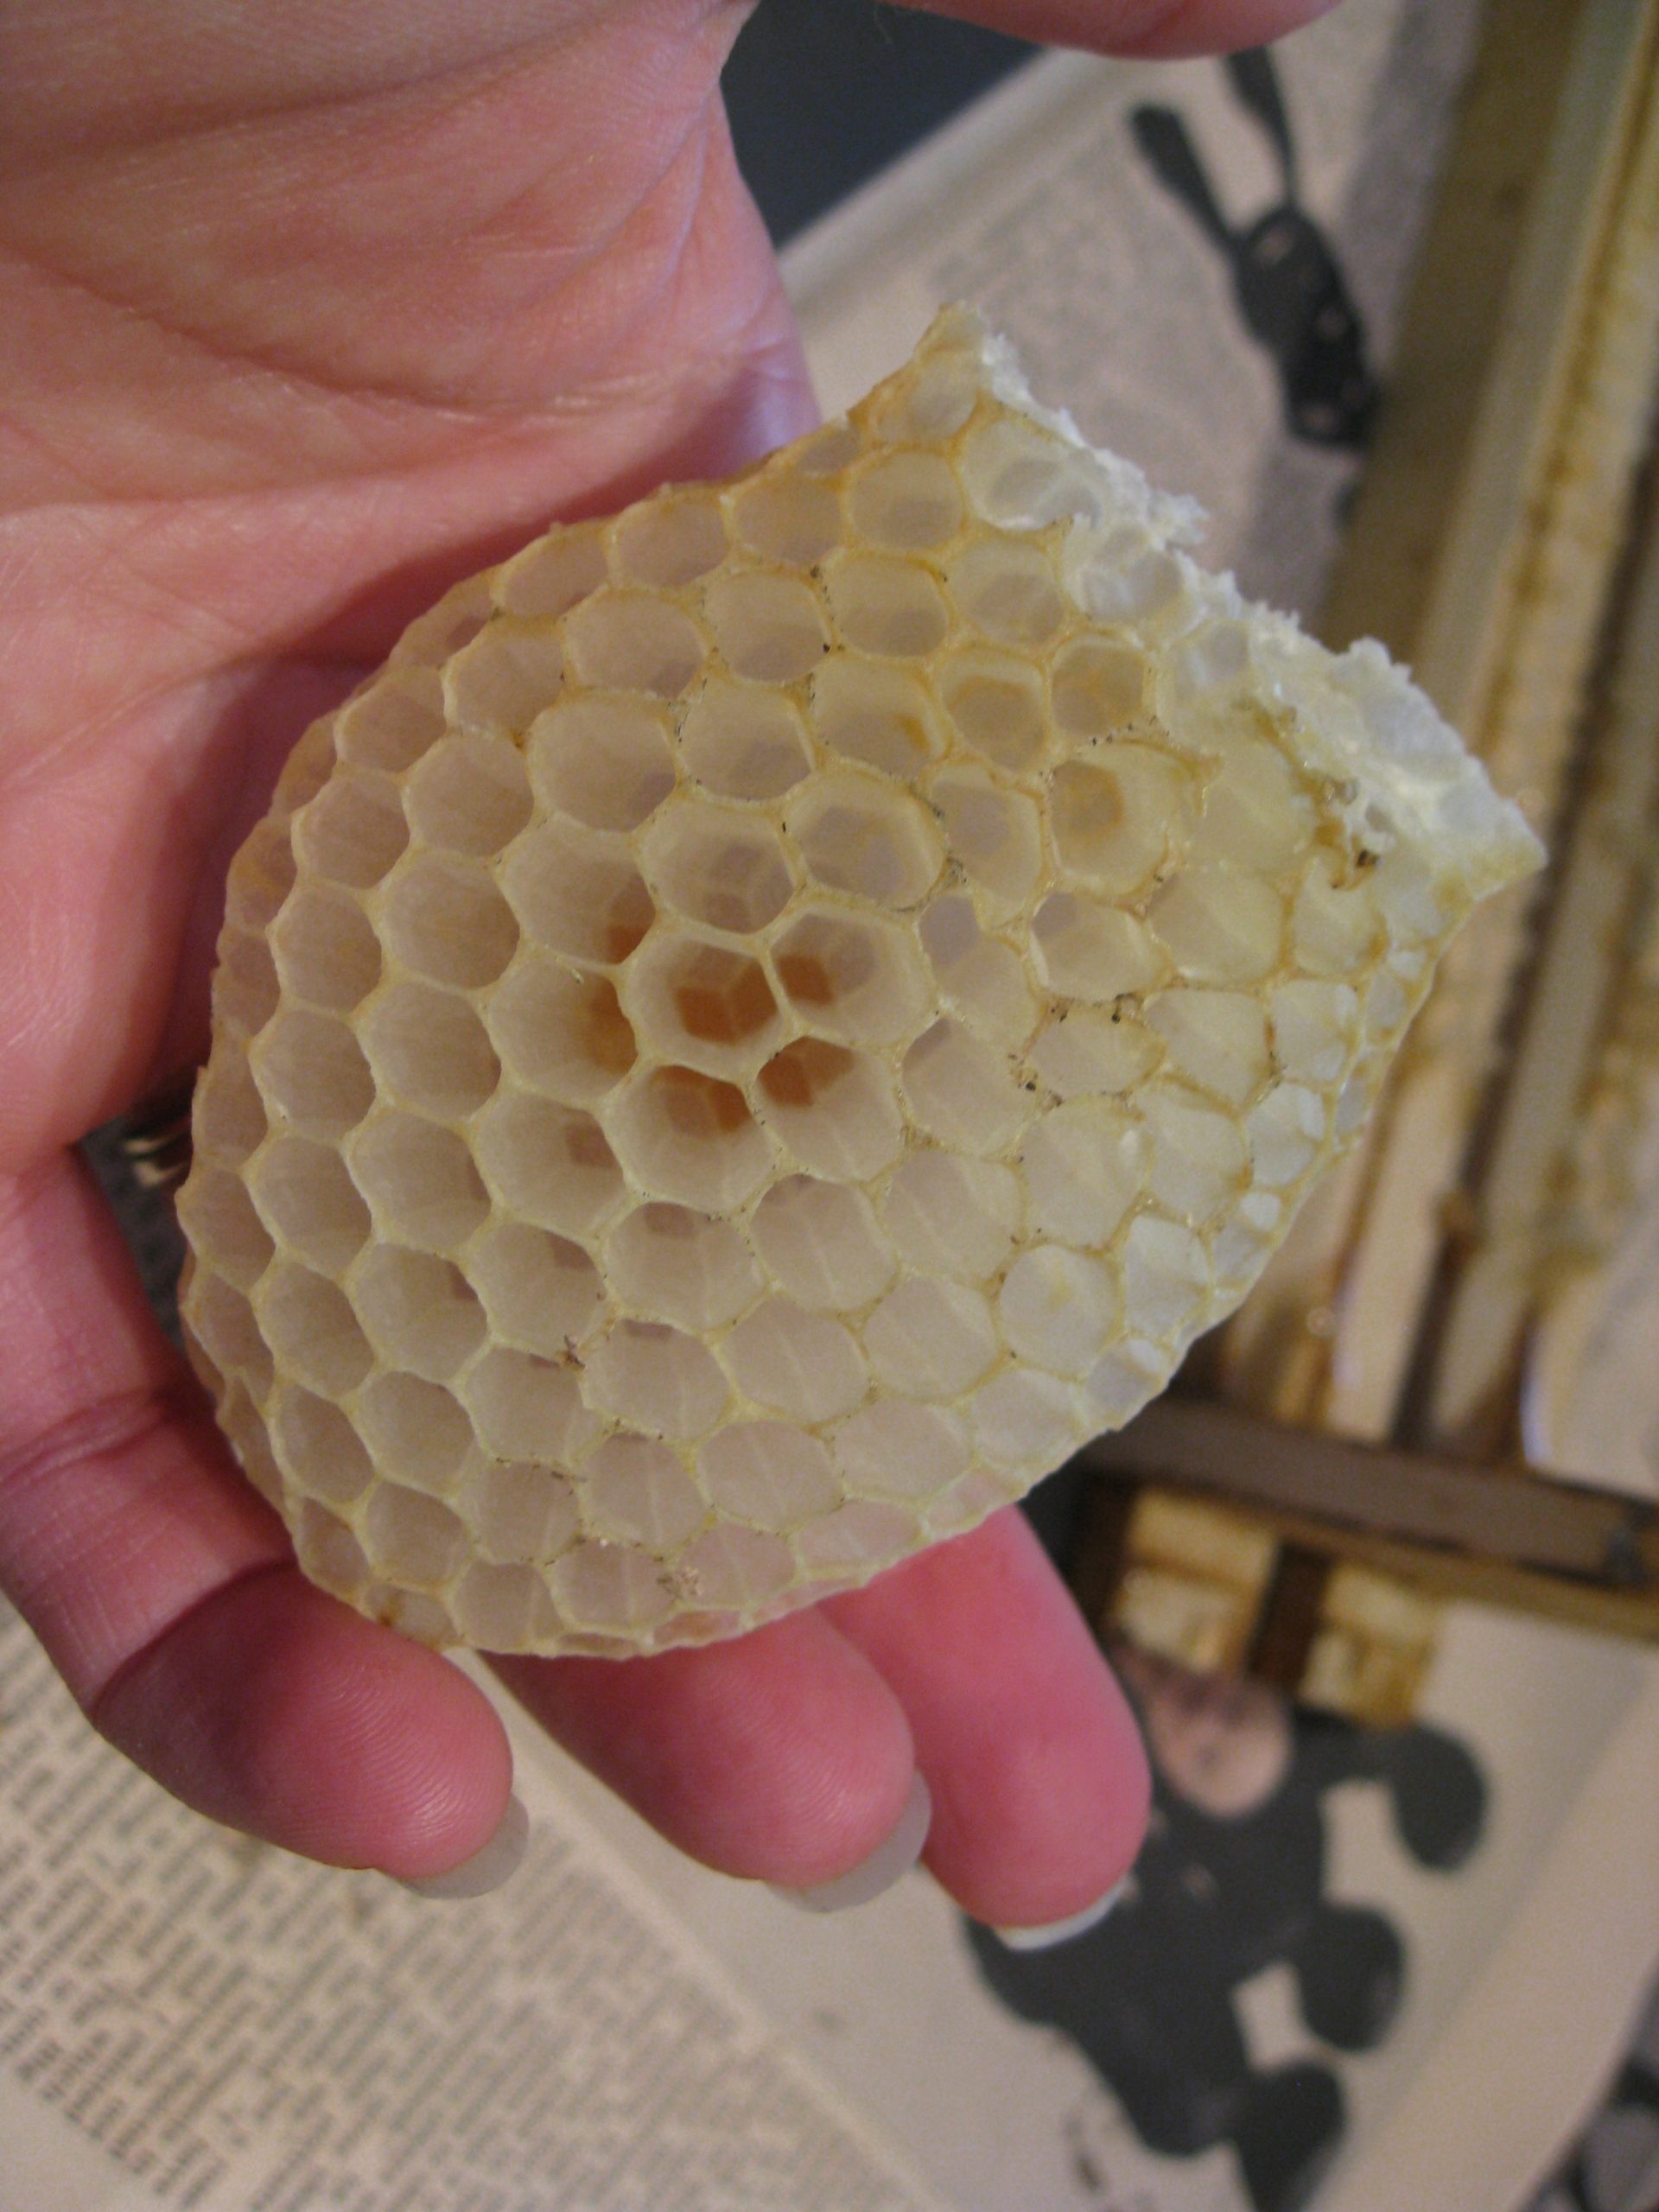
Harvesting honey
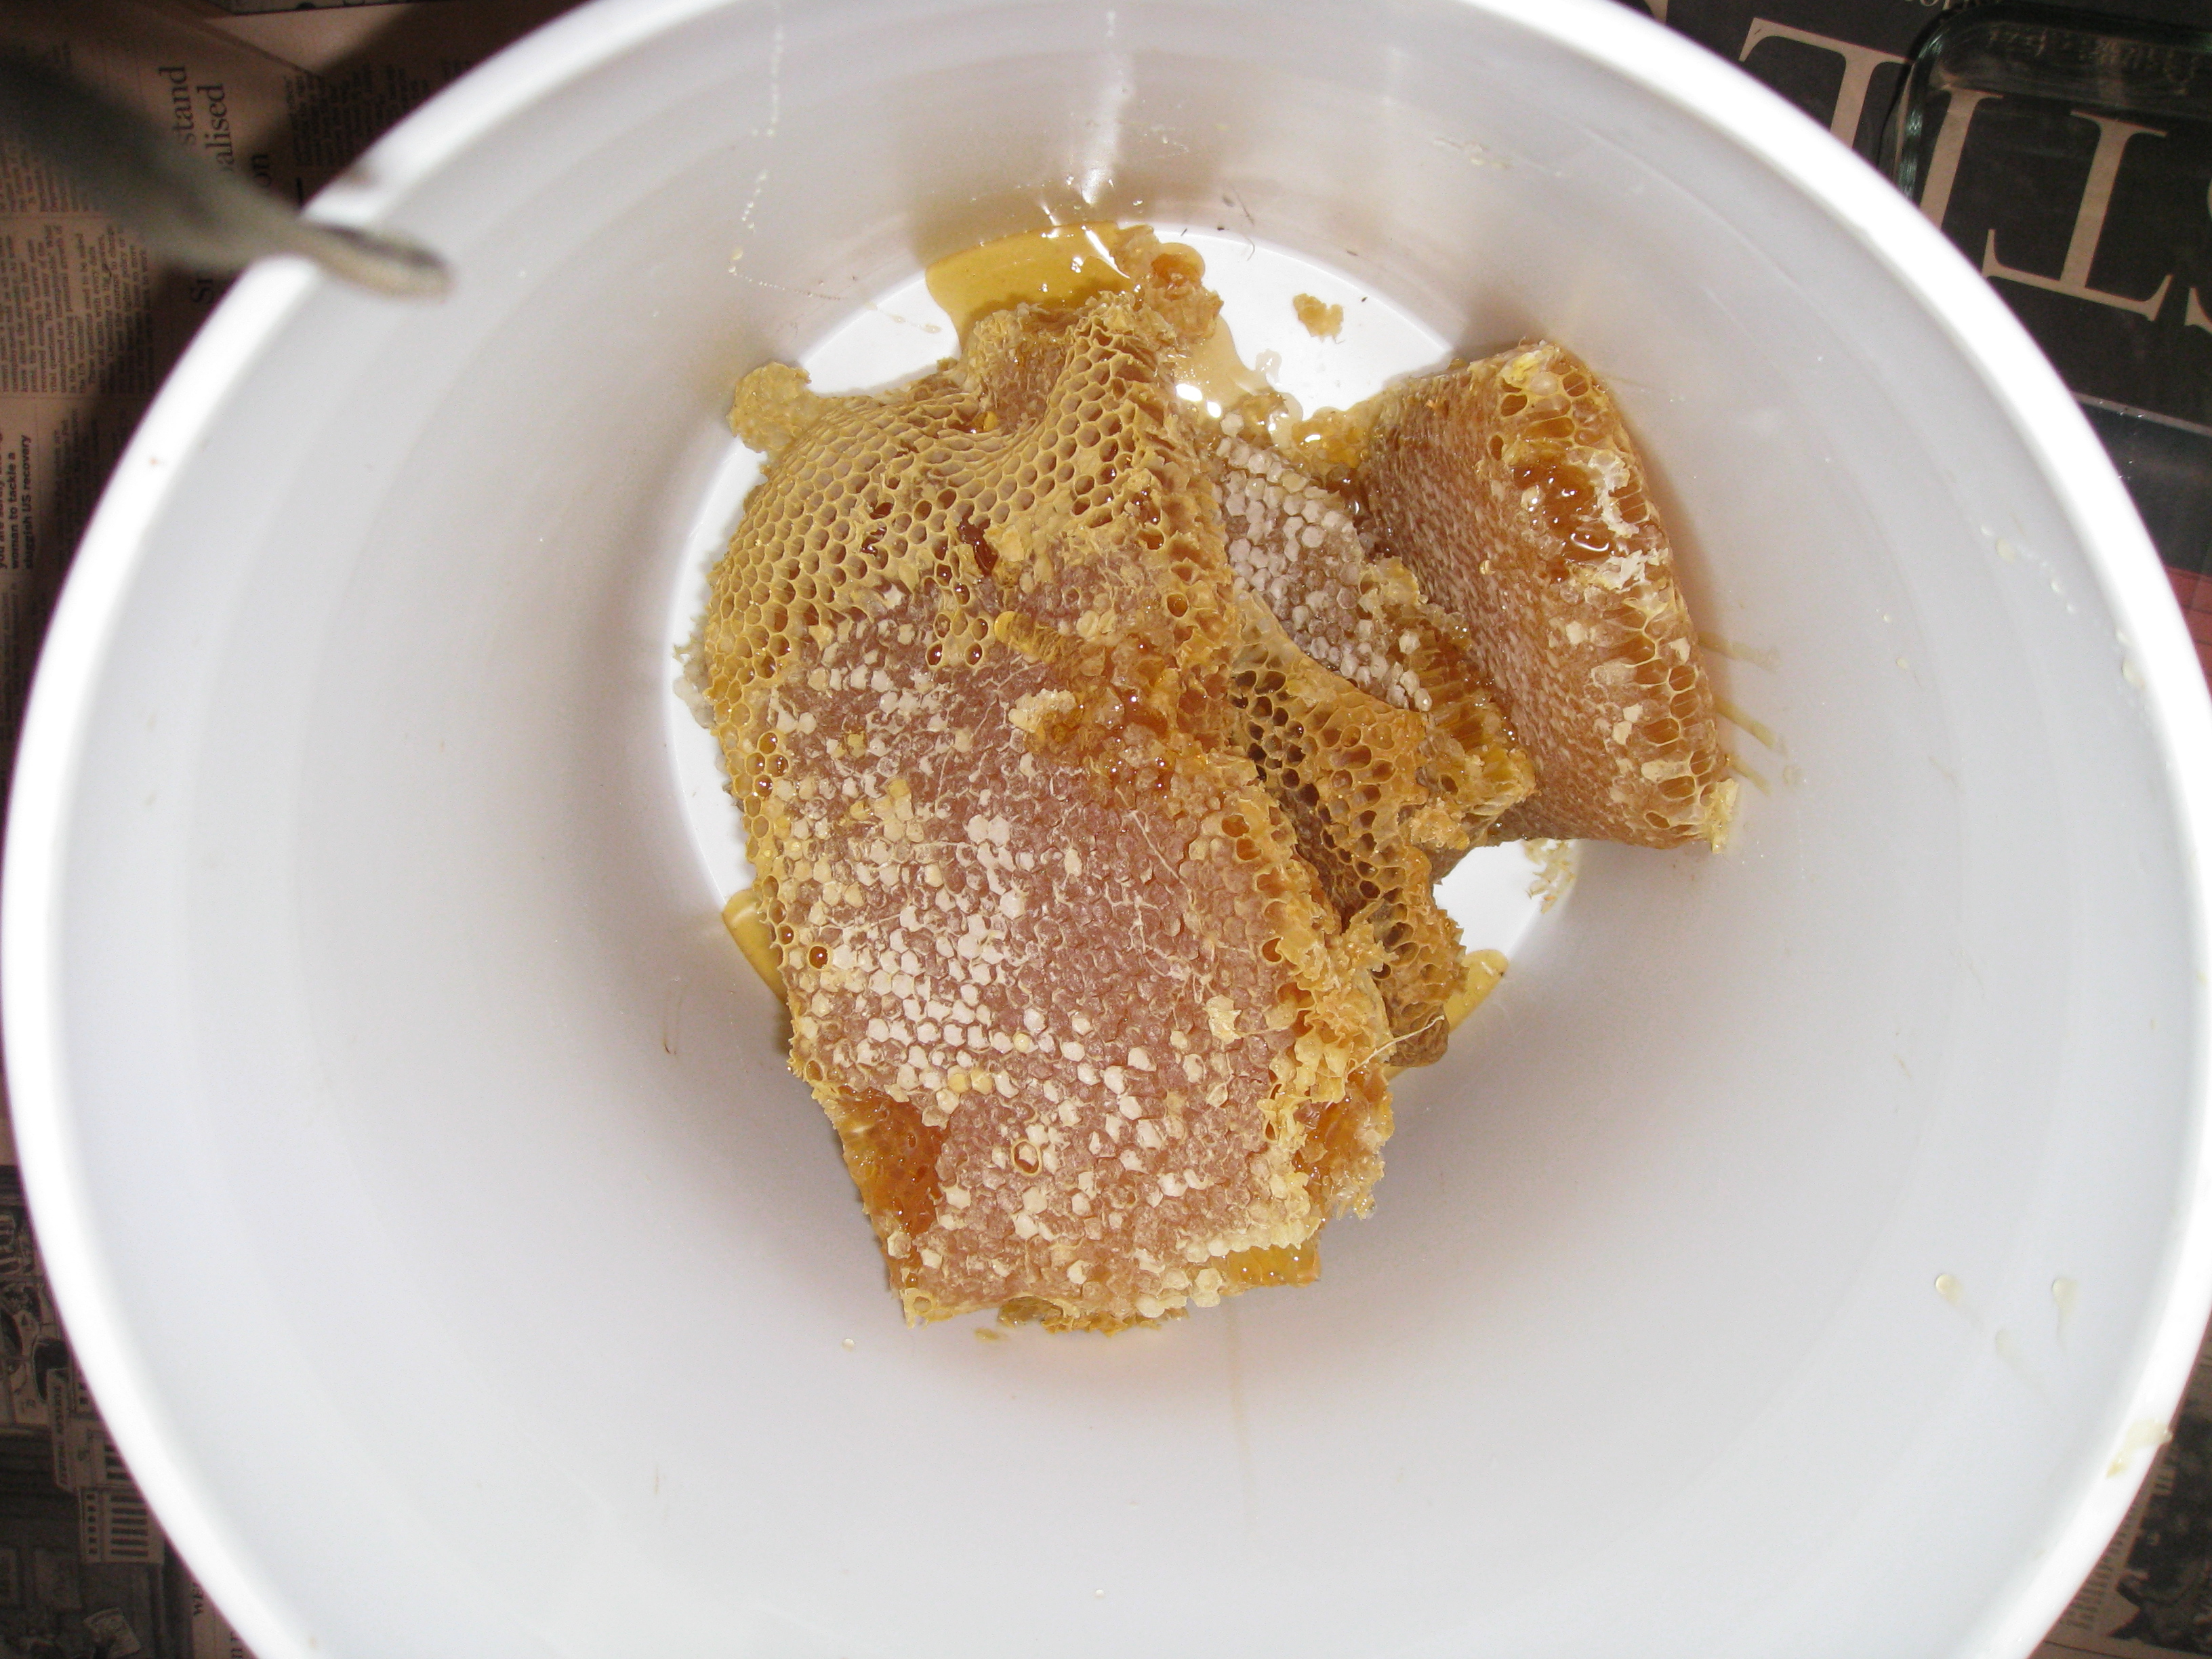
We encountered several frames with uncapped honey on one side, but capped honey on the other. So we swapped those out for finished frames in a lower super. Still some of our finished honeycomb was uncapped–nectar, as it’s called — since the water content is too high. That makes it unsafe to store. We processed the sections of nectar comb separately and put it in the fridge for immediate consumption. What was left was crushed in a food-safe bucket.

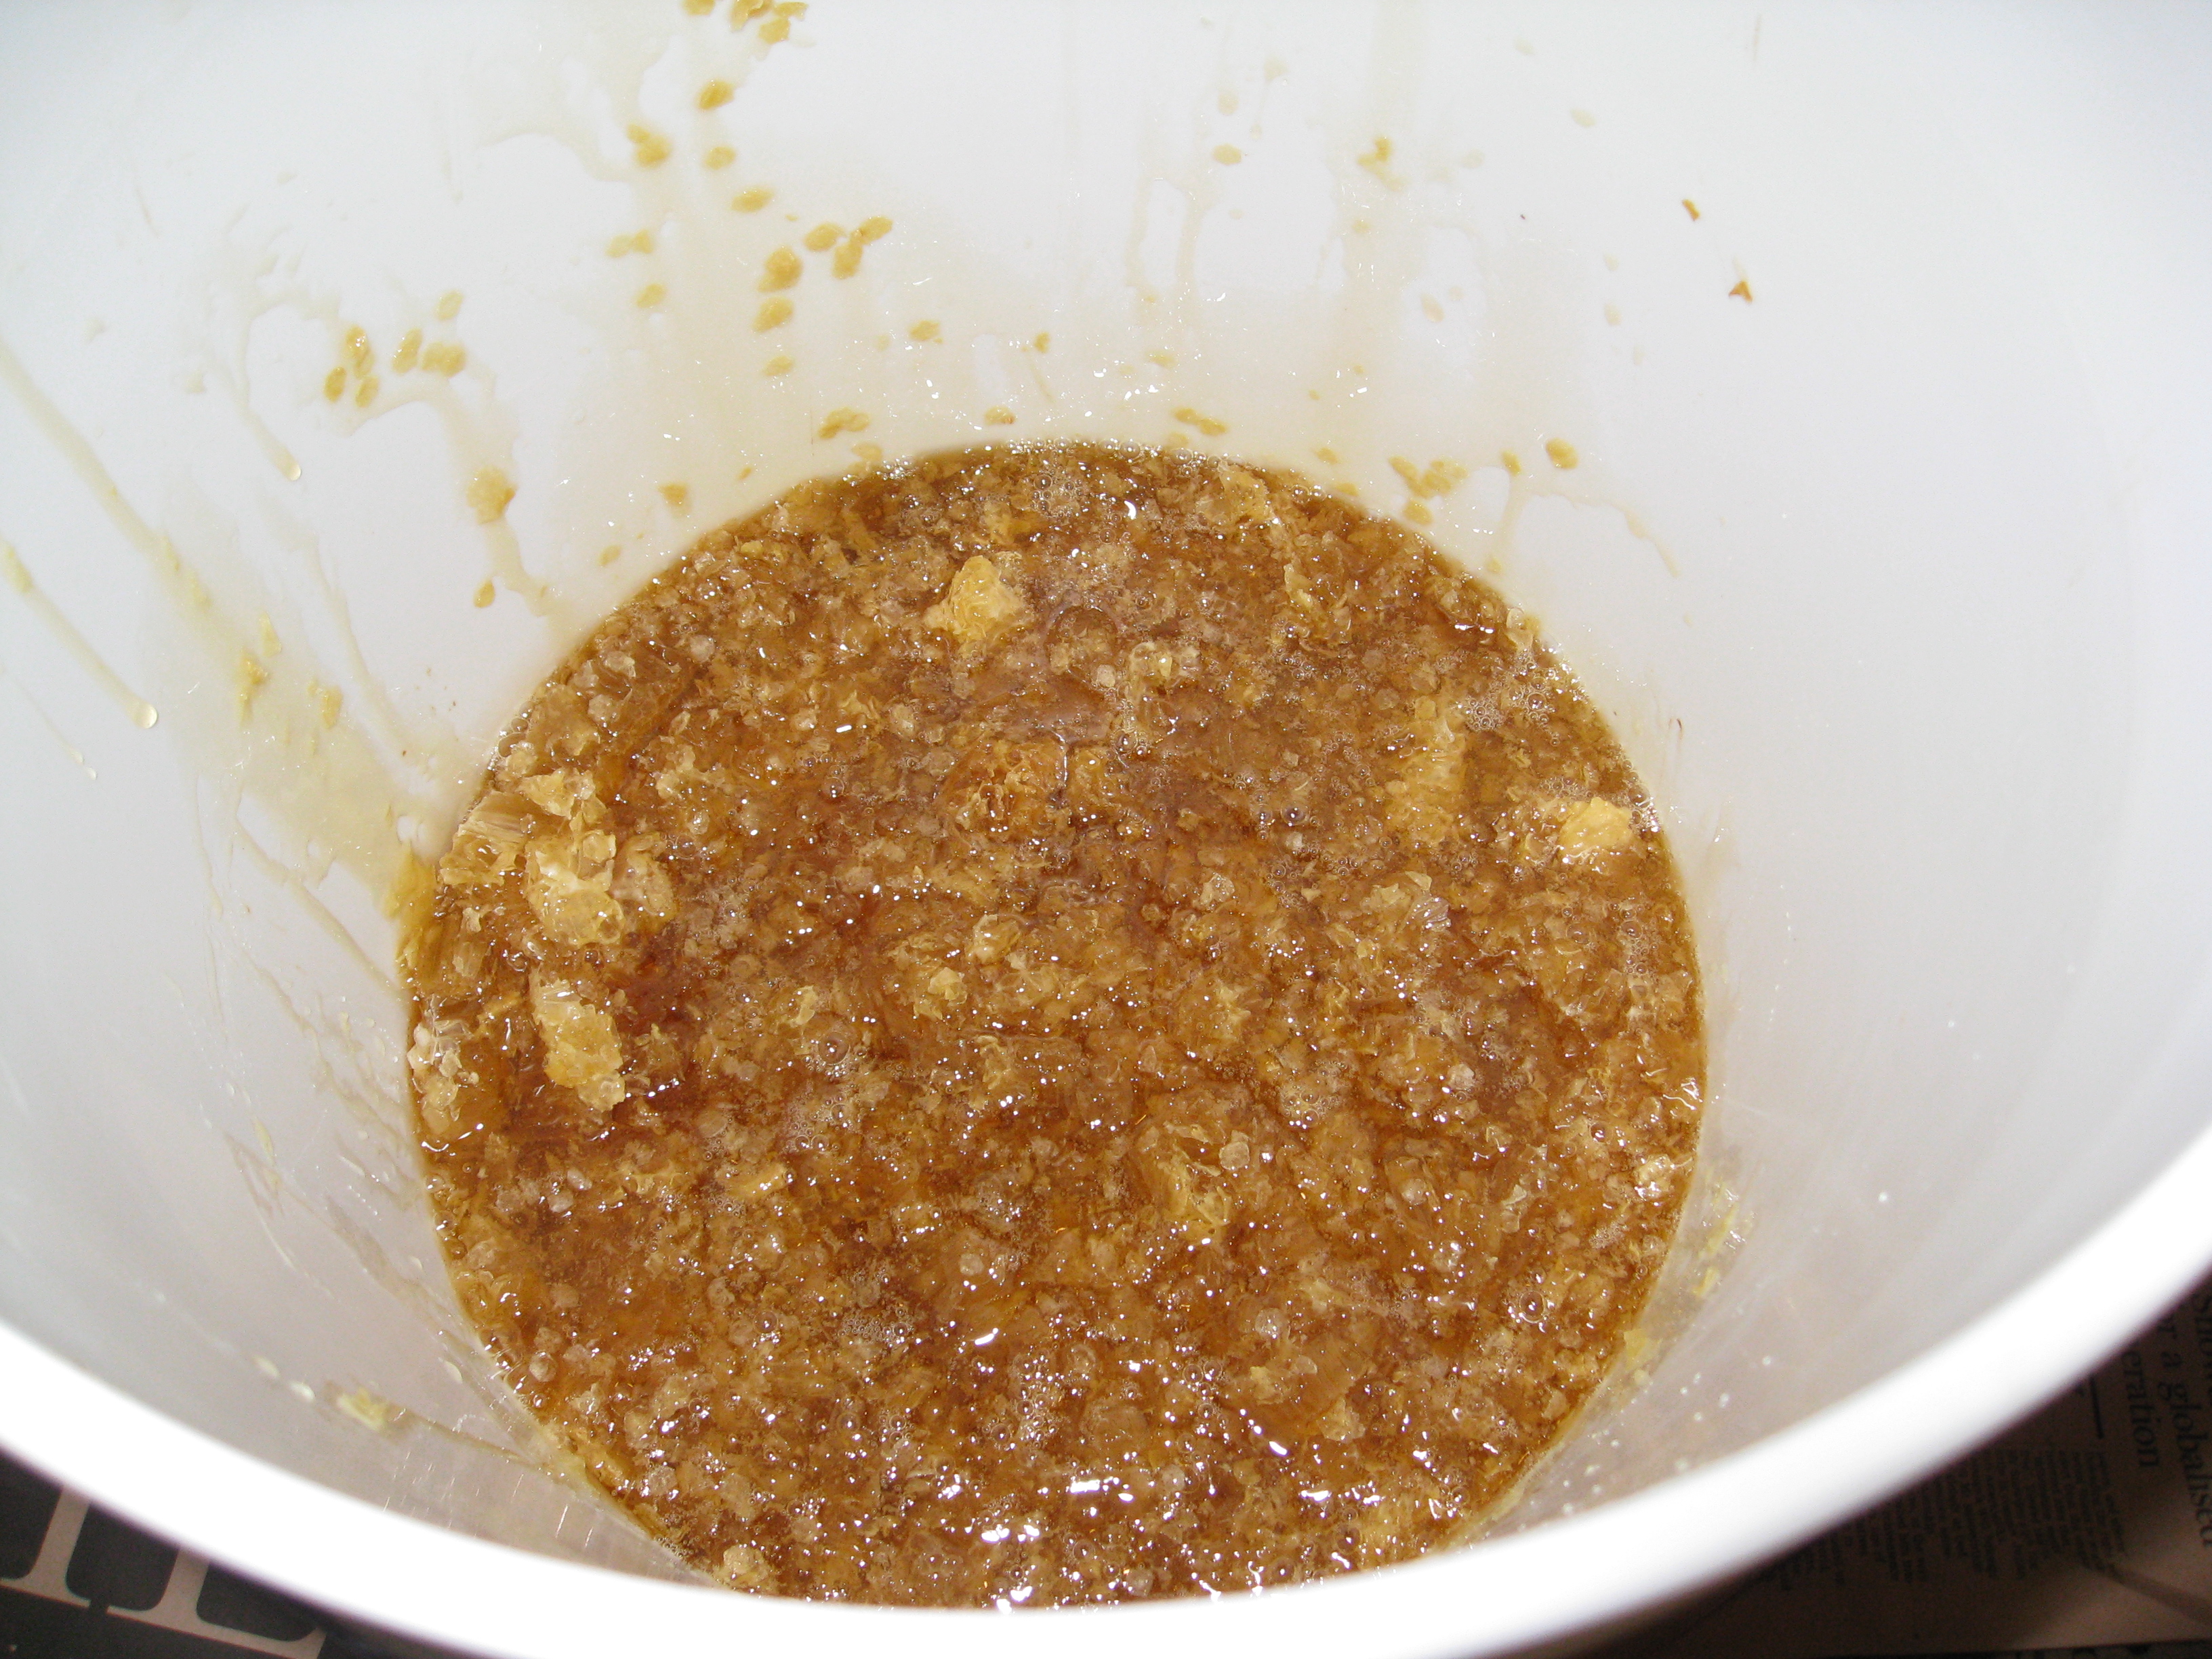
Here’s what it looks like afterward…
Now it’s time to strain it. We outfitted another bucket with a paint strainer (available from paint or hardware stores), washed it first, and duct taped it to another bucket so it was suspended.
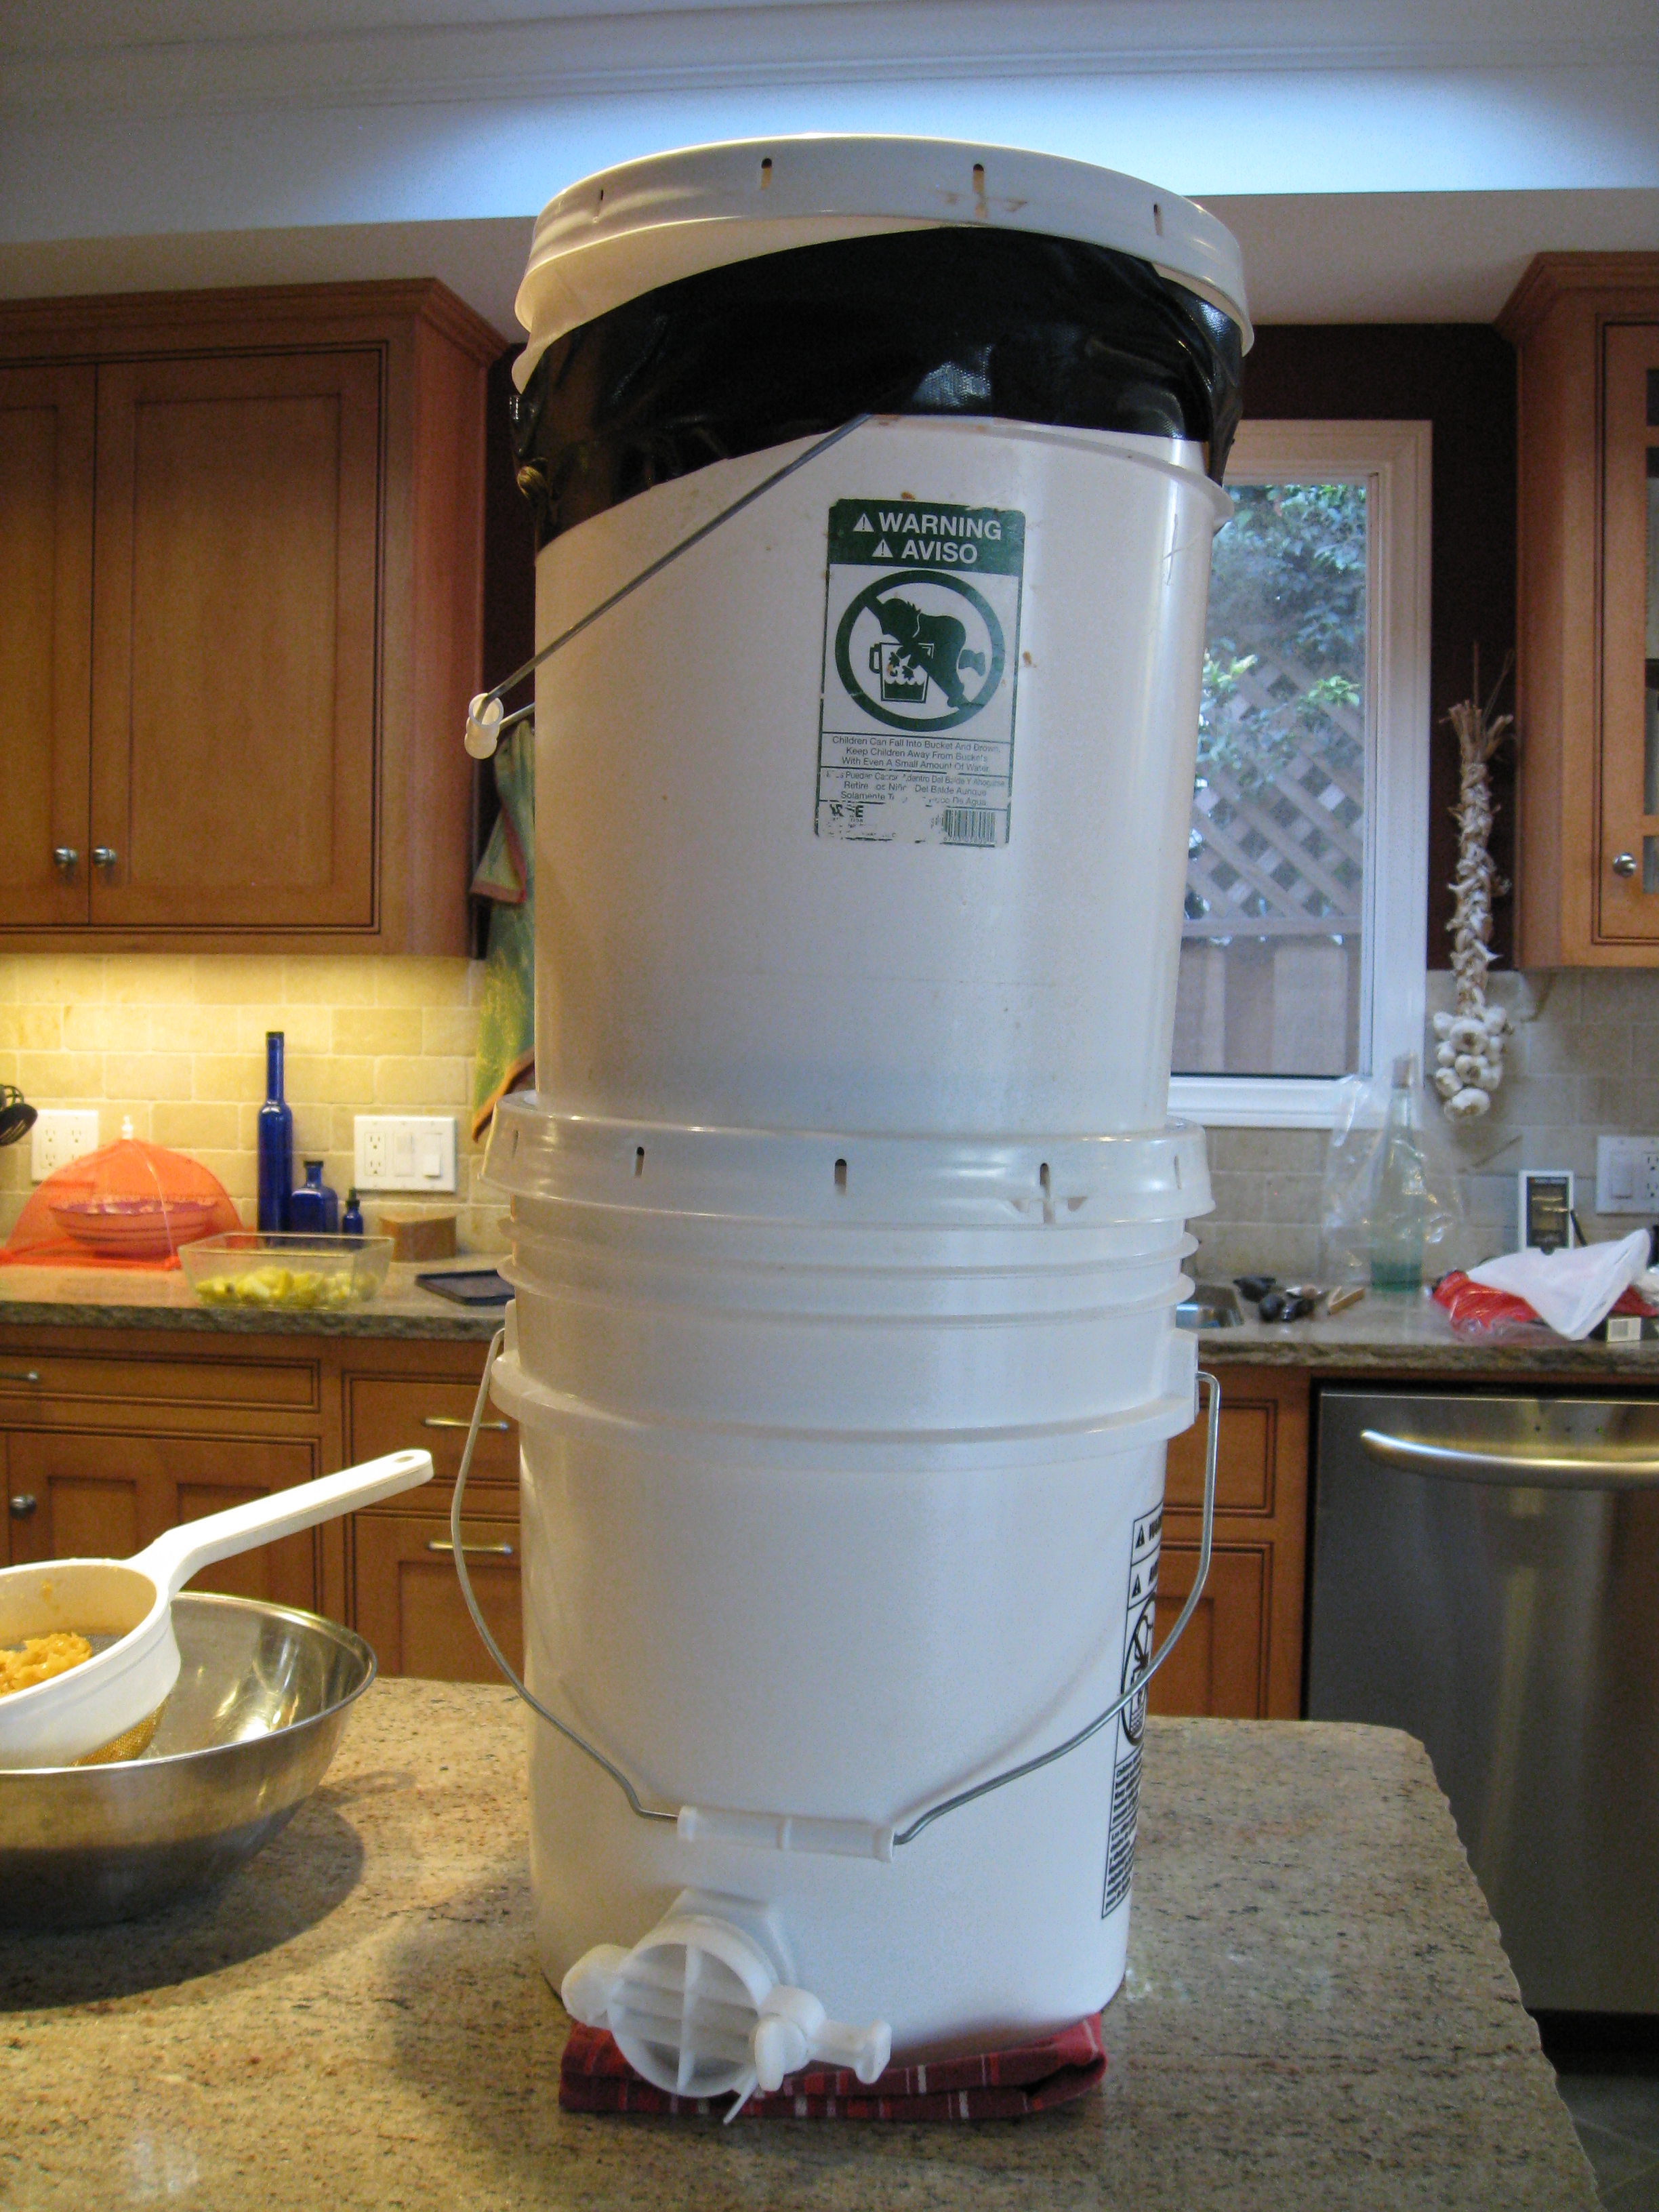
The crushed comb is transferred into the strainer bucket, and the strainer bucket is placed on top of another bucket with a fancy spigot called a “gate.” The honey flows through holes in the bottom of the strainer bucket into its final resting place.
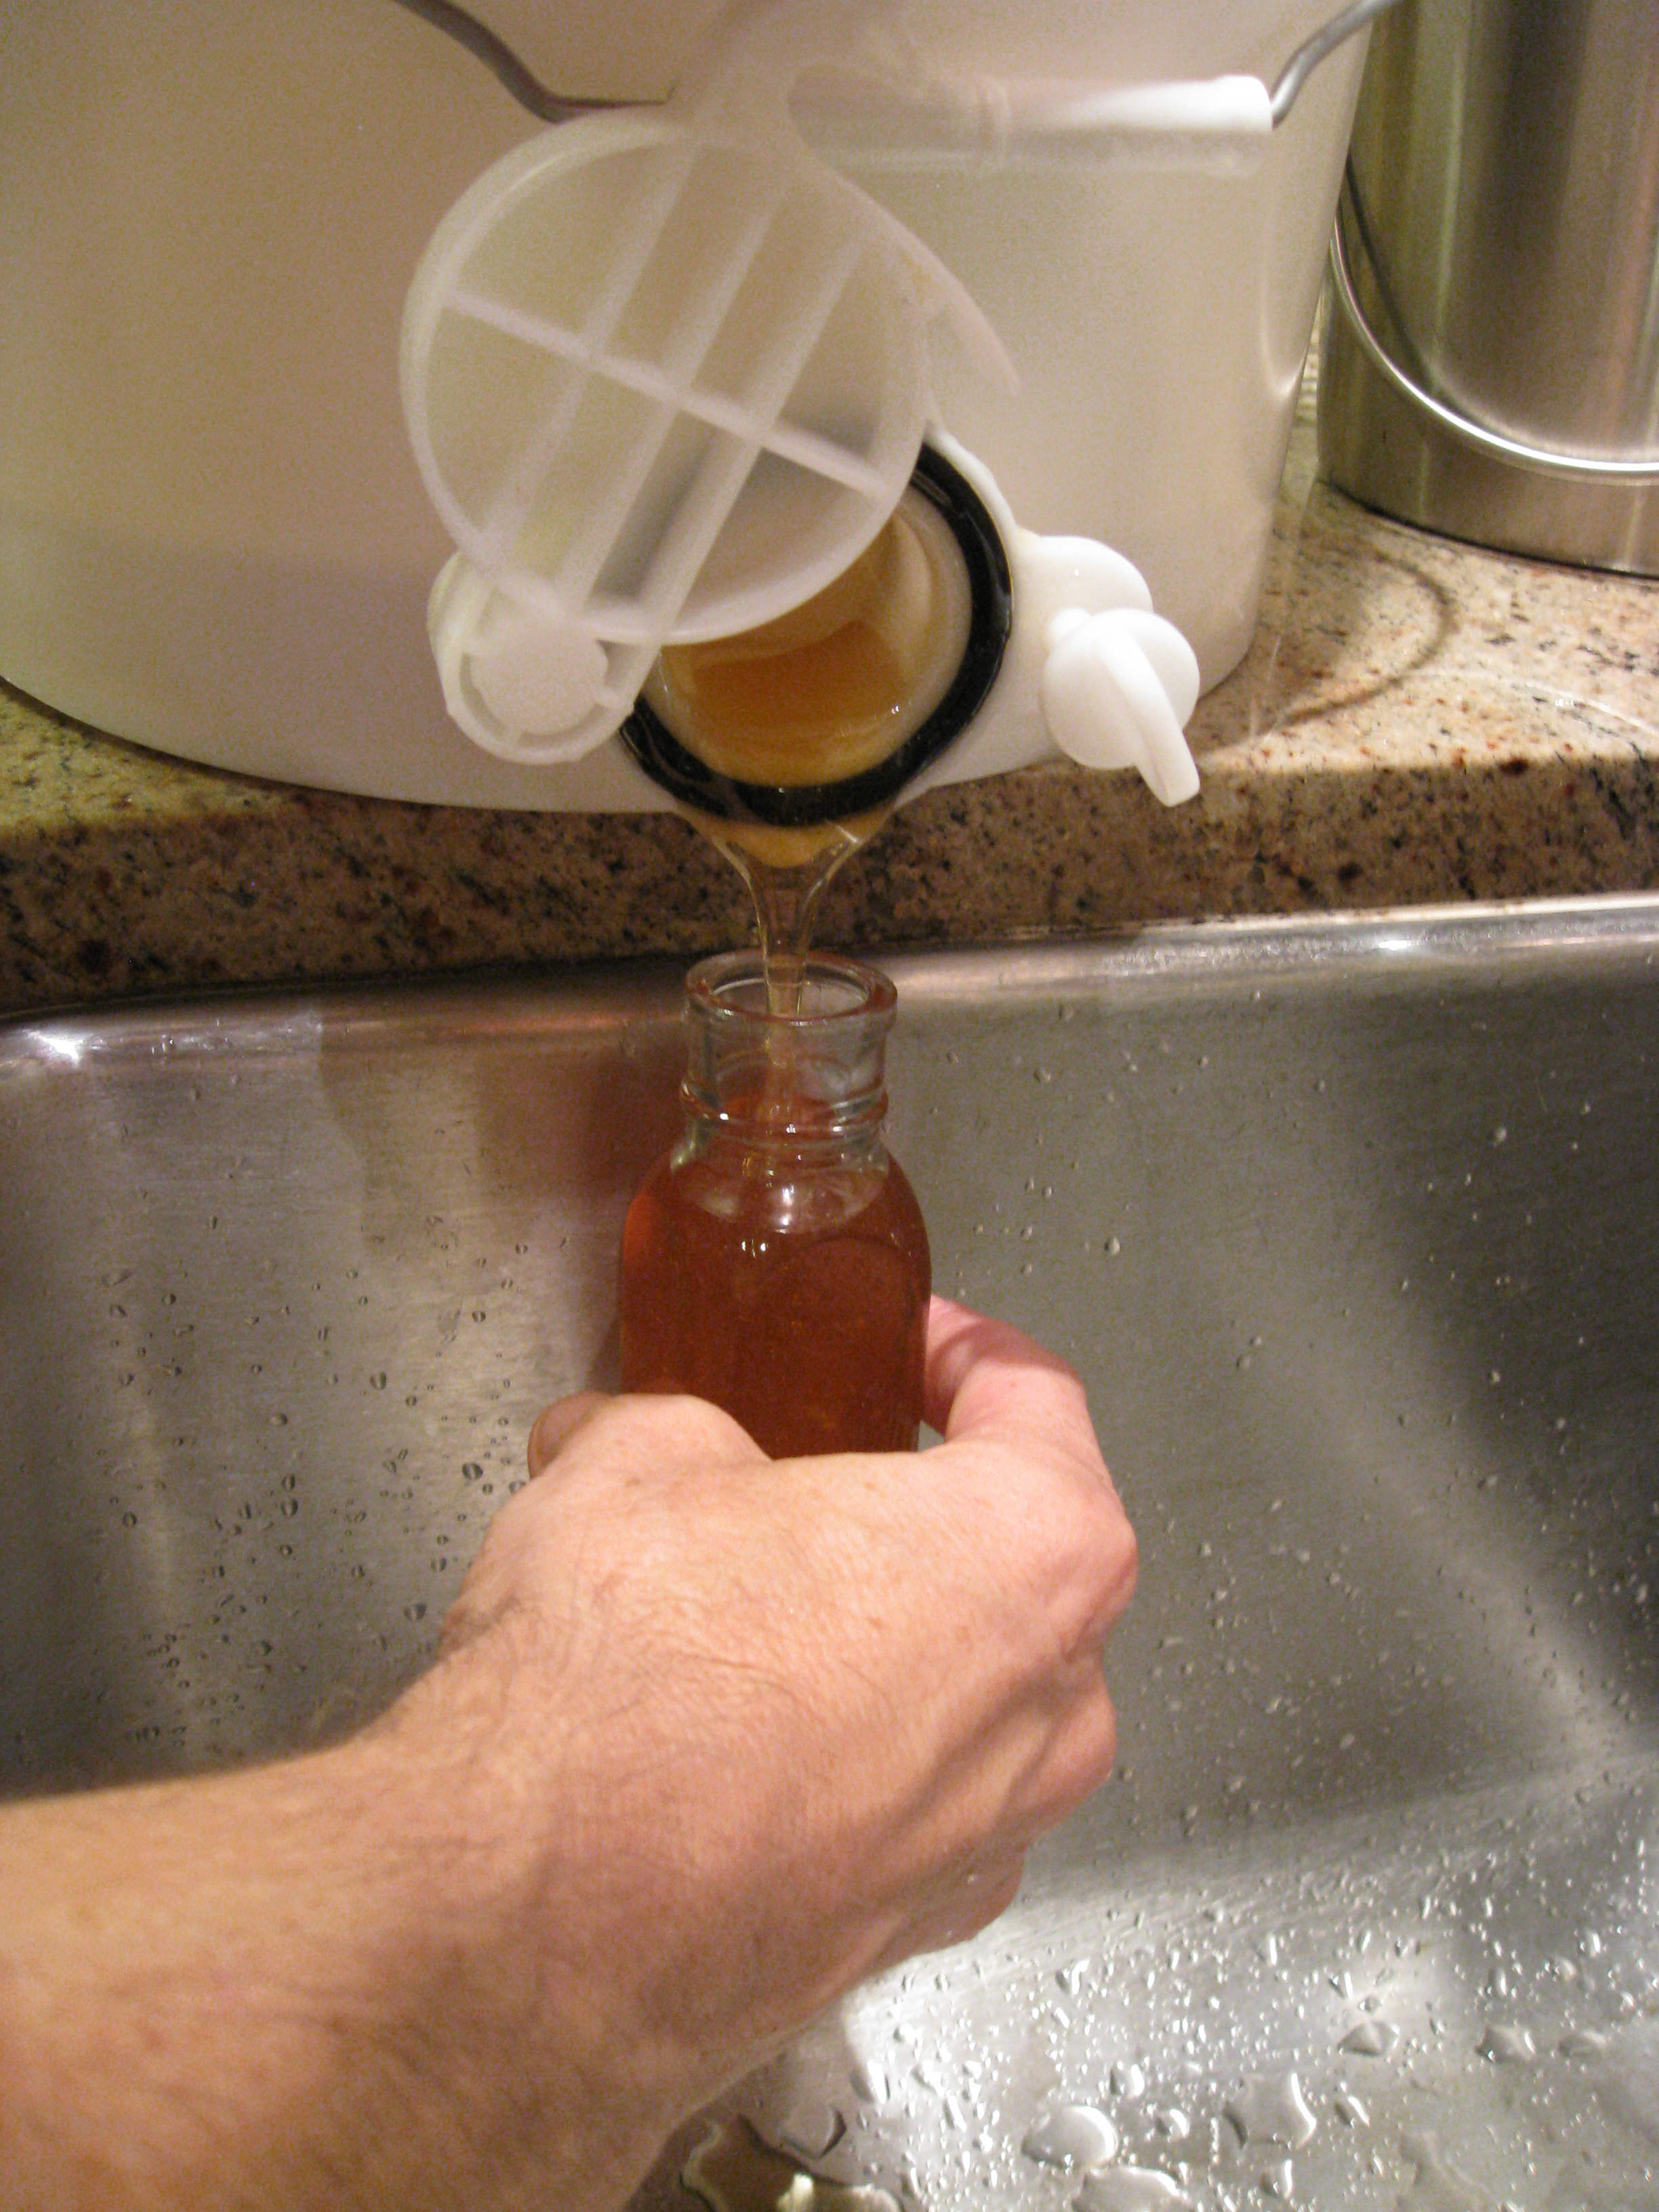
Now bottling
This was both fun and nerve wracking. Would the honey flow into our really cool bottles that have tiny openings? After a dribble here and there, we finally figured it out.
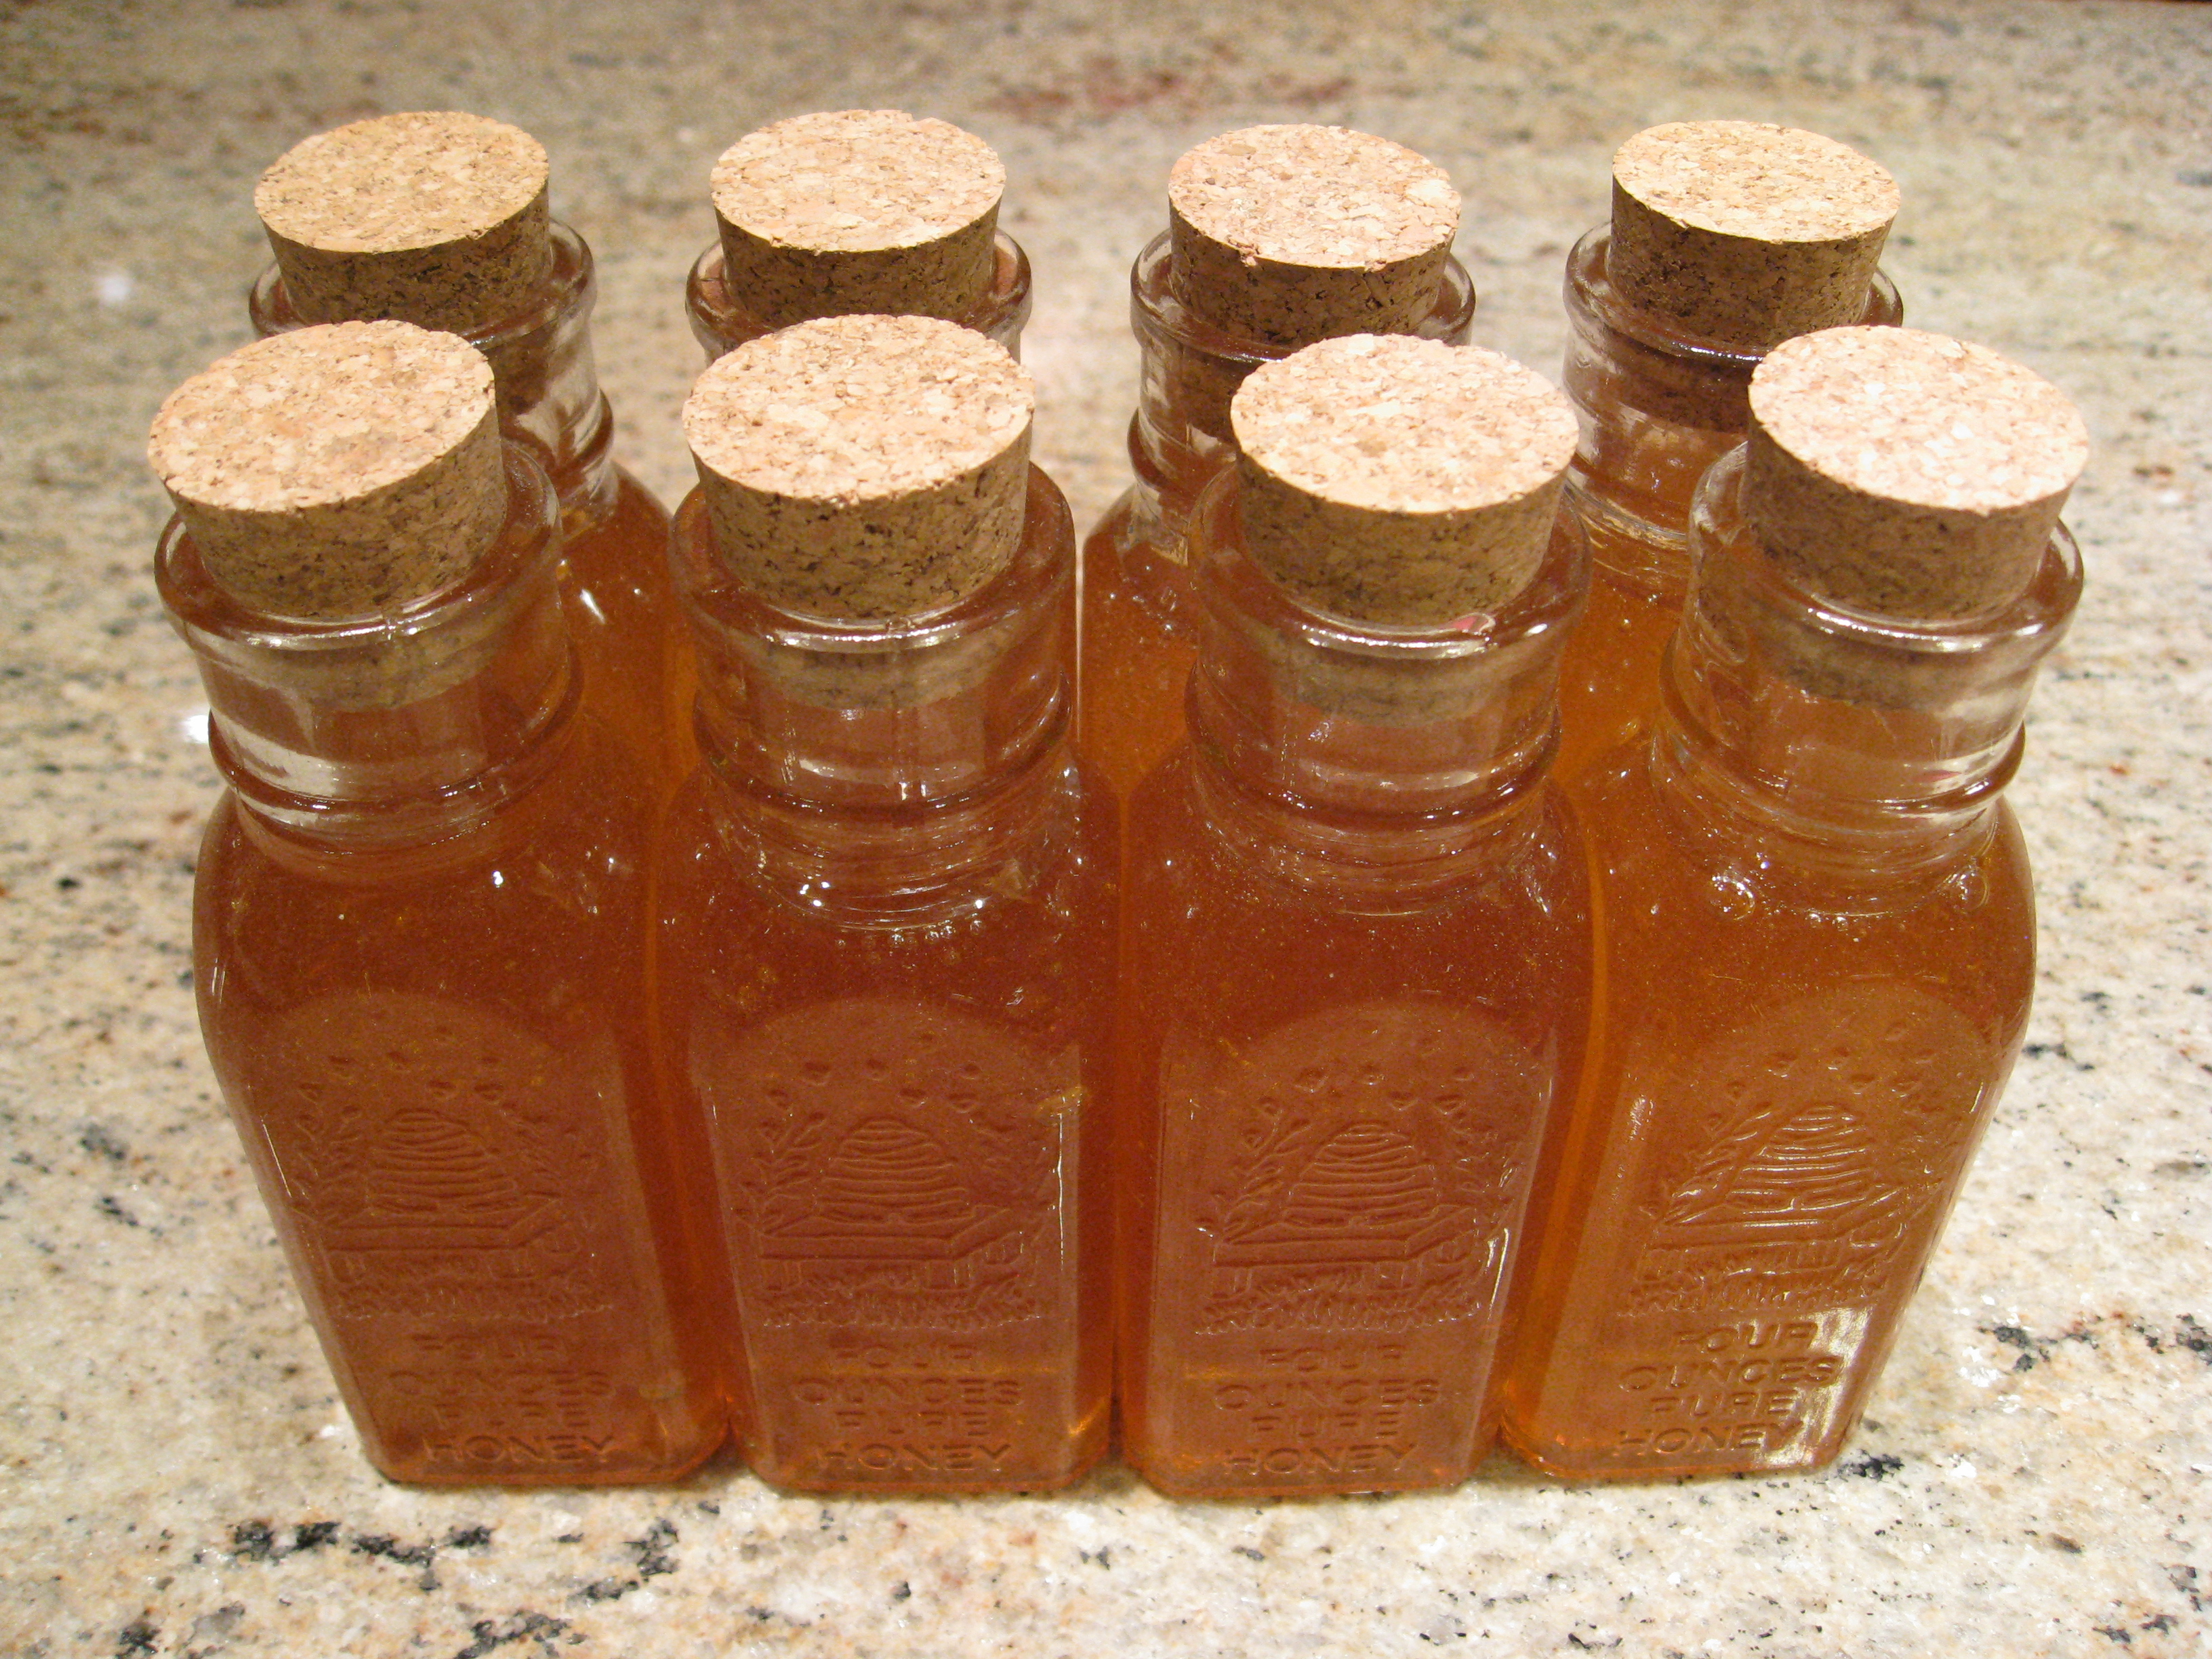
Savoring the Harvest
All told, we harvested only about 8 pounds (a pound of which was nectar). Still that’s enough to fill a couple of large jars and about 20 of these cute bottles below. It will keep us happy for awhile and provide us with gifts for the holidays.
I’m getting ready for a harvest this weekend.
I have plenty of hex jars but I’d love to find those tall one pound jars this year. Any idea where I may find them?
Thanks.
Have you tried Dadant.com? They have a lot of different sized jars for honey harvesting. Most of our jars are reused from various sources: peanut butter, jam, spaghetti sauce, etc. As long as the lid doesn’t smell like what was in it before, we’re good to go.