I can’t believe I haven’t written about growing garlic before. Sure, we’ve covered harvesting garlic and even shown you how to make your own garlic braid, but we’ve never started from the beginning on this blog.
Maybe it’s because growing garlic is so easy. It’s the first thing I ever grew on my own (aside from the carrots and peas I grew with my parents as a kid). My boyfriend and I didn’t know a thing about gardening. We dug into our dense clay soil to plant our first cloves. We didn’t even amend it with compost (didn’t know any better). We just planted the cloves and 5 months later we had the most gorgeous looking garlic you’ve ever seen. But if you want to do it right…
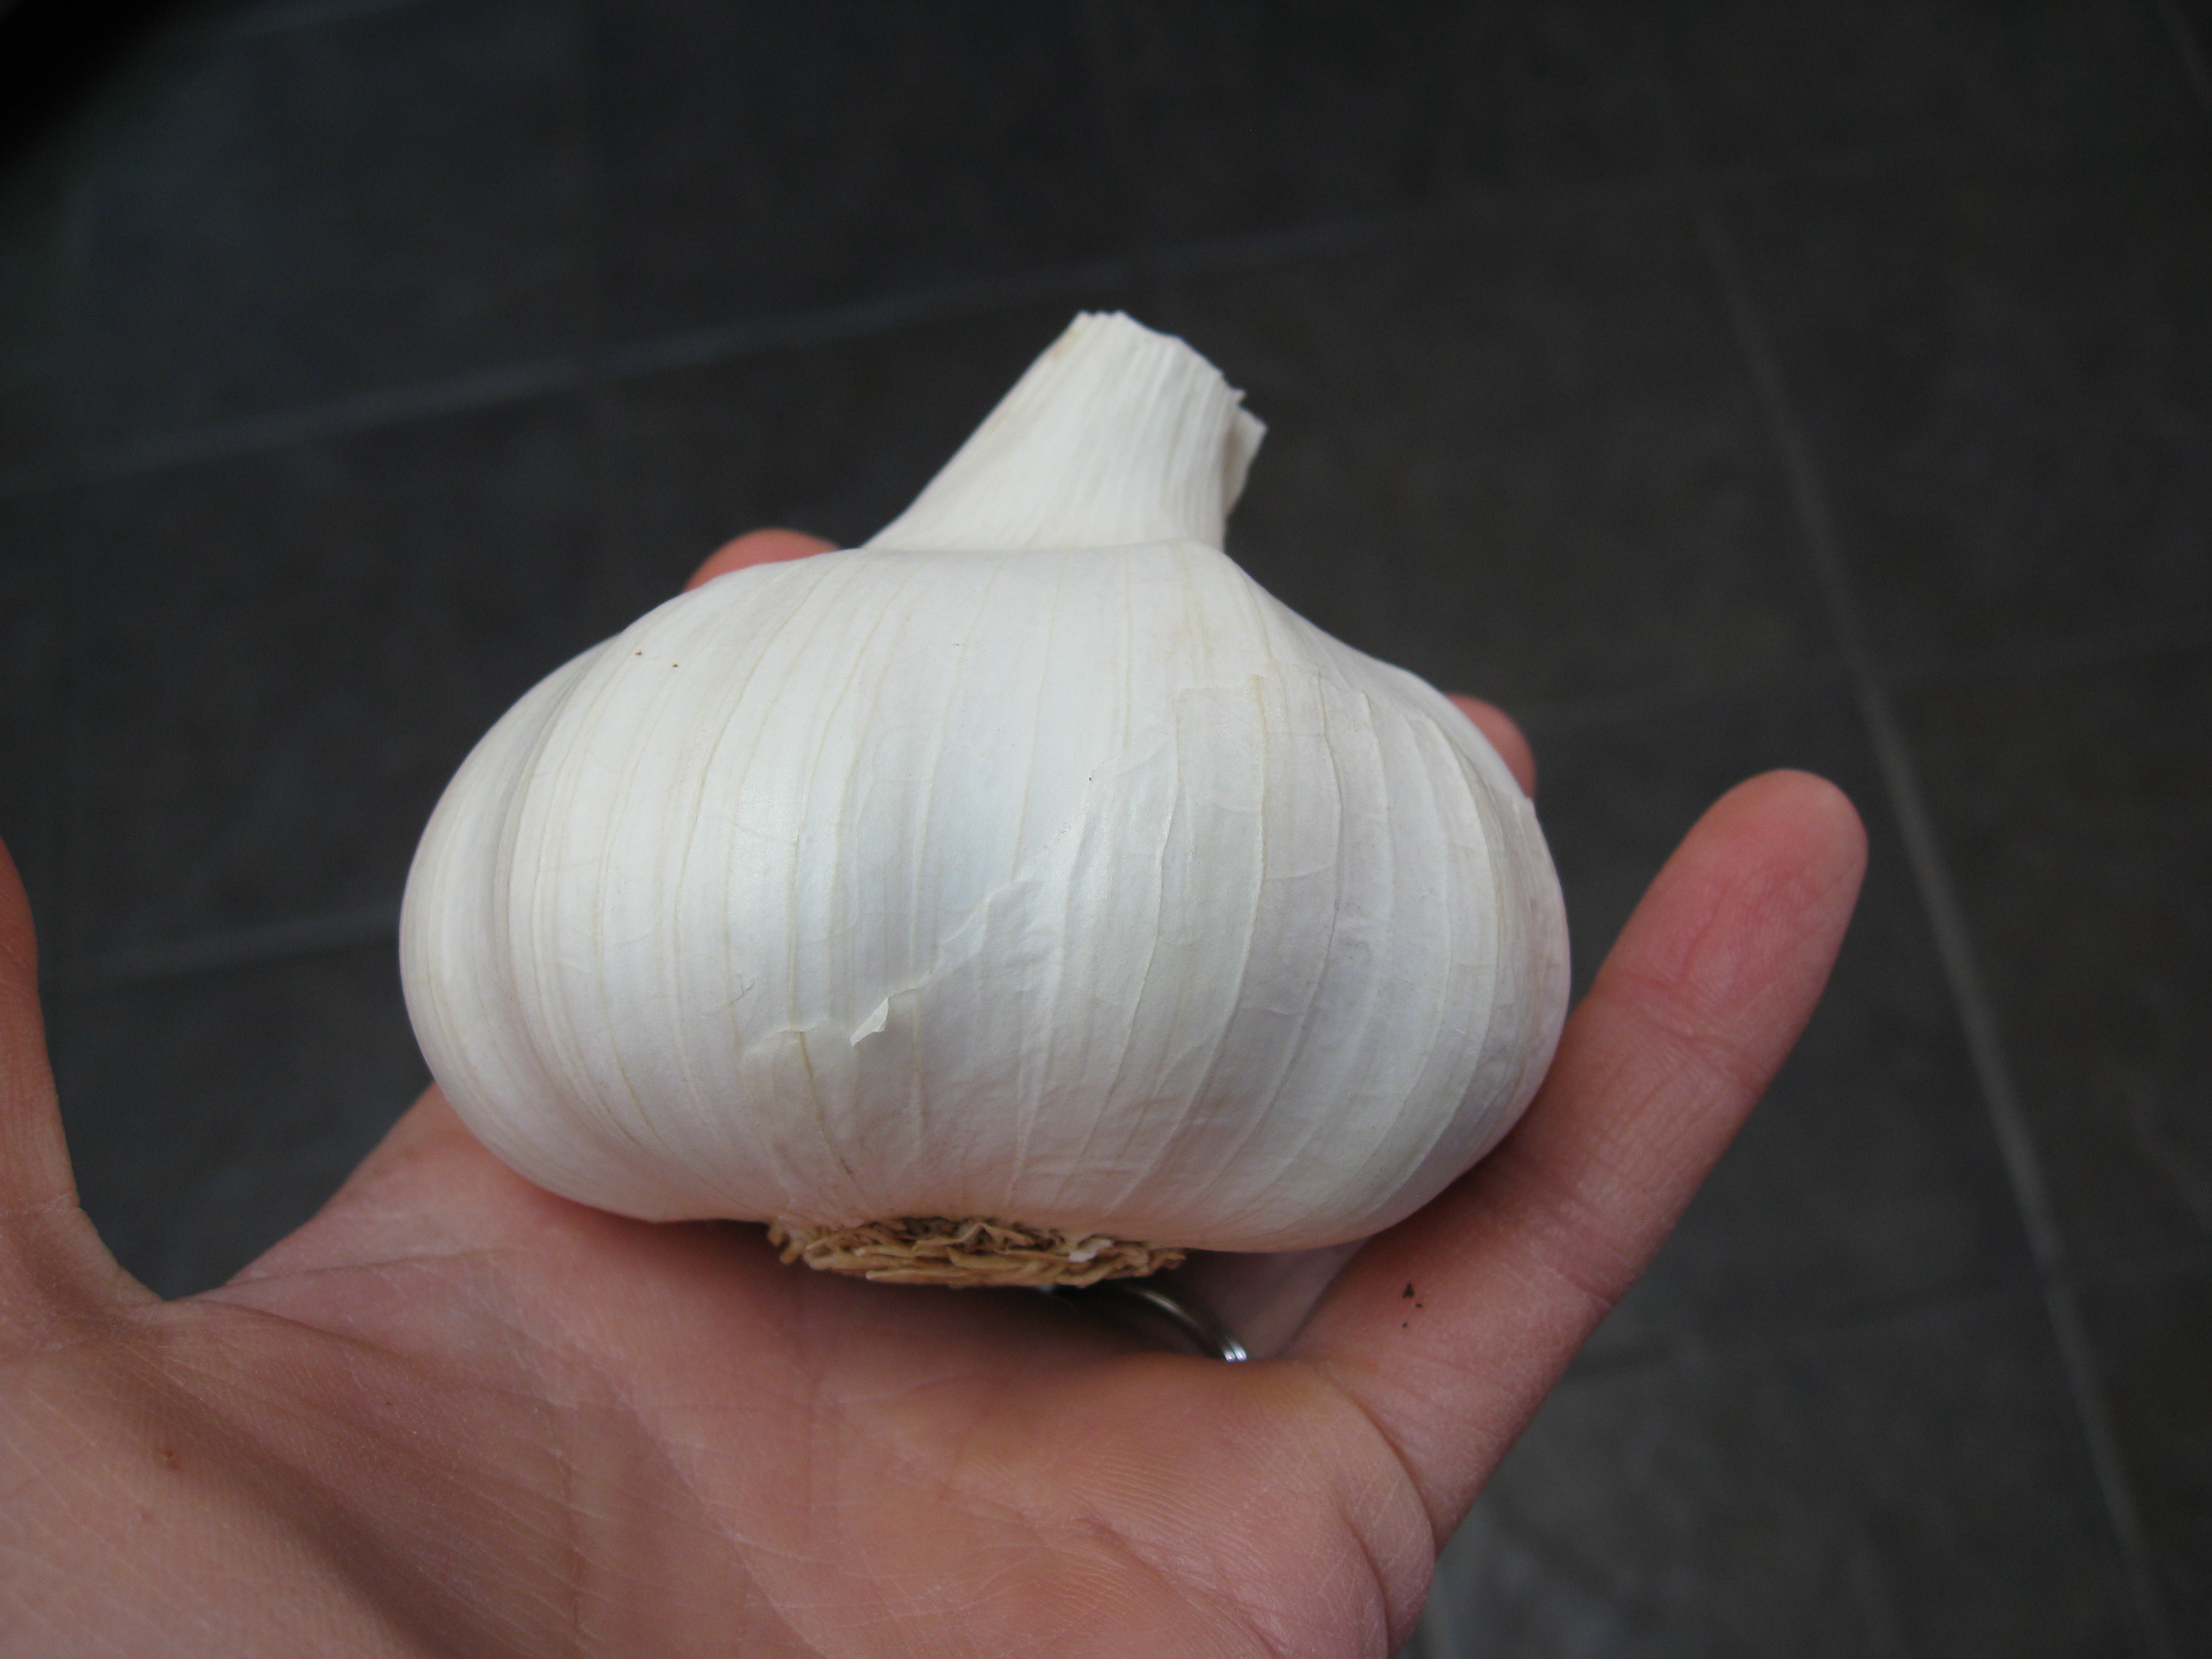
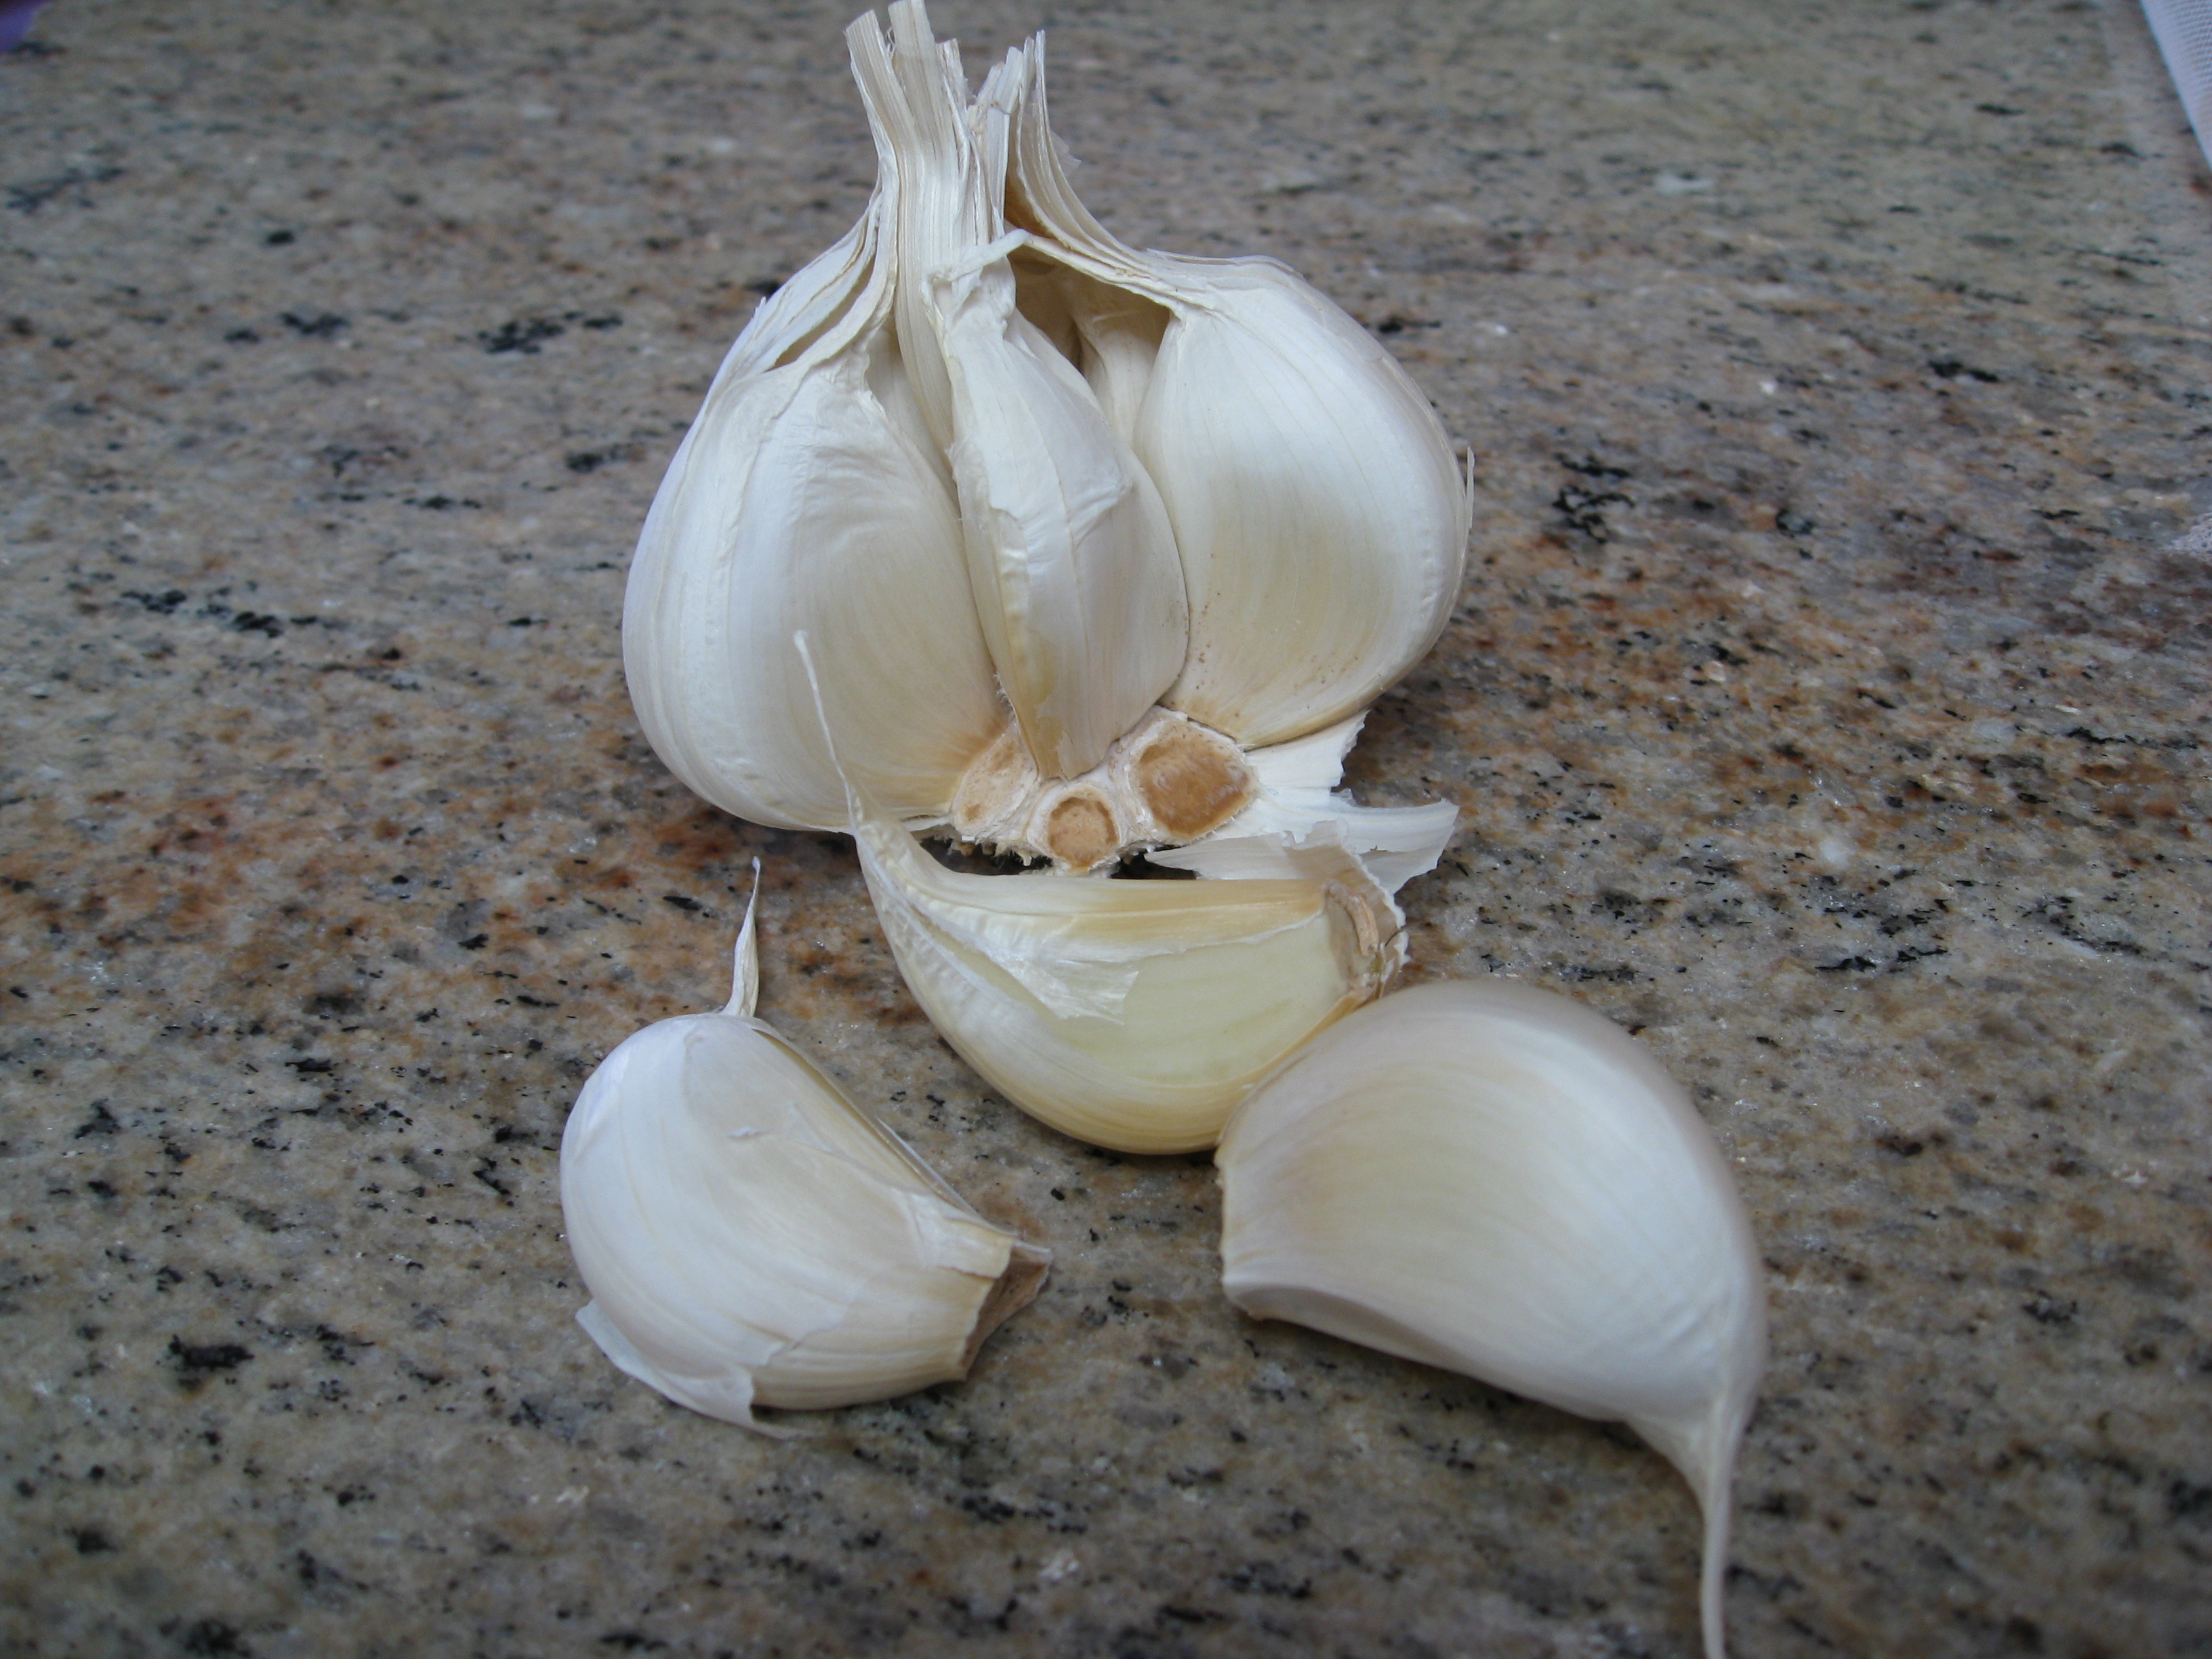
Choosing Varieties
The general rule of thumb is hardneck garlic for Northern gardeners and softnecks for Southern. That said, we have friends who break that rule all the time without consequences. We love Kettle River Giant softneck garlic. It’s large, it stores for 9 months and it tolerates our heat and sandy soil.
Commercially available garlic (sold at supermarkets) is usually sprayed with a hormone to retard sprouting, so buy from your farmers market where you can ask the farmer if it’s been sprayed. You can also purchase seed garlic from online catalogs and local nurseries.
Timing
Garlic is best grown in fall and harvested the following late-spring. Here in Los Angeles, we plant in October. In places where the ground freezes, you can still plant in fall, but be sure to plant 6-8 weeks prior to your typical hard frost date.
Garlic can be grown in spring, the result is usually a smaller bulb. You can also harvest it as green garlic if you don’t want to wait for full maturity.
Amend Your Soil
Garlic likes loamy soil (don’t tell our first batch of garlic), so add plenty of compost before planting. Have mulch handy to cover bare soil after planting.
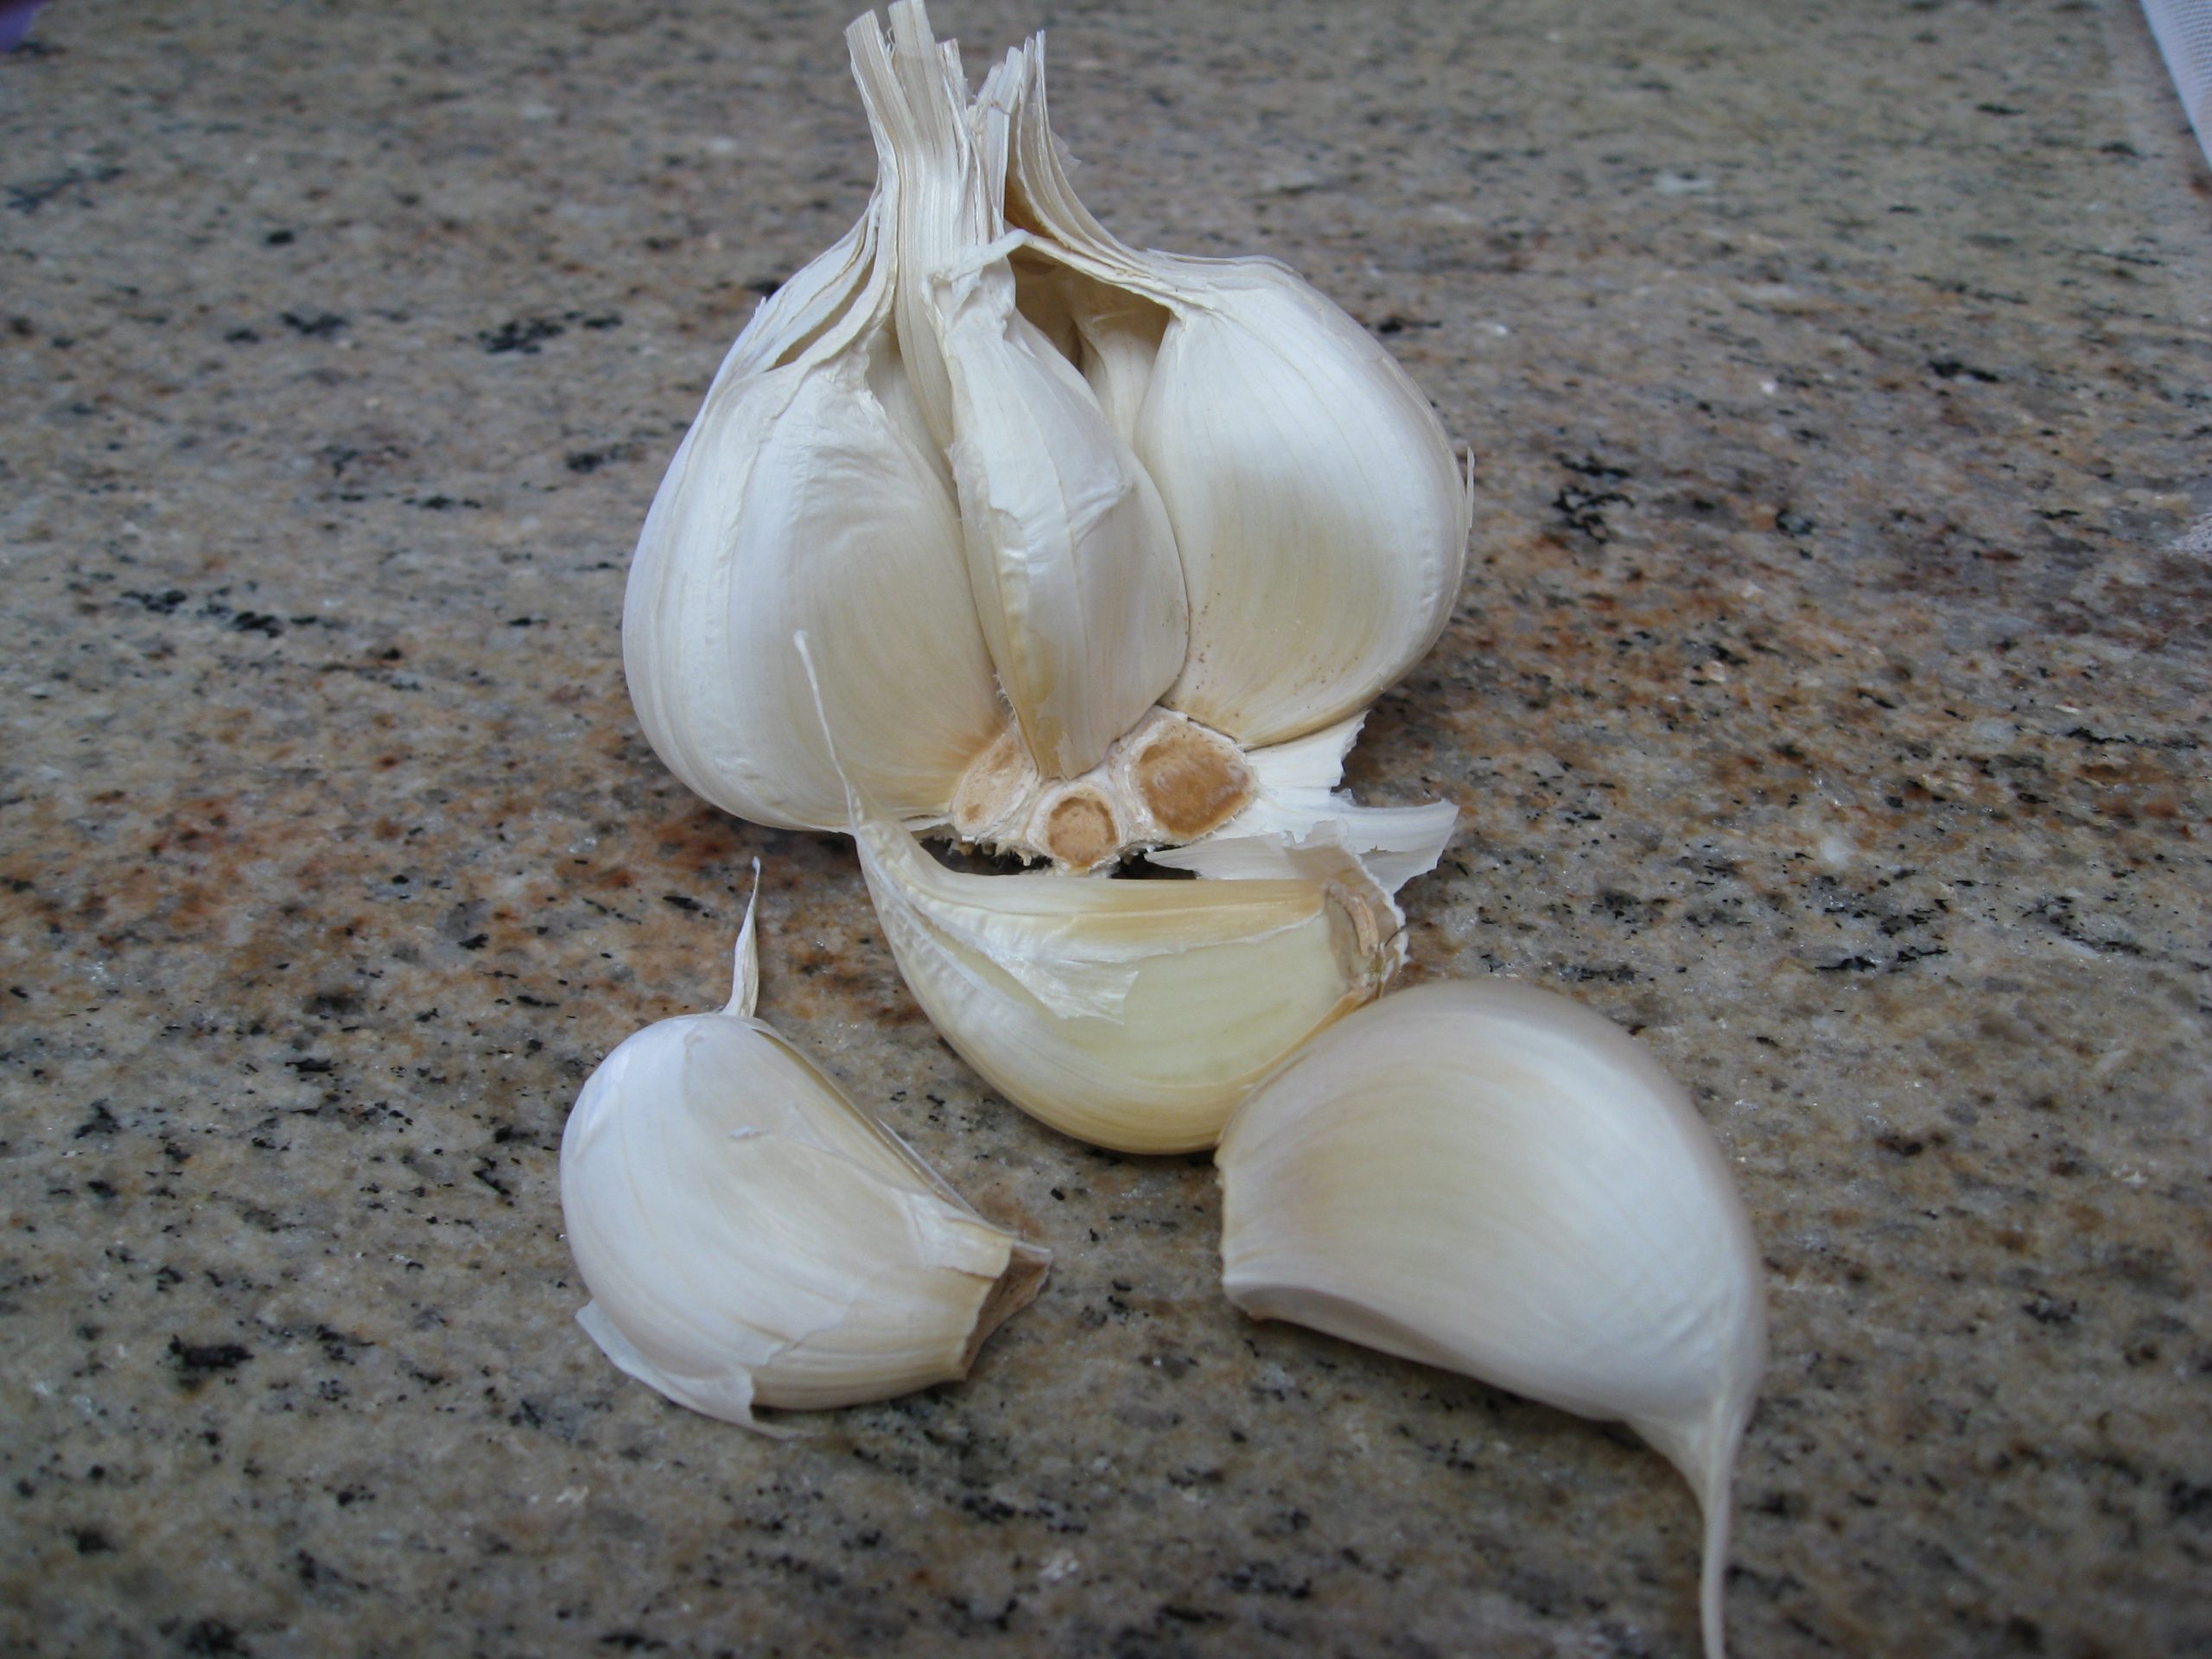
Planting
We’ve read differing opinions about how deep to plant garlic, anywhere from 4″ deep to tips sticking out above soil surface. We plant our cloves 2″ deep. Here’s a good way to measure: Hold the tip (pointy end) of the clove between your thumb and forefinger. Push the clove into the soil until the second knuckle of your forefinger is at soil level. That’s it.
Spacing for garlic runs the gambit, too. Some plant 6″ apart, others 4″ apart. It’s really up to you. Most years we plant 4″ apart, but last year we suffered a horrible aphid infestation that took down our entire crop. This year, we’re giving our plants a little more breathing room for good air circulation–6″ apart.
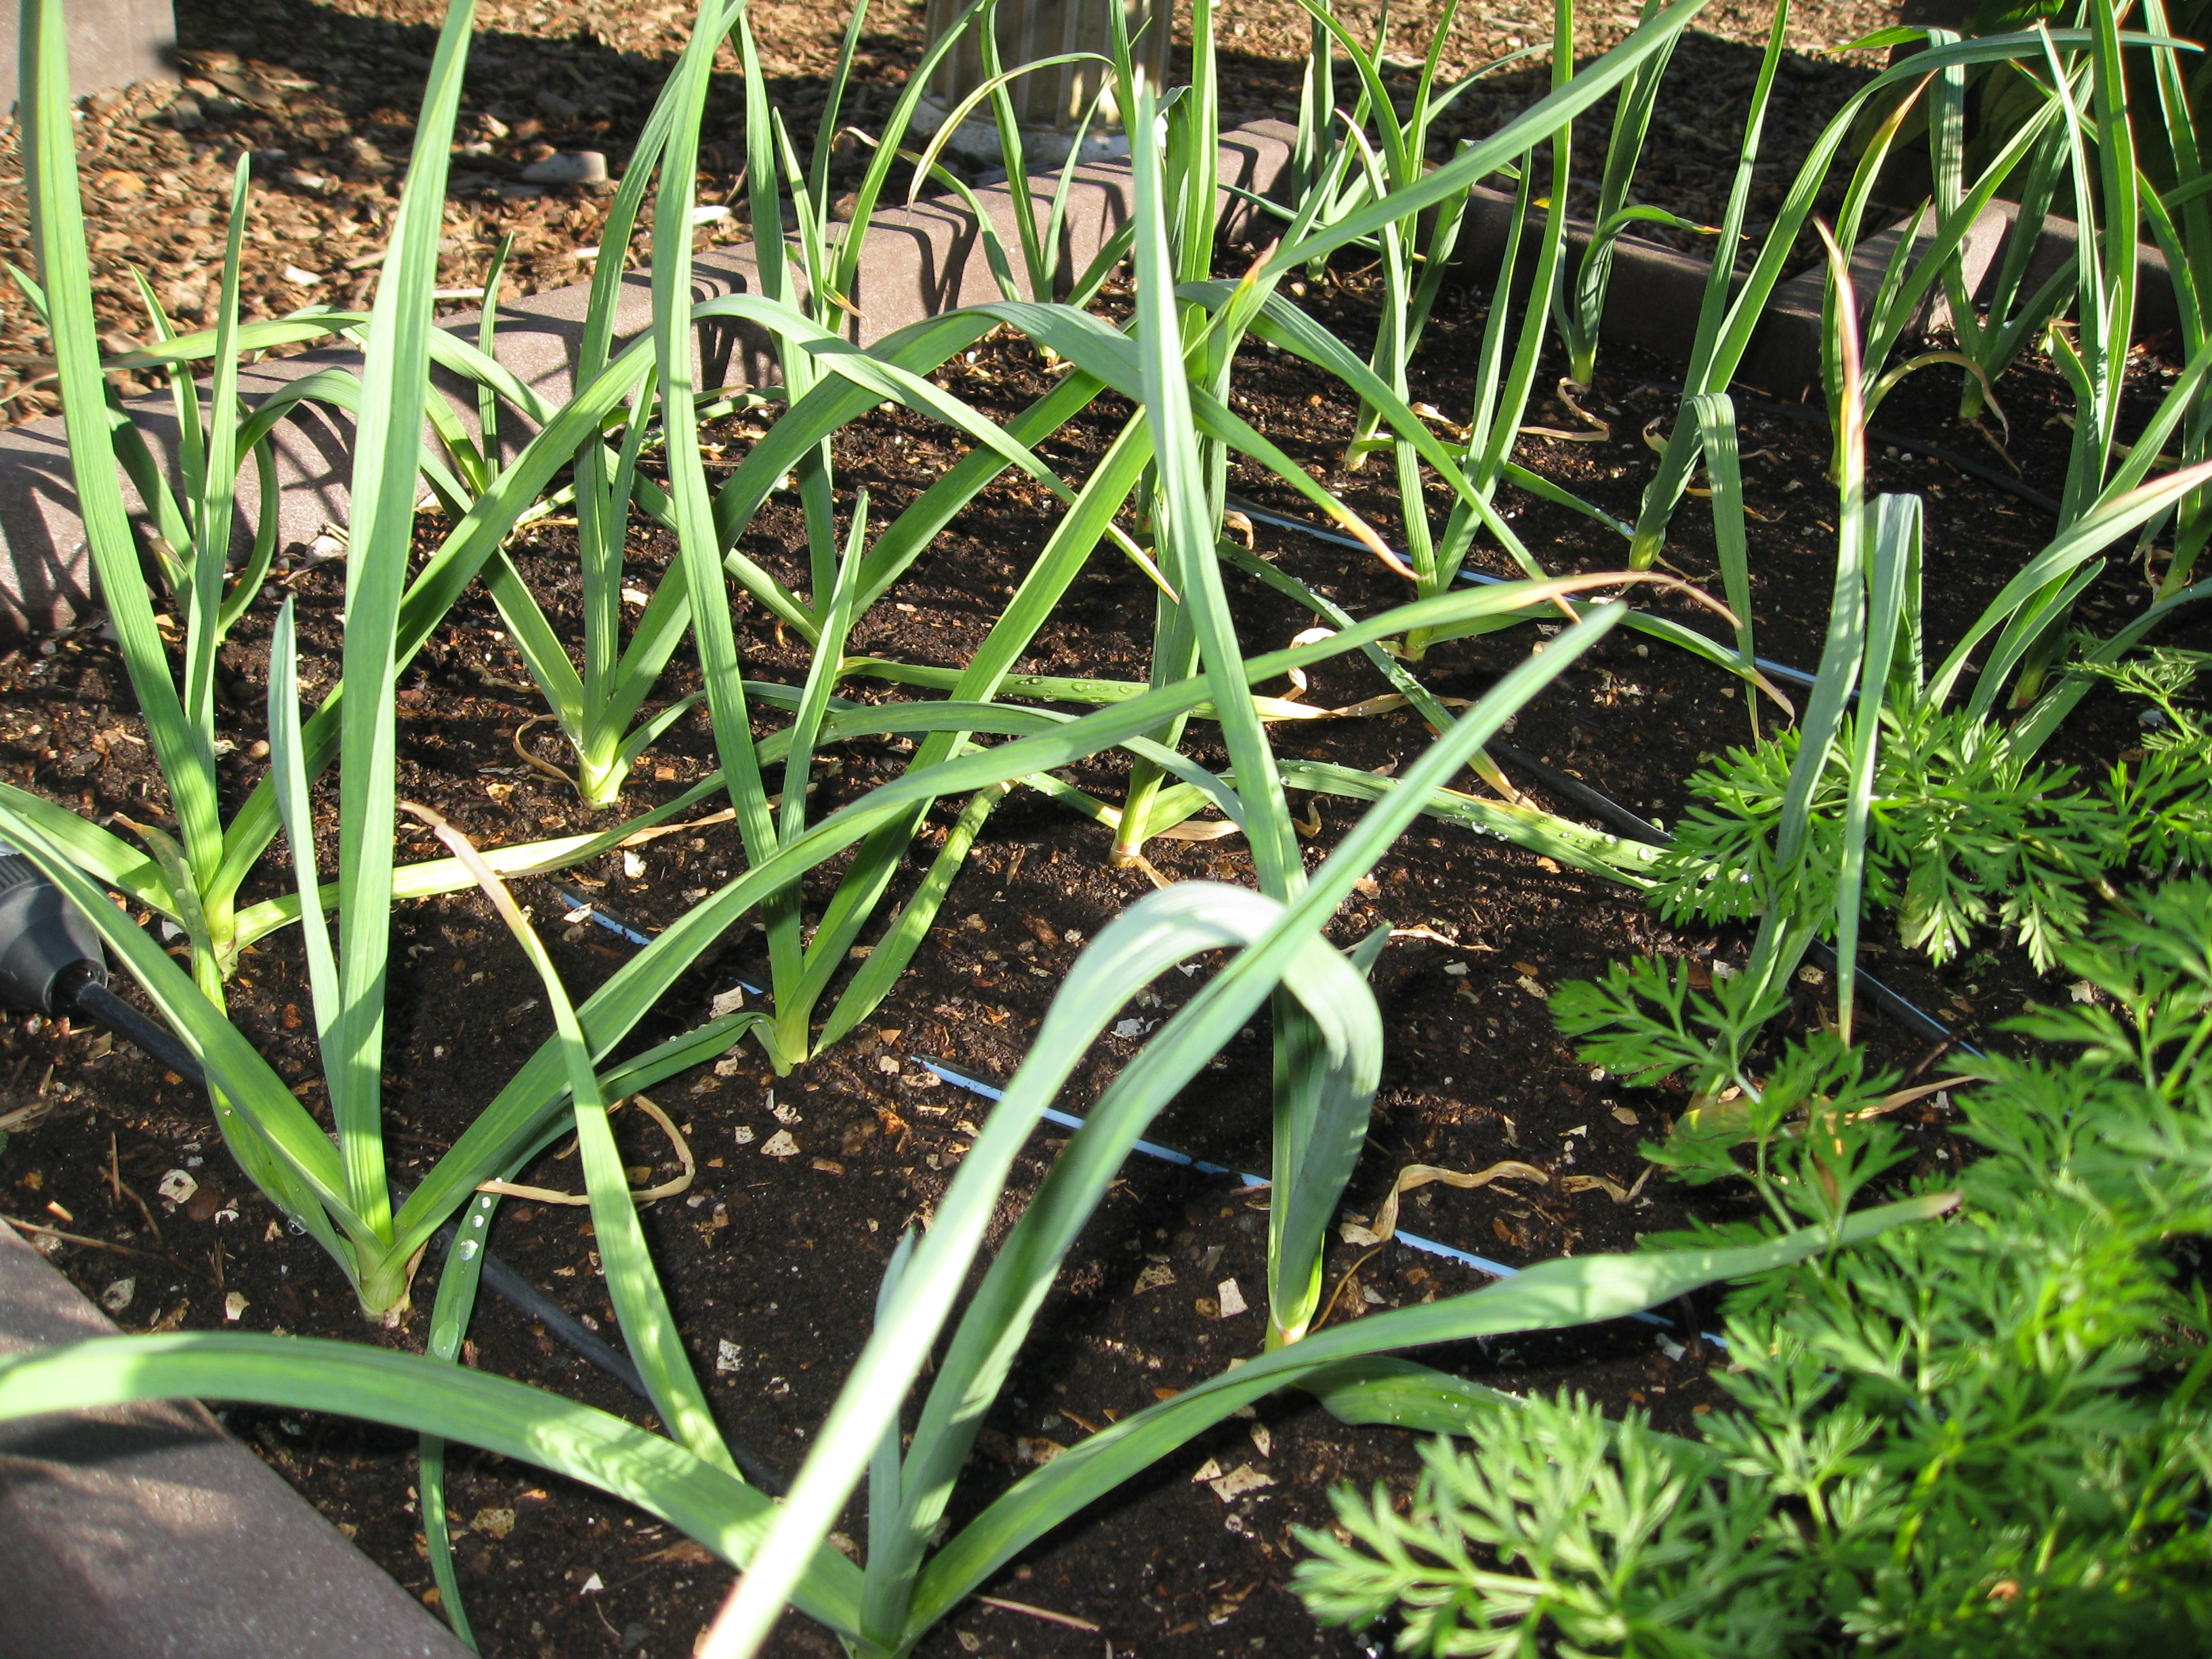
Mid-Season
Fertilize your plants with compost, worm castings or organic veggie fertilizer about 2 months after planting, and again in another month. Then visit our other blog posts (see above) to learn how to know when the crop is ready to harvest.
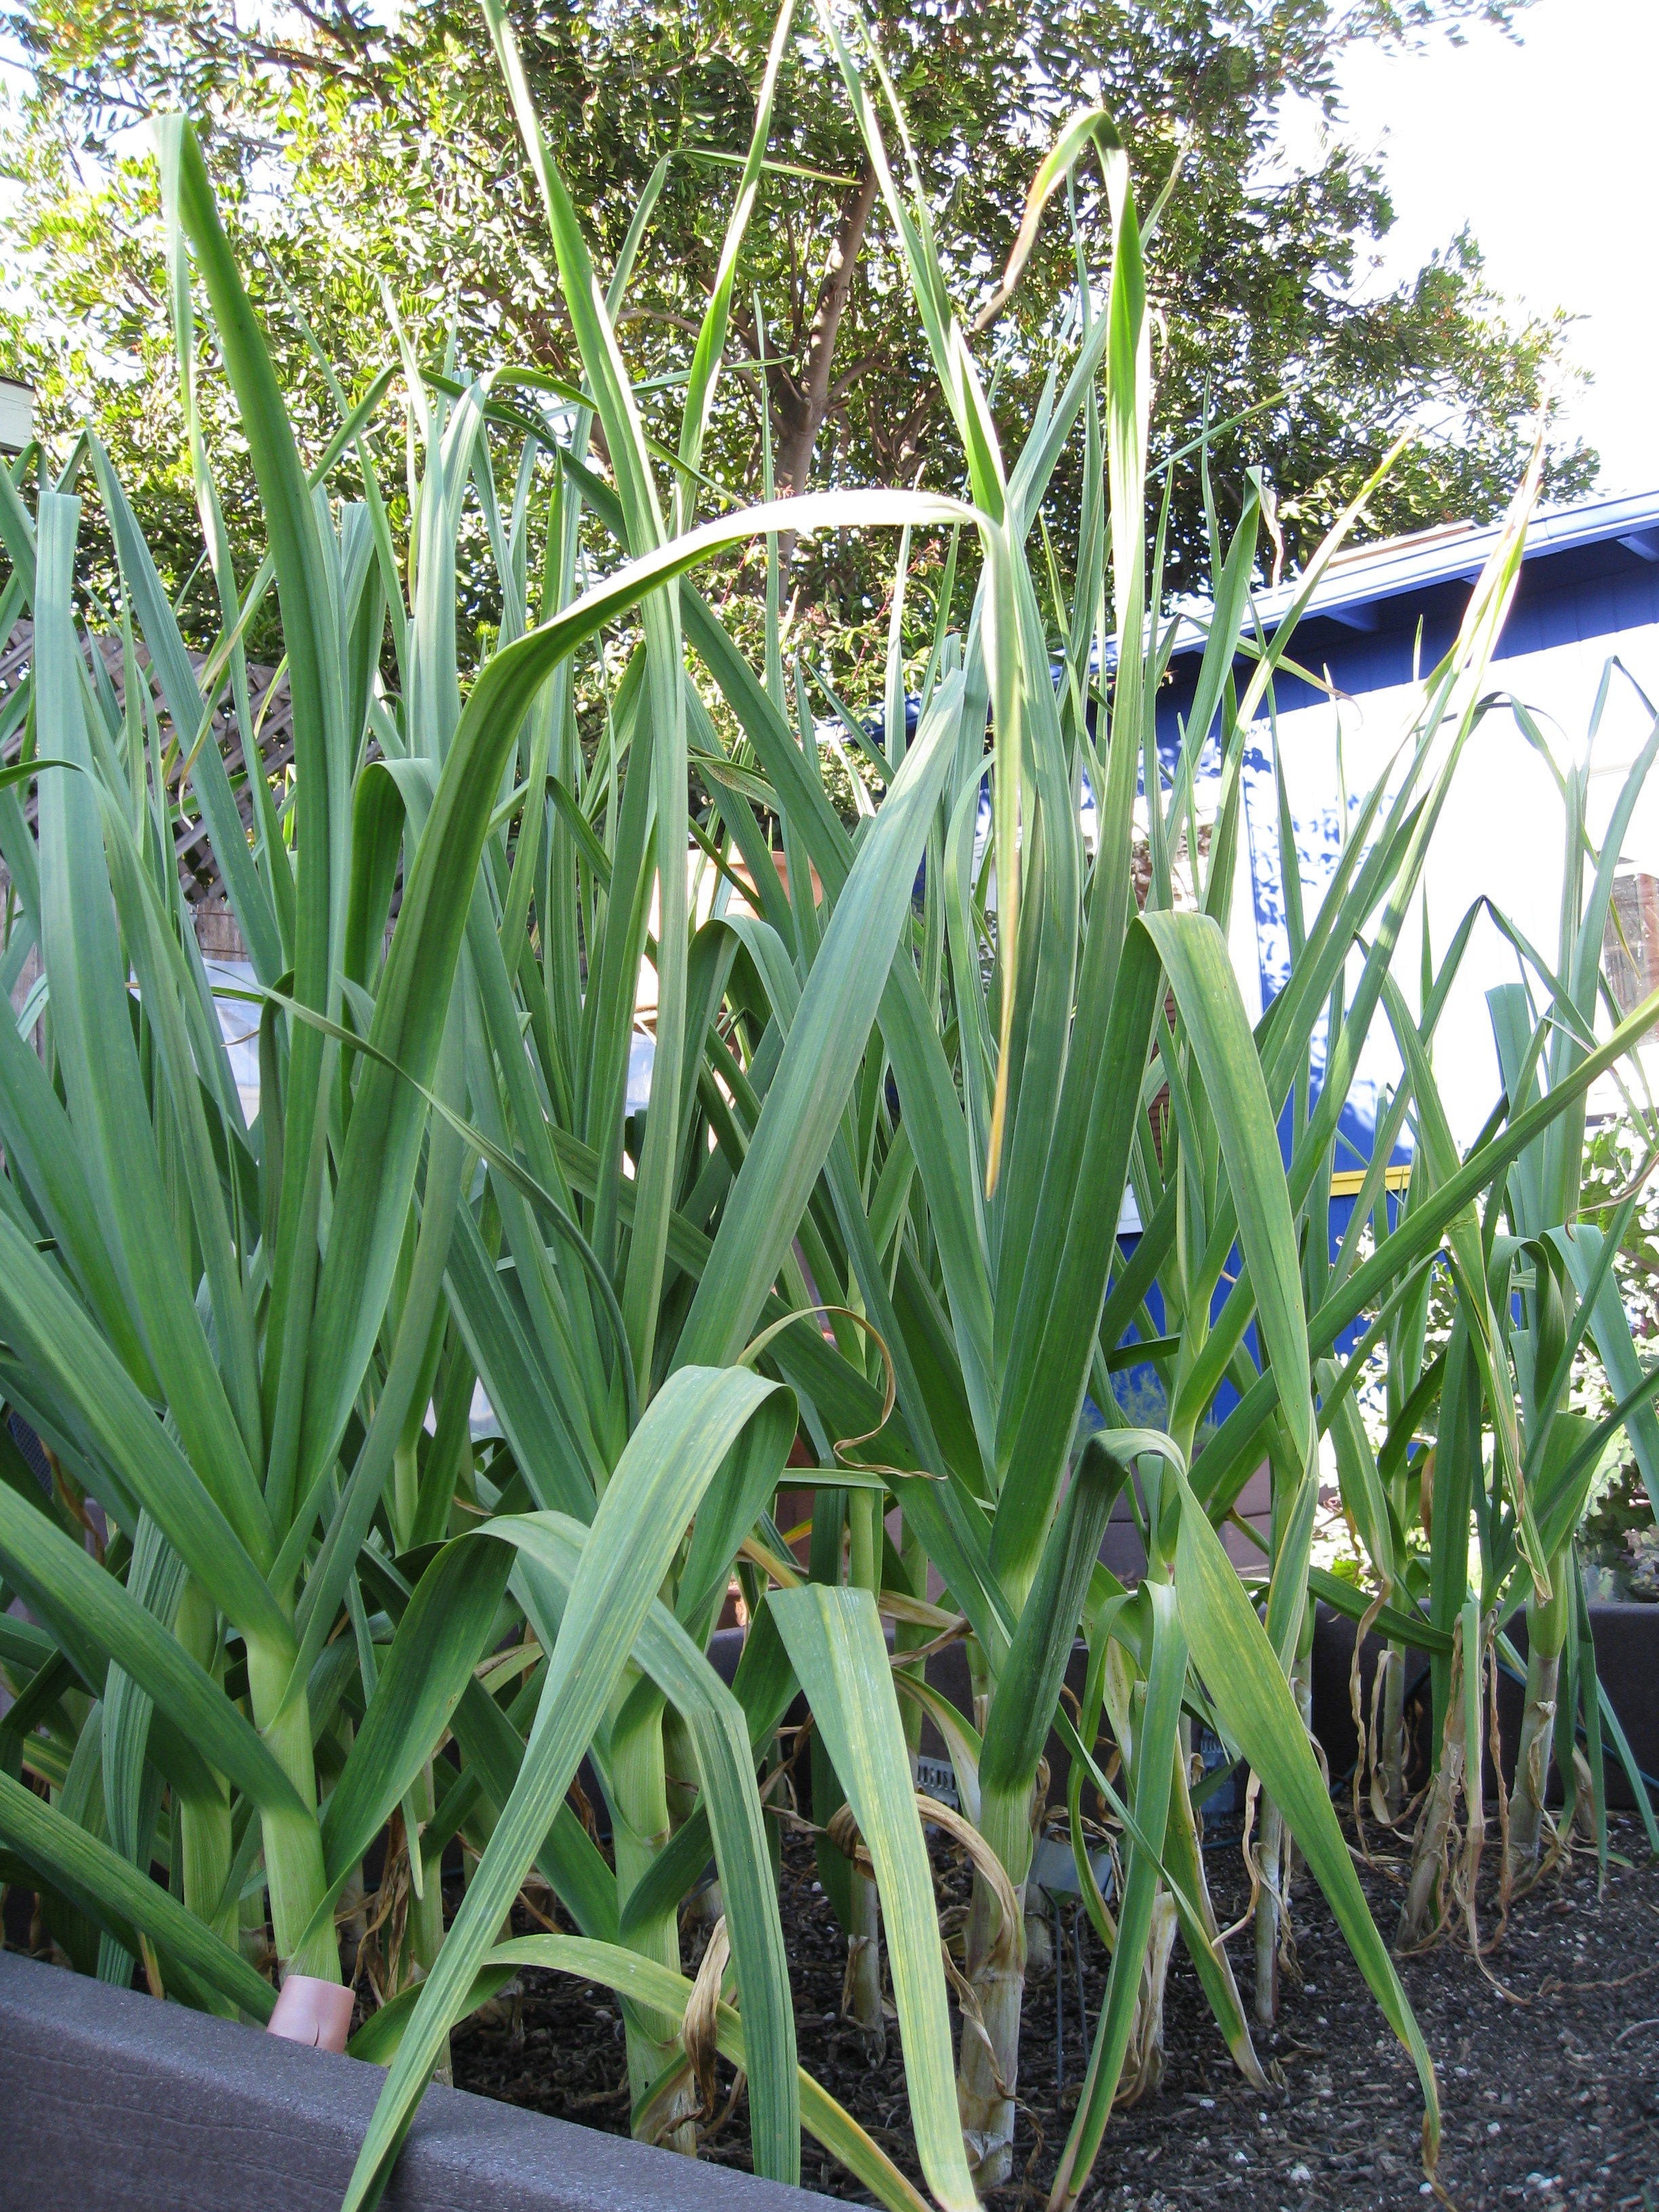
Growing your own garlic is very satisfying. Dedicate a little space your growing your year’s supply this fall or spring.

Pingback: YouTube: Fall Planting Guide - What to Plant Now - Gardenerd
Hi Christy,
I garden in coastal San Pedro and followed your suggestions on how to plant exactly, last year. I lost all, shallots included and thought that it may be just too hot for growing garlic in our neck of the woods. After initial healthy sprouting, plants rotted. No over watering, mulched with straw. I purchased softneck garlic from Peaceful Valley.
Do you have any suggestions?
HI Andrea, Sorry to hear about your shallot problems. Rotting would either indicate soil that isn’t draining well, over-watering (which you said was not the case) or an attack of a fungus of some kind. If you are growing in the ground in clay soil, amend with plenty of organic matter (compost) until the soil is loamy and drains well. For fungal issues (not often visible to the naked eye) you may want to get a biological soil test to see what’s going on with the balance of good and bad fungi and bacteria in your soil. You can put down a layer of fungal mulch (usually a chip bark made from non-aromatic wood such as fir) instead of straw. This invites good fungi into the mix to combat the bad. Water with compost tea, and make sure your plants have a good source of phosphorus and potassium – kelp emulsion, for example – to develop strong bulbs.
Also, I have found that several of the softneck offerings for southern states don’t grow well in my garden. I’ve experimented with Early California and Inchellium Red and neither did as well as Kettle River Giant. Try different varieties as an experiment to see what does better. But don’t give up.