They were fending for themselves and getting taller every day. Critical Mass was about to be reached and it couldn’t wait any longer. My tomatoes needed support. They were having a breakdown – or a “tip sideways” so to speak. So I set out to build new cages for my leaning tower of tomatoes at home this weekend.
For some of you, this might look really familiar, as I talk about the “How-To” of my tomato cages in Christy’s Top 5 Organic Gardening Tips, which you can get when you sign up on the Gardenerd website. For this project, I needed cages that were 1ft x 4ft. for one row of tomatoes.
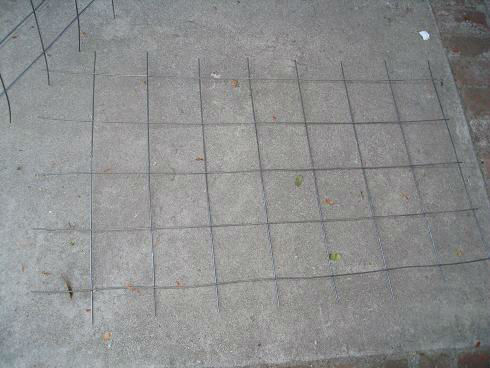
We purchased 3 sheets of Remix Mat at Home Depot, which run exactly 7 feet long to my chagrin. Not 8 feet like I wanted, not quite big enough for our 4ft project. But it worked anyway. Remix Mat is called many things, but if you walk up to the folks at the hardware store and say, “I need that steel wire grid that you lay in the driveway before you pour cement,” they should be able to take you right to it. With some bending, cutting and more bending, we succeeded in building 2 cages, 42 inches long (the inside measurements of our raised beds – give a couple of inches) and 12 inches wide. Here’s how:
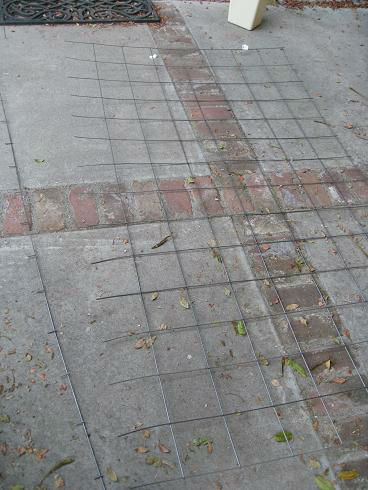
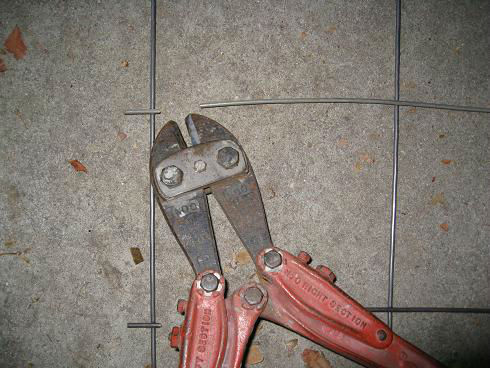
First, we cut off what would be our bottom layer of wire to expose long “stems” that will go into the ground:
No, wait. First we borrowed gigantic bolt/wire cutters from our neighbor Jerry (retired contractor = lots of tools). Thanks Jerry!
Then, after cutting off the bottom, we bent the main sheet into a 90 degree angle at the 42 inch mark. We made another bend 12 inches later, forming one side of the cage.
Since we needed another 2 feet to complete the cage, we cut that from the next sheet of Remix Mat, cutting so that the wires extended out in each direction (shown here on the top and bottom of the photo). These would be used to wrap around the existing cage.
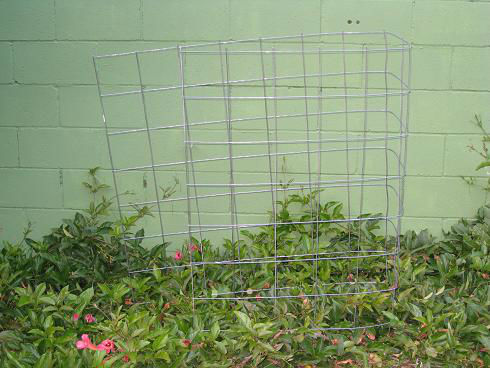
Then came the need for my favorite tool in the toolbox – my fabulous husband and his fabulously strong forearms. Those and a pair of vice grips made the job a whole lot easier when bending reinforced steel around the cage wires to join the two pieces together. When completed, it forms a cage that encircles the tipping tomatoes:
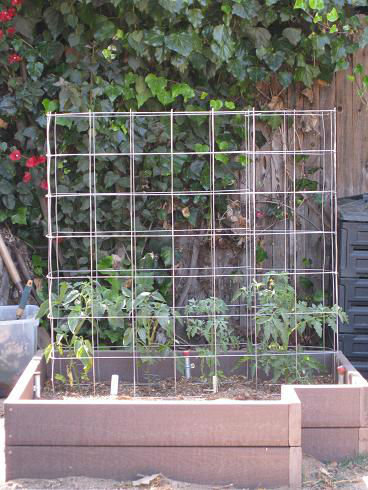
My husband kept saying, “where’s the pretty?” meaning he doesn’t think these are very attractive or decorative, but the tomatoes will grow right through the large grid spaces and fill in nicely. I, by the way, think they’re beautiful.
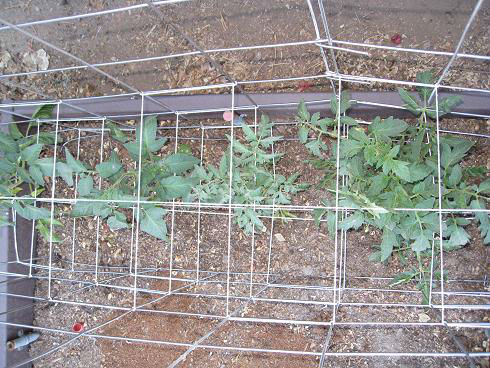
Next is the final stage of support for our little babies – stringing the grid across the center of each row (more details in Christy’s Top 5 Tips). Here’s a top view of the white string that is laced throughout:
There ya have it. Sure you could spend a lot of money on beautiful trellises that collapse under the weight of a bountiful harvest, or could spend $27 and a little bit of elbow grease for trellises that really hold up to the test and grant you easy access to your tomatoes.