
It’s been 9 months since we planted the three Jerusalem Artichokes that had sprouted in the fridge. Now the plant has dried up and it’s time to harvest. Most guide books tell you not to harvest until after frost, but here in Southern California things are different (heck, we planted in December, so that should tell you something).
The flowers on our massive sunchoke stalk are long gone and the leaves and stems are crispy brown. The biodegradable pot has all but disintegrated, making it easier to harvest. Let’s see what’s inside?
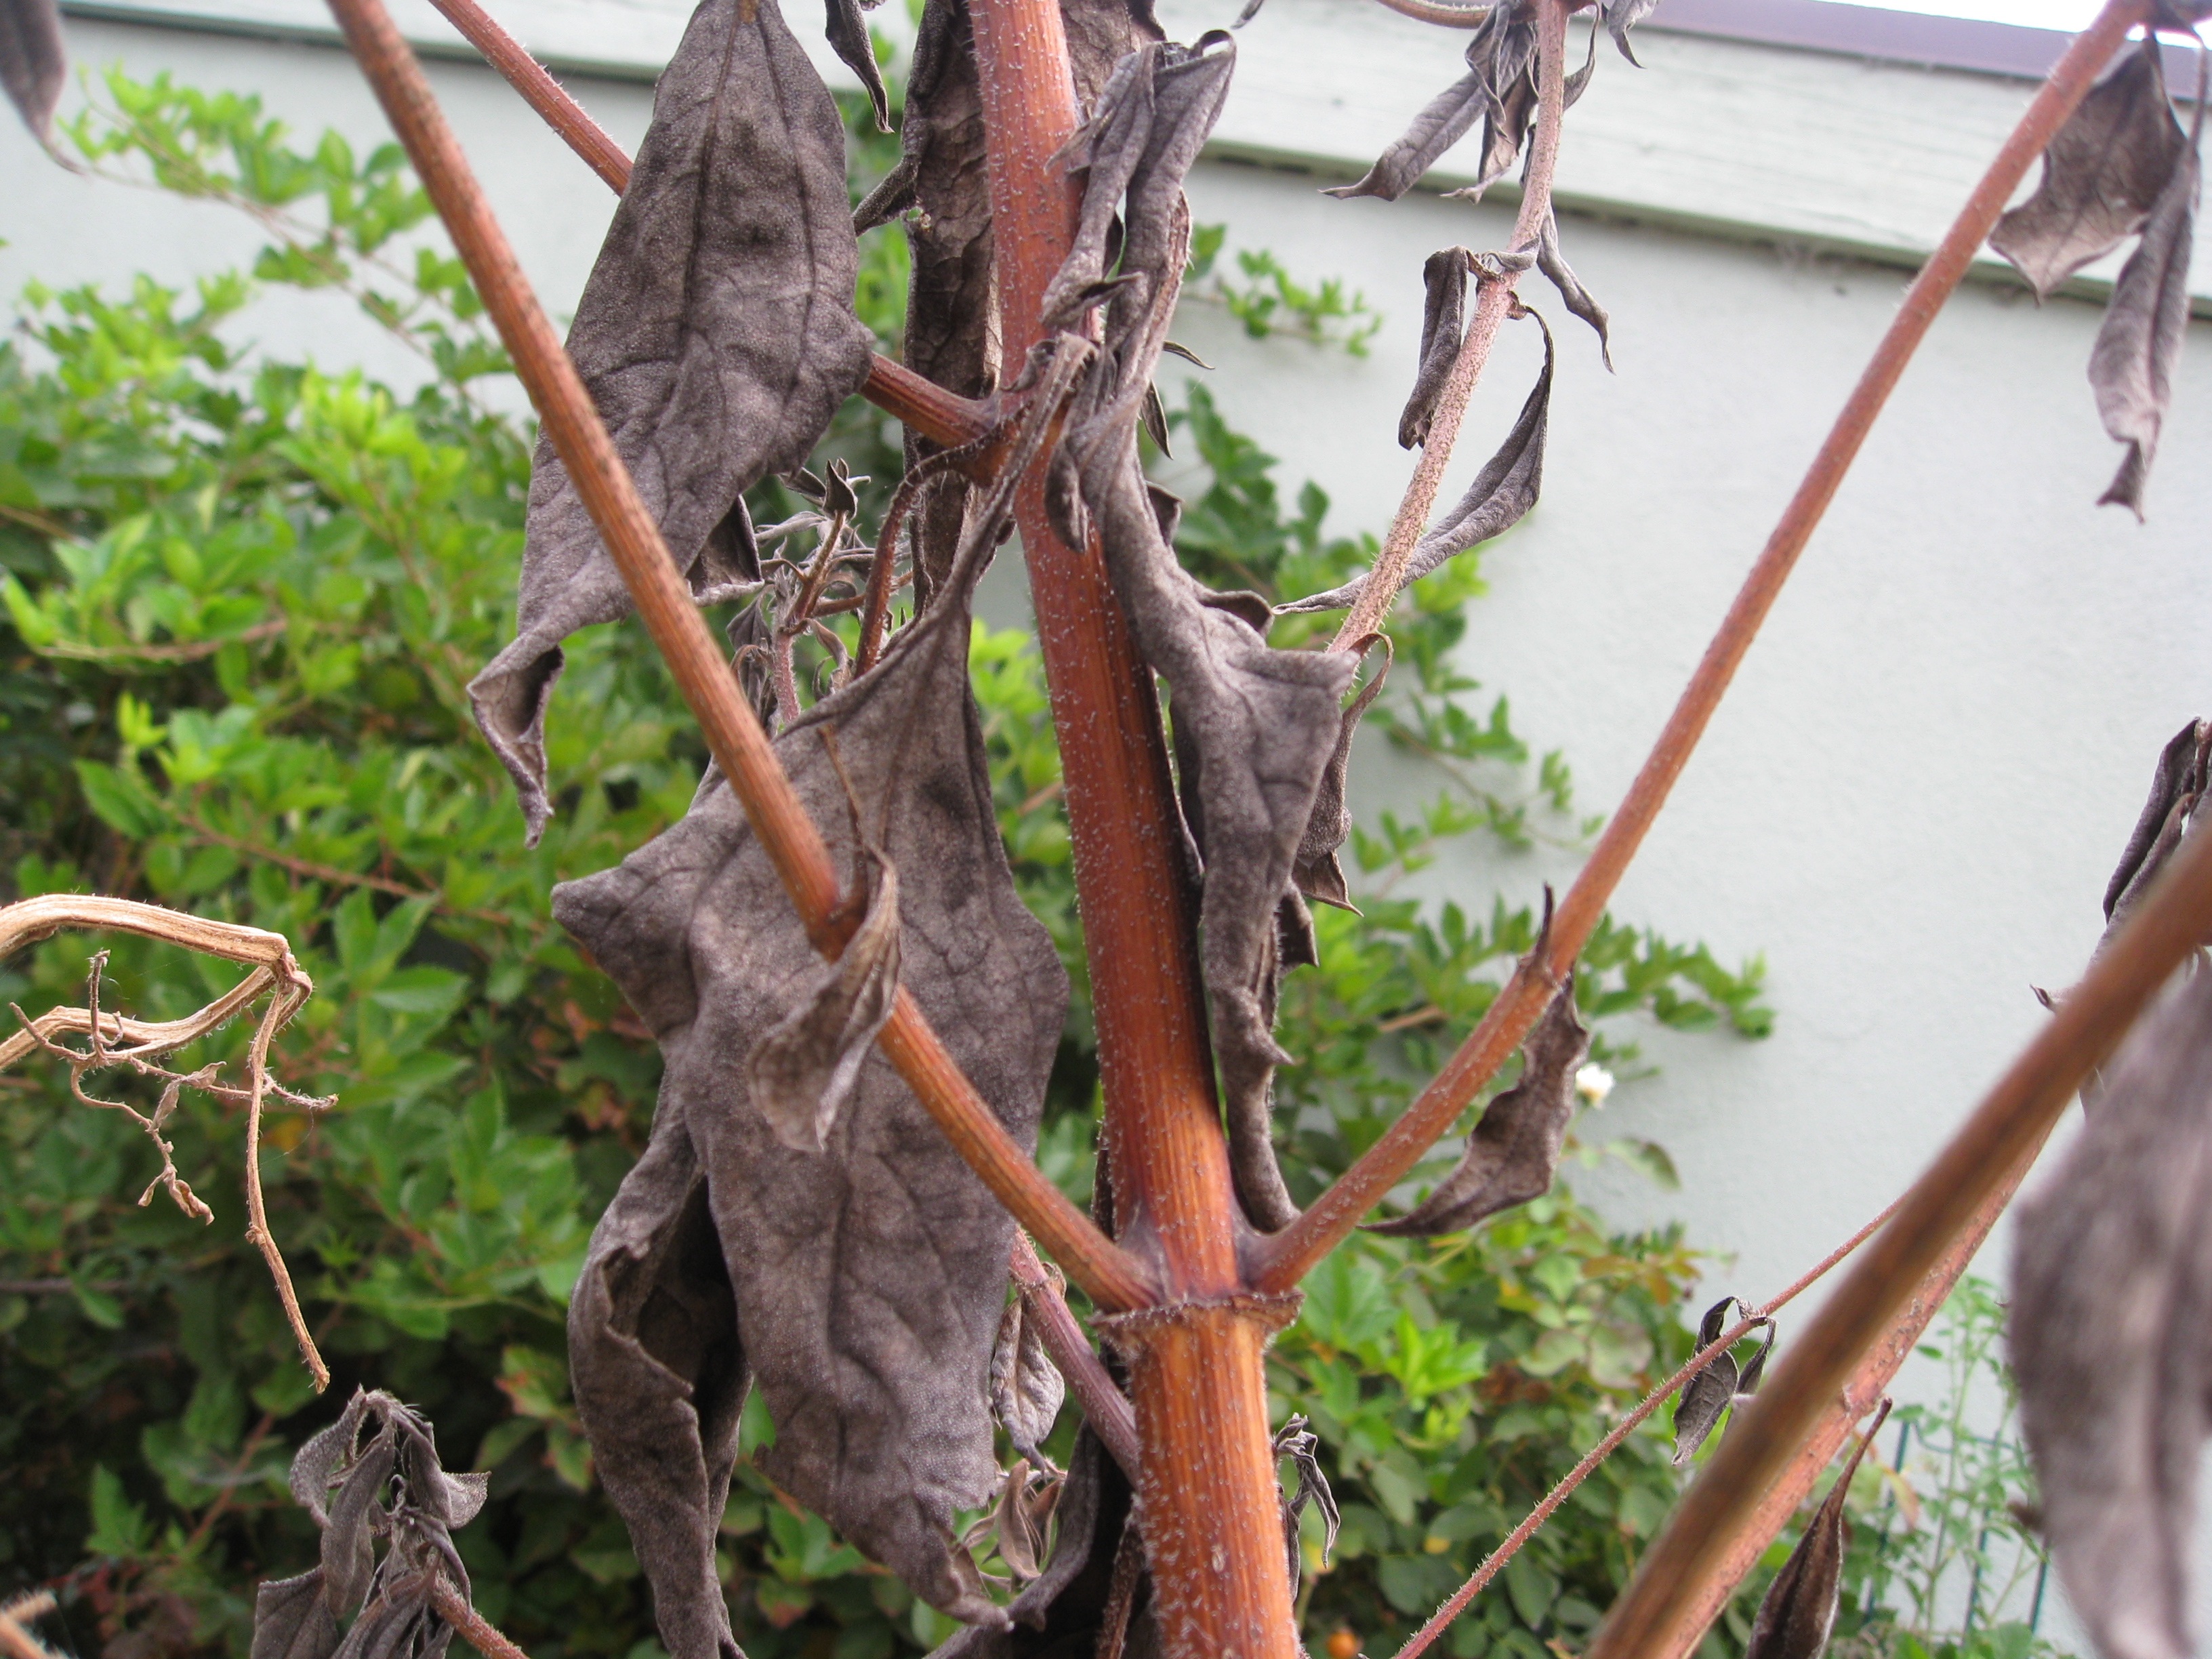
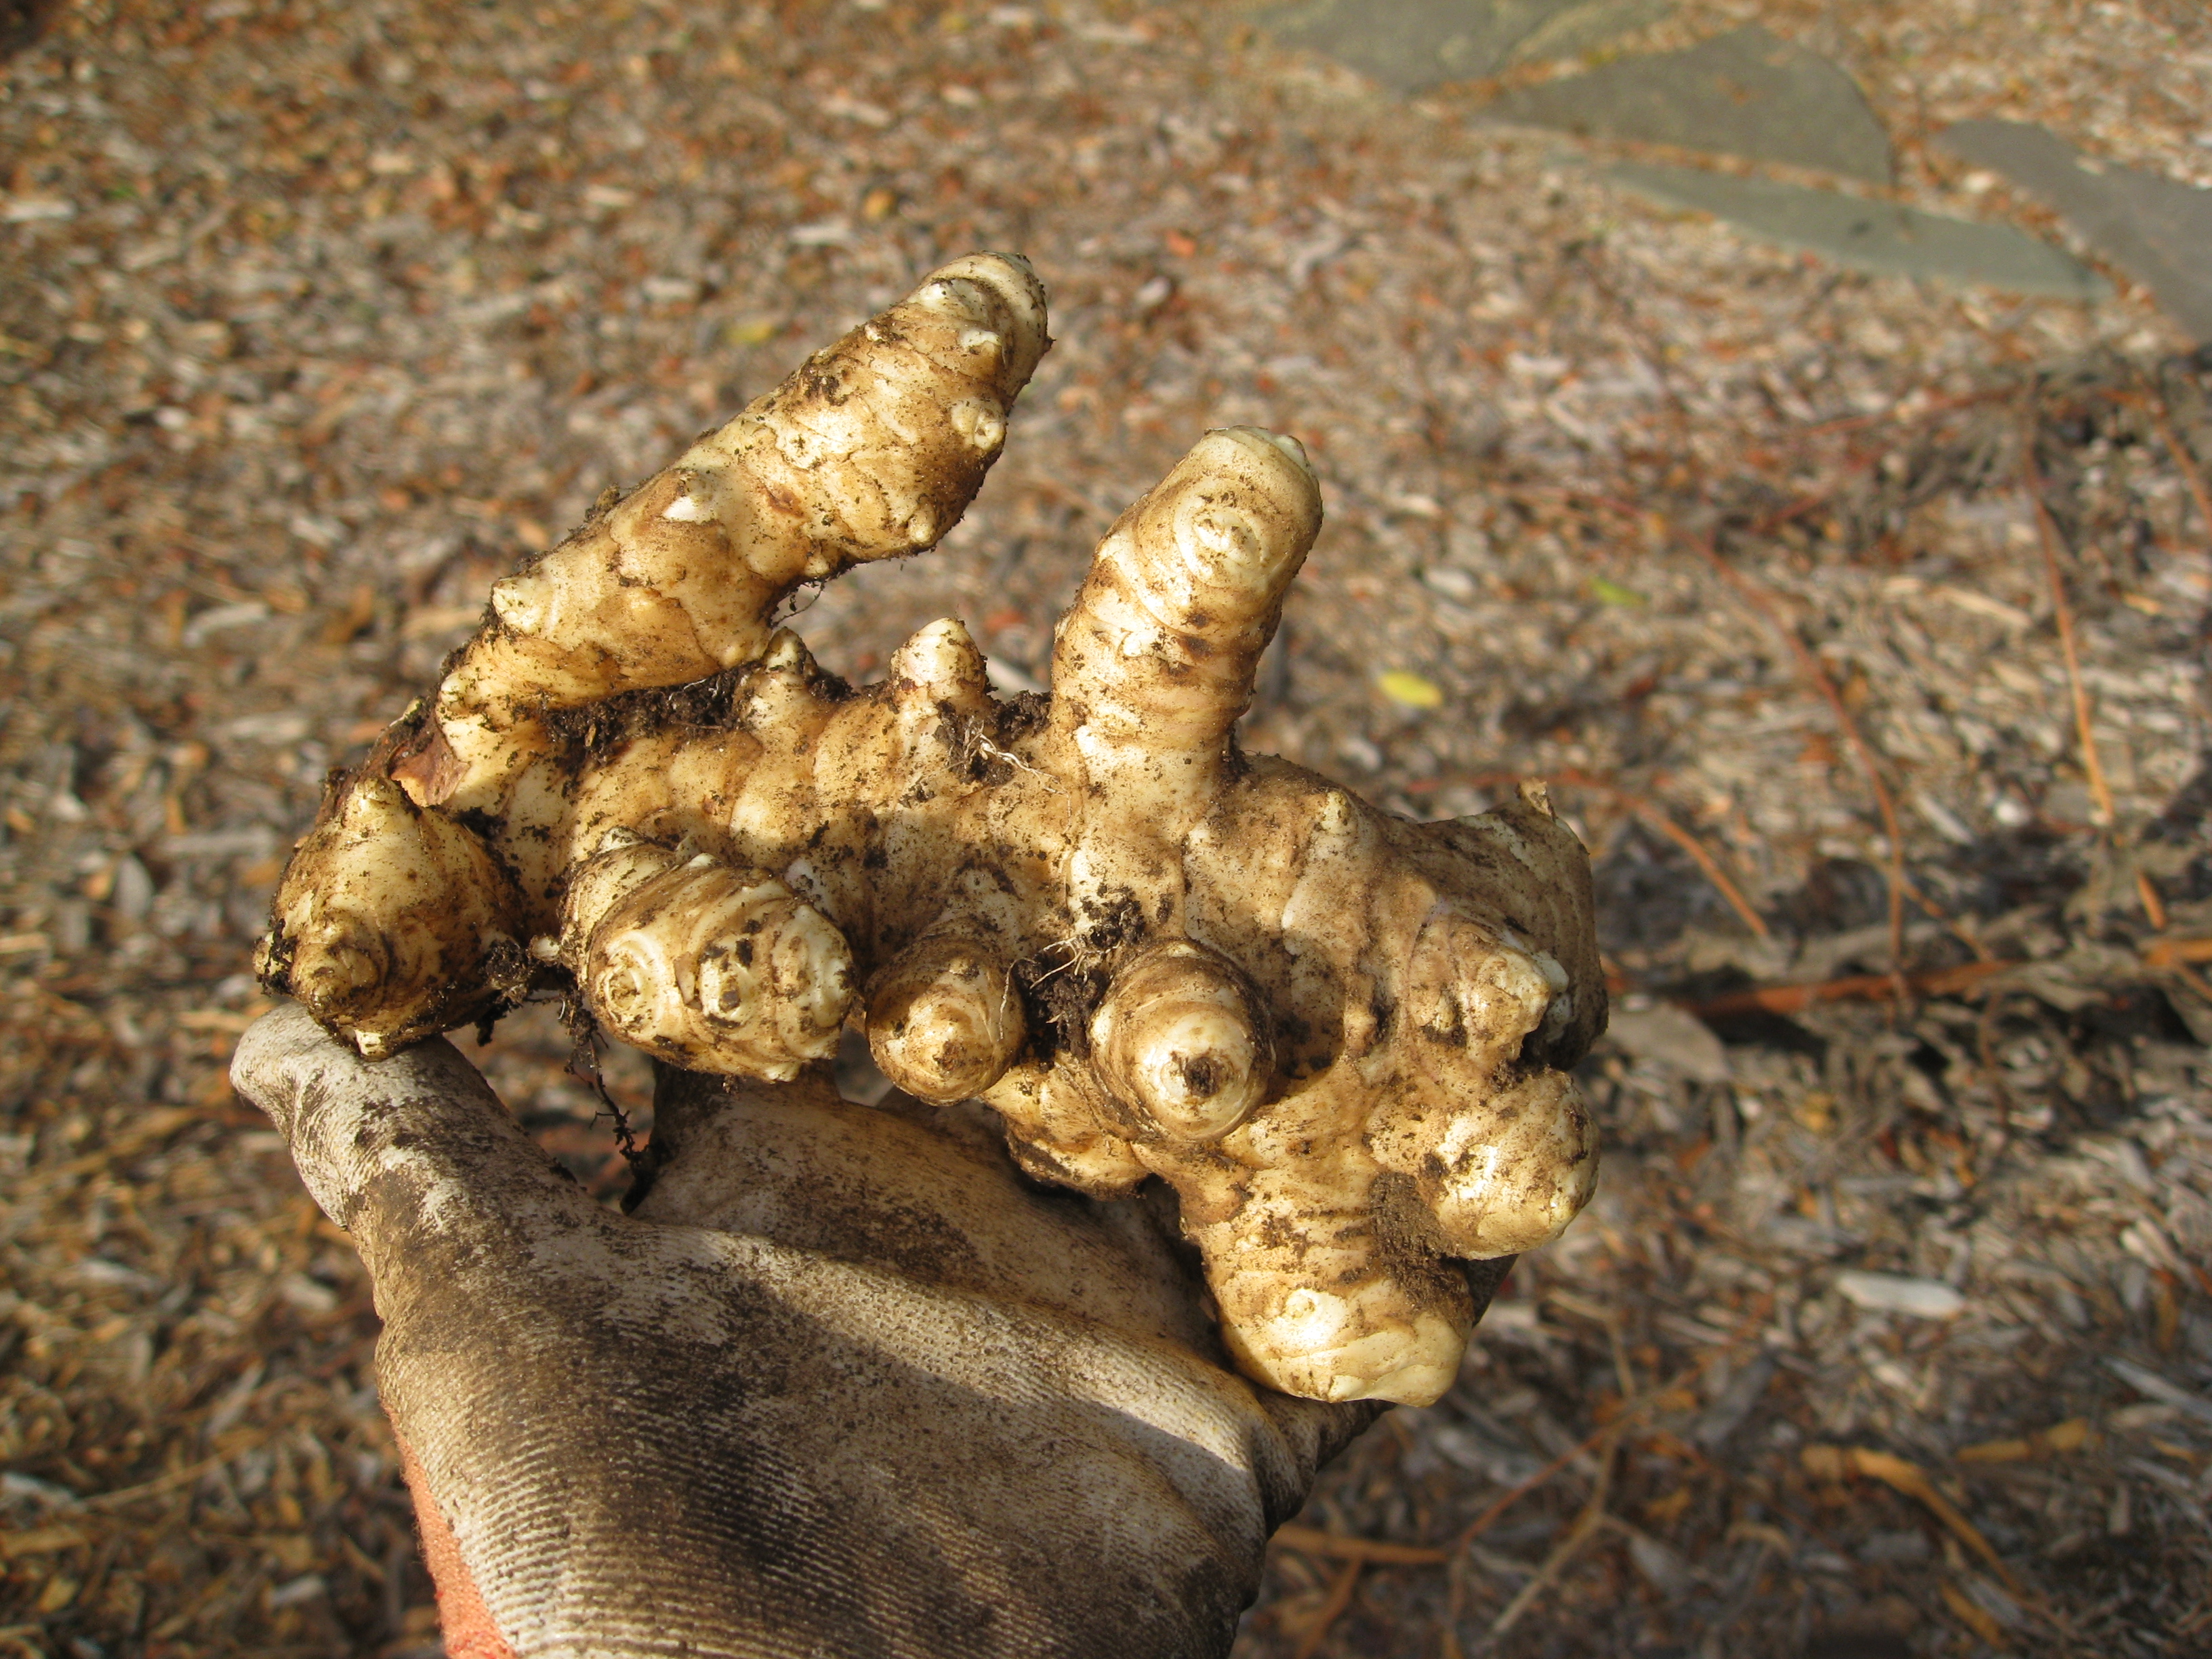
We knew that Jerusalem artichokes are very invasive, so we were curious to see just how far down the treasure was buried. The moment of truth had come.
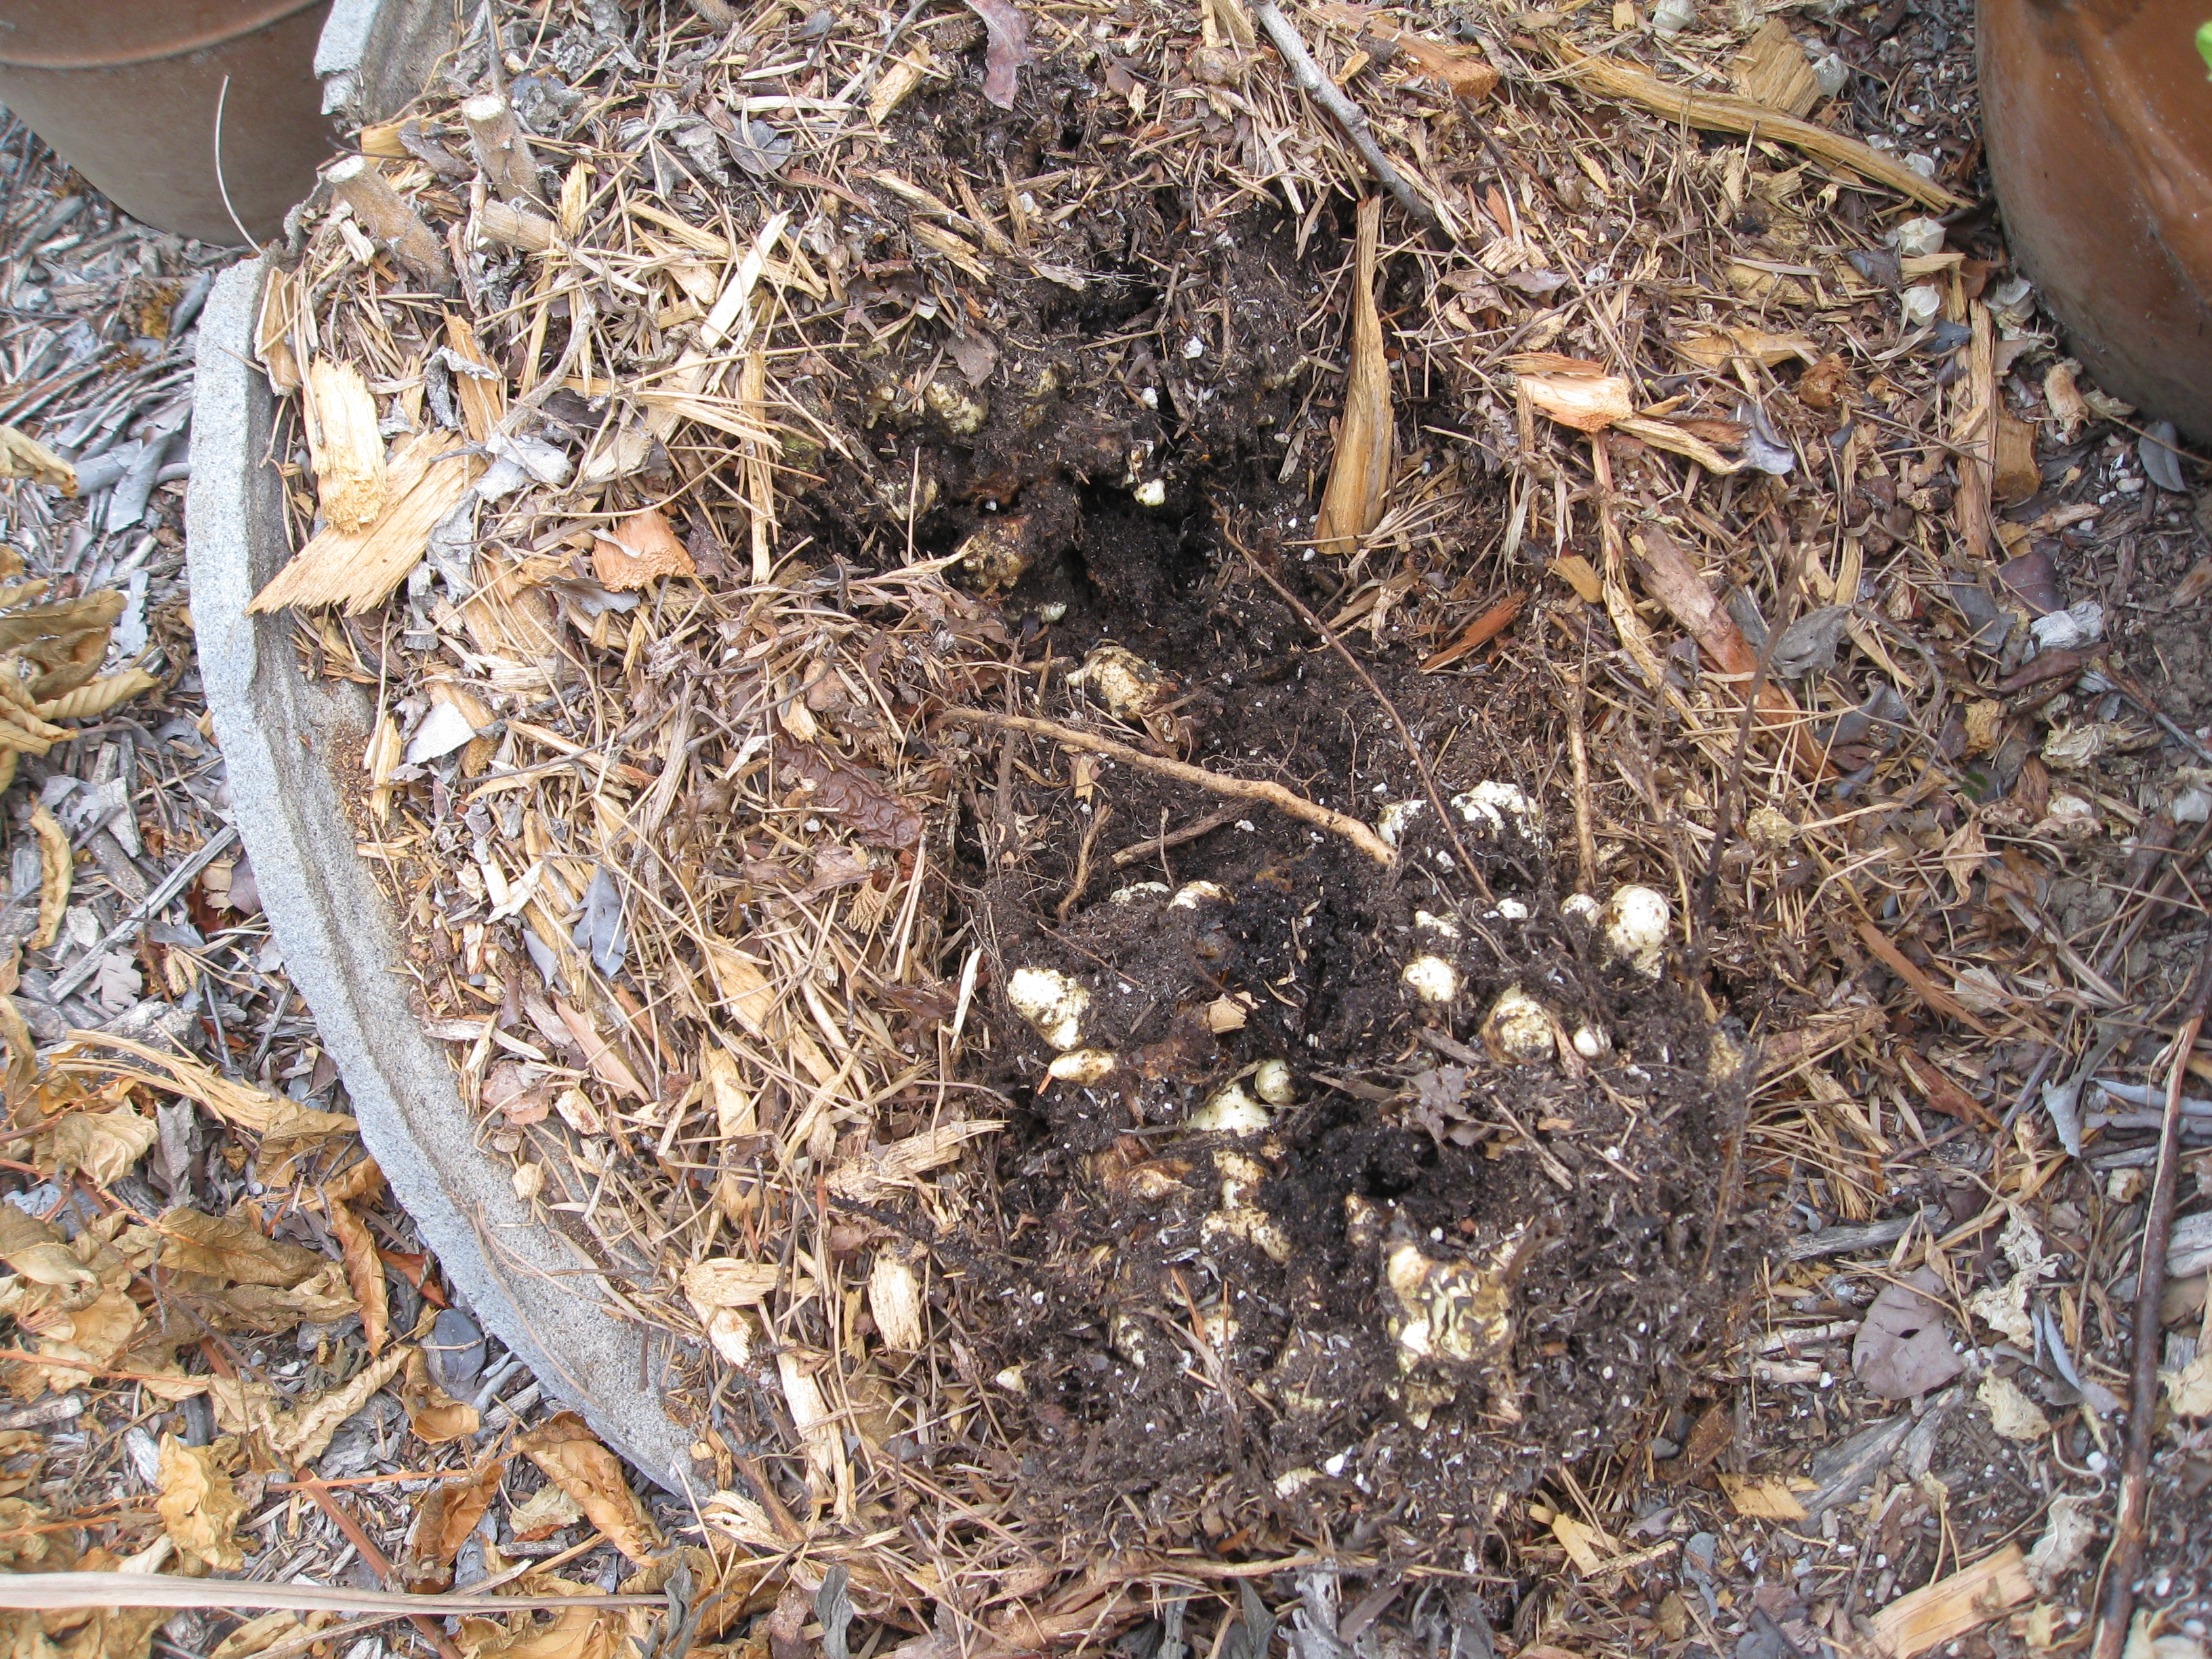
Pretty close to the surface, a cluster of tiny sunchokes clung to the stem.
Further investigation showed that some of those Jerusalem Artichokes were a little too close to the surface. Much like potatoes, if they turn green you shouldn’t eat them. You can replant those for next year.
Digging deeper into the dilapidated pot, we unearthed more sunchokes. Finally, we hit clay soil under the pot (the bottom was long gone) and discovered that none had penetrated the clay. Thankfully, our harvest had contained itself to the pot.
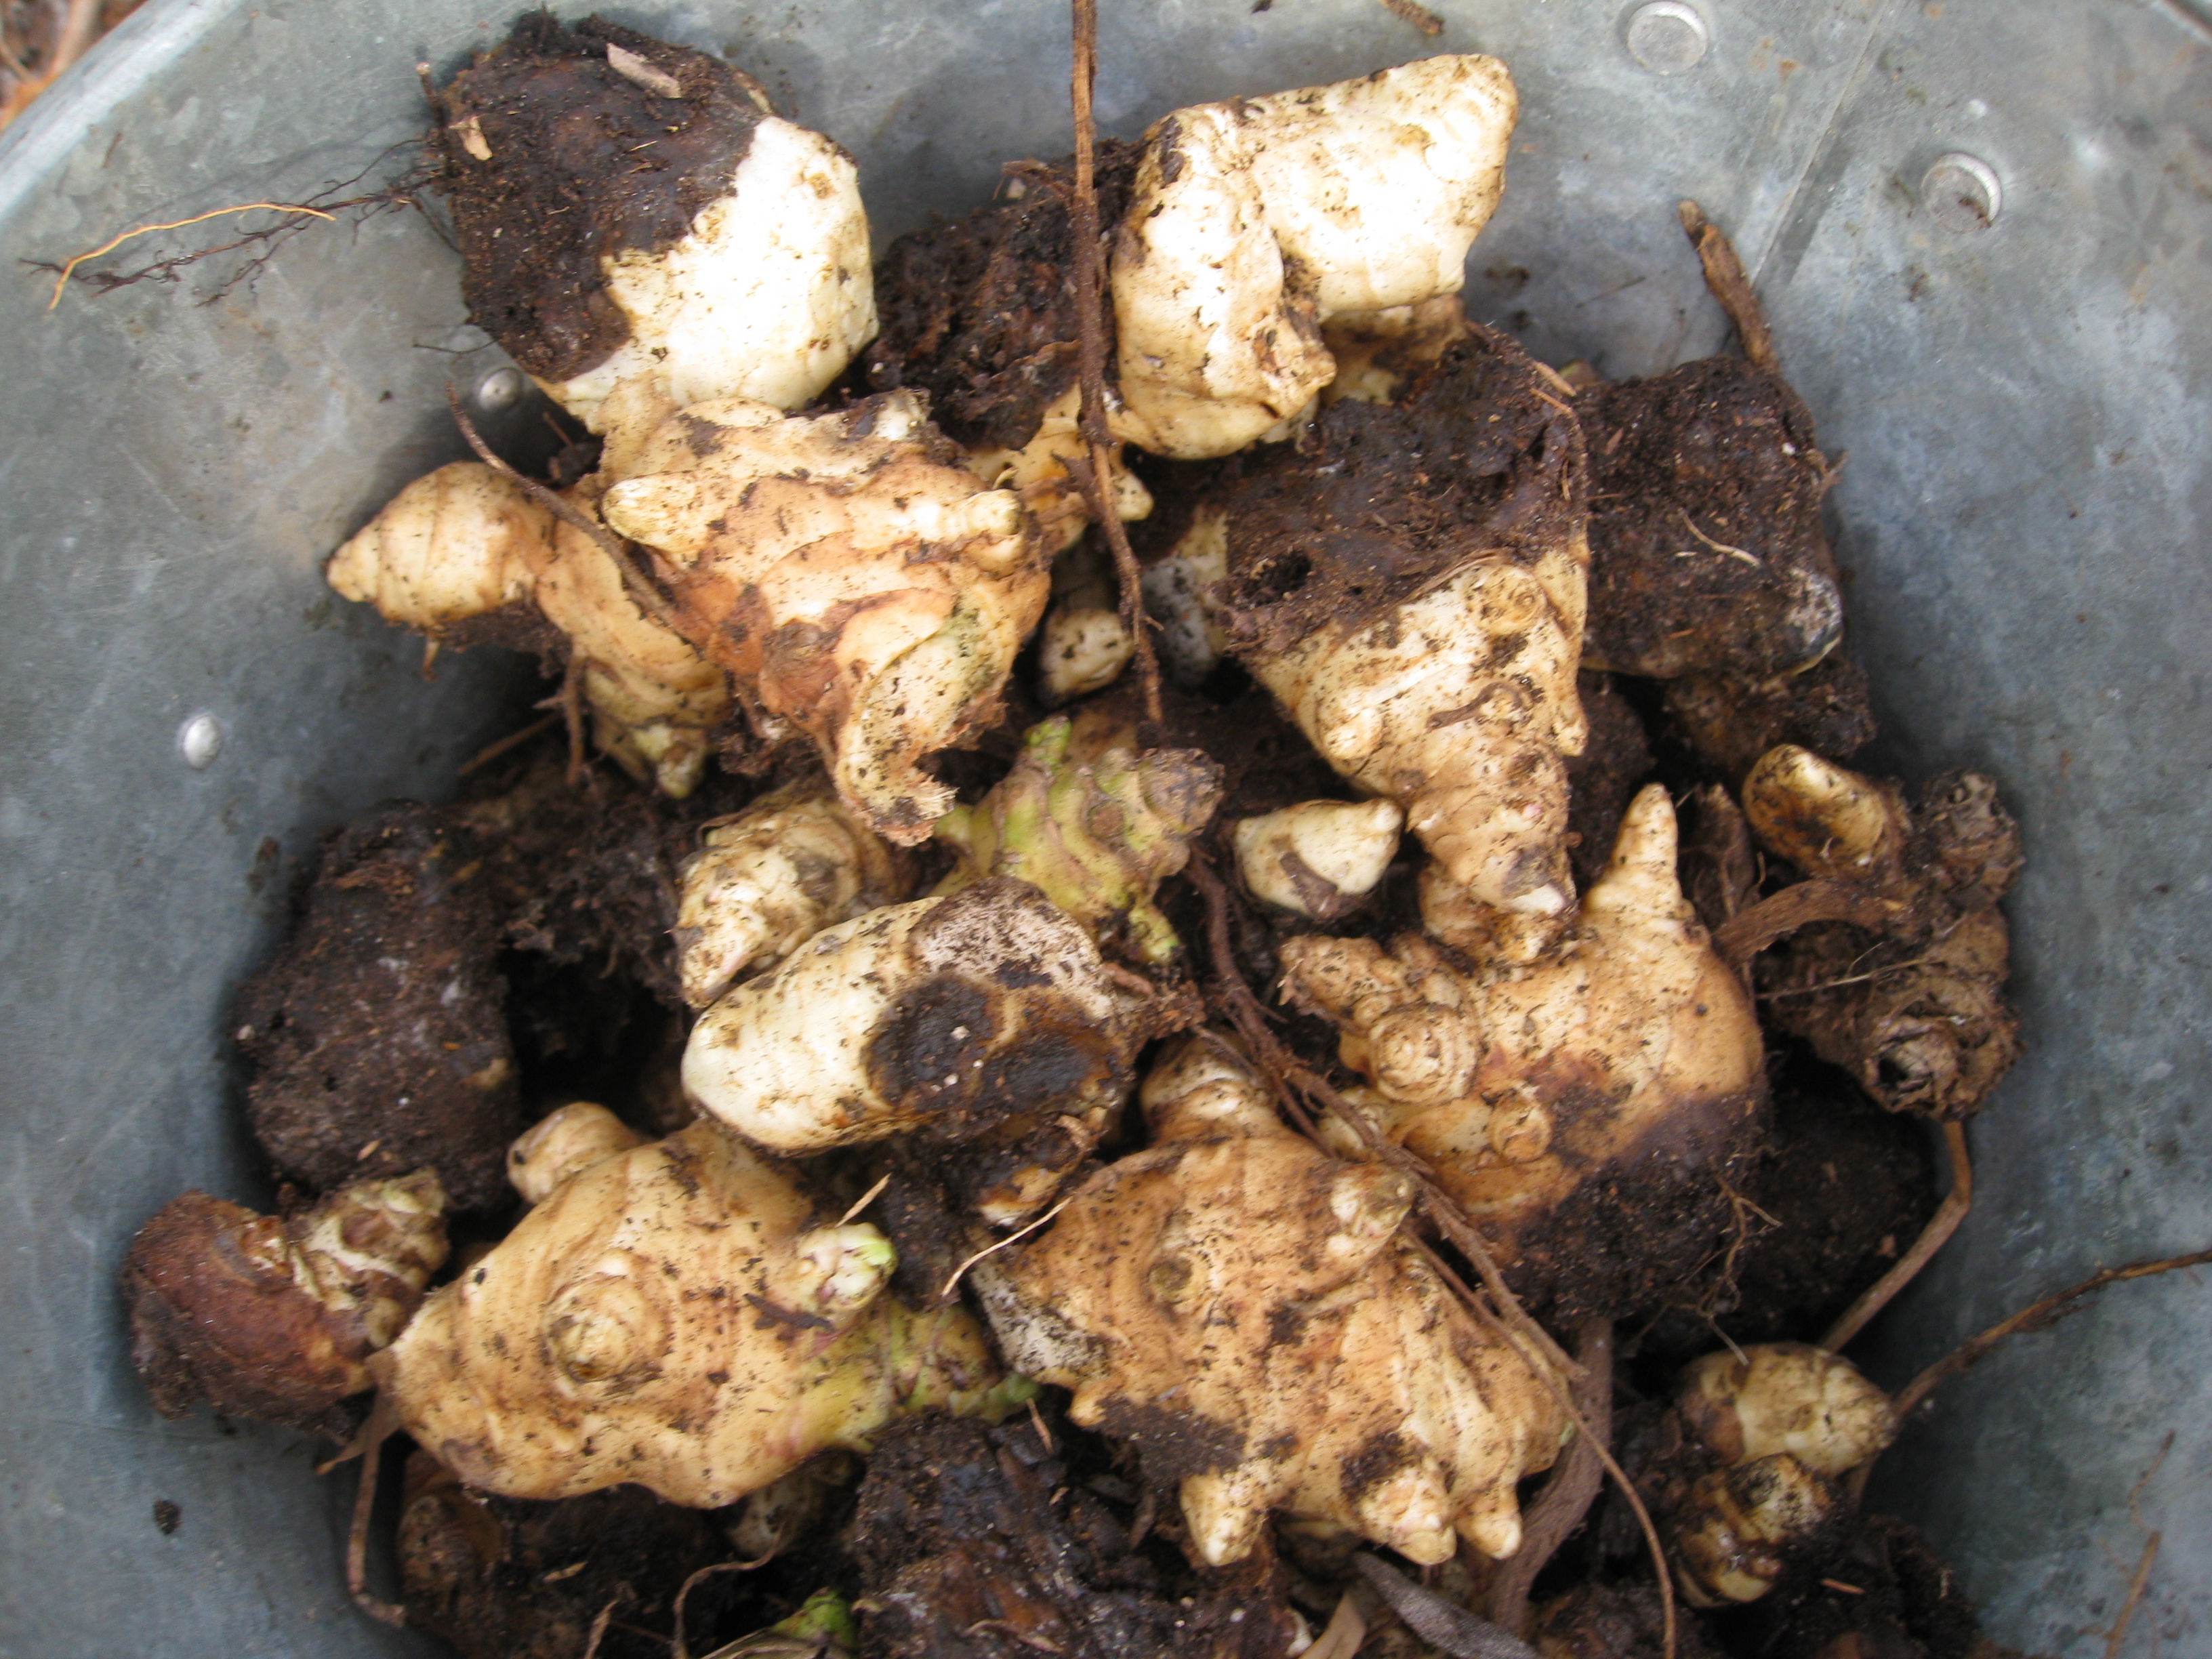
Some had already started sprouting again. Guess we waited too long. No worries, though, these are still edible.
Next, the clean up. It’s best to rinse or hose off the soil if you’re going to store your harvest in the fridge. Lucky folks with root cellars can layer Jerusalem Artichokes with moist sand in a bucket or box and store in a cool location. Others store their harvest in soil. The sunchokes will most likely start growing again in that case, but if that’s all you’ve got, it does work.

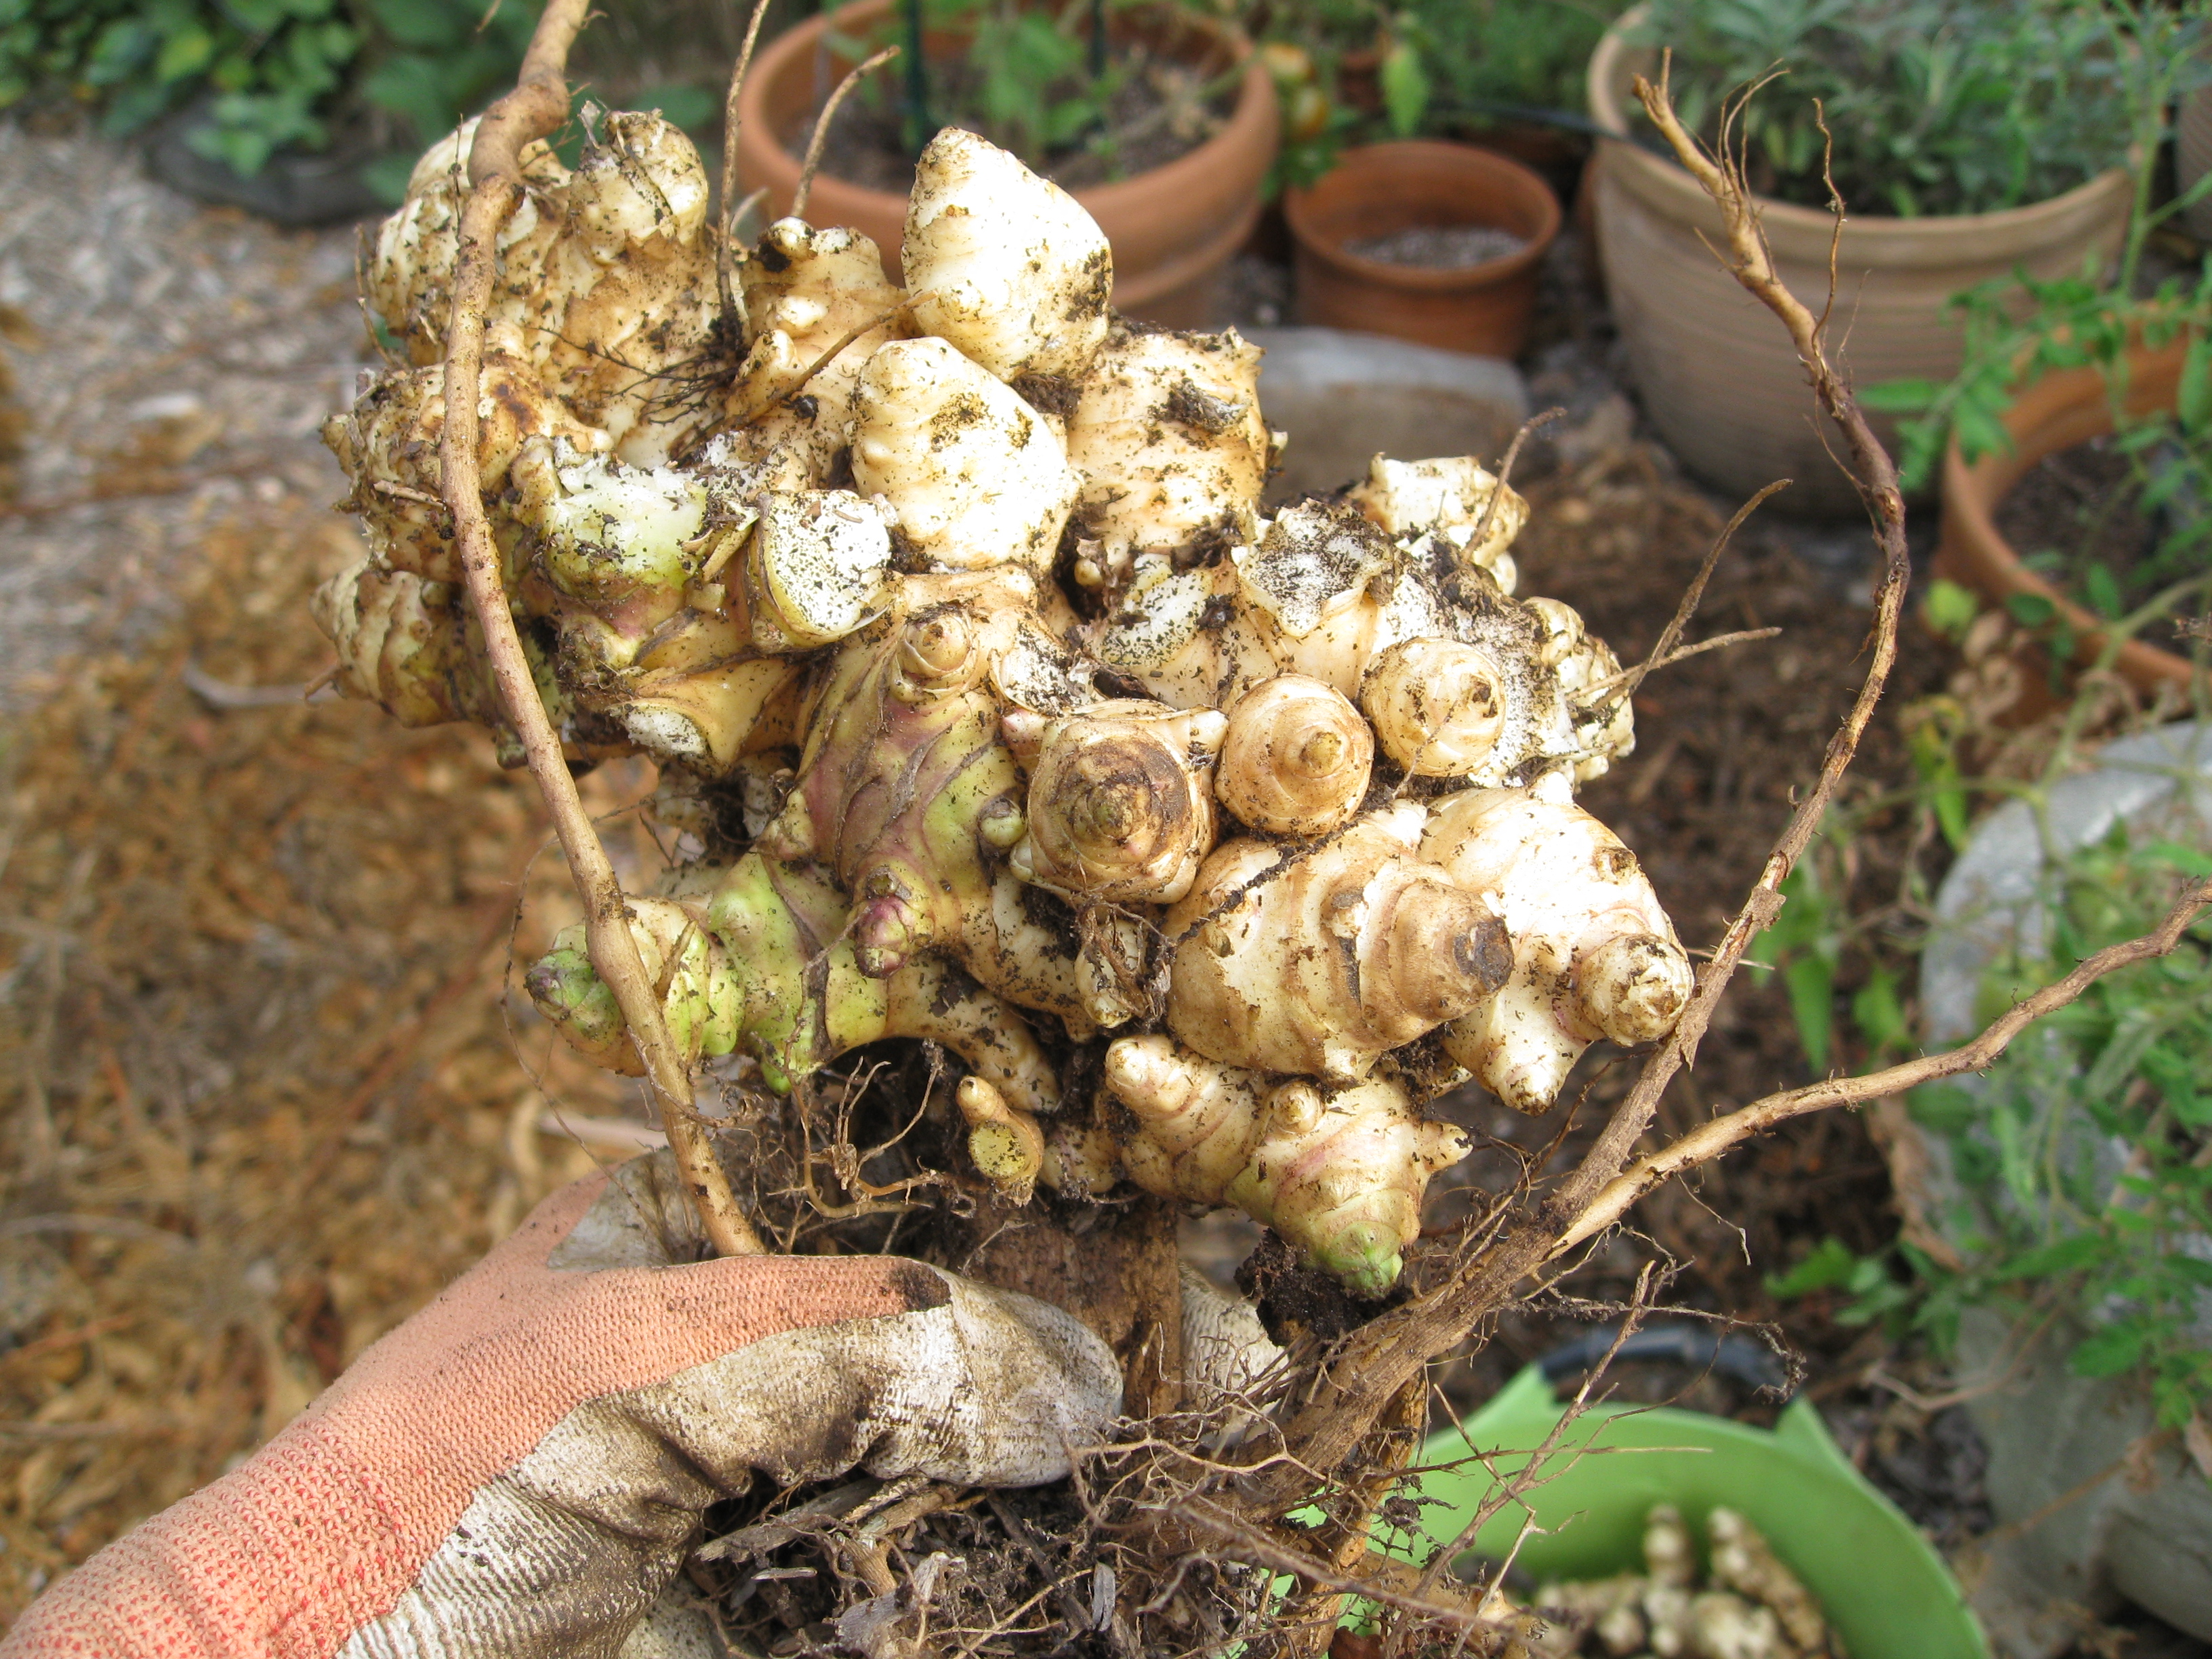
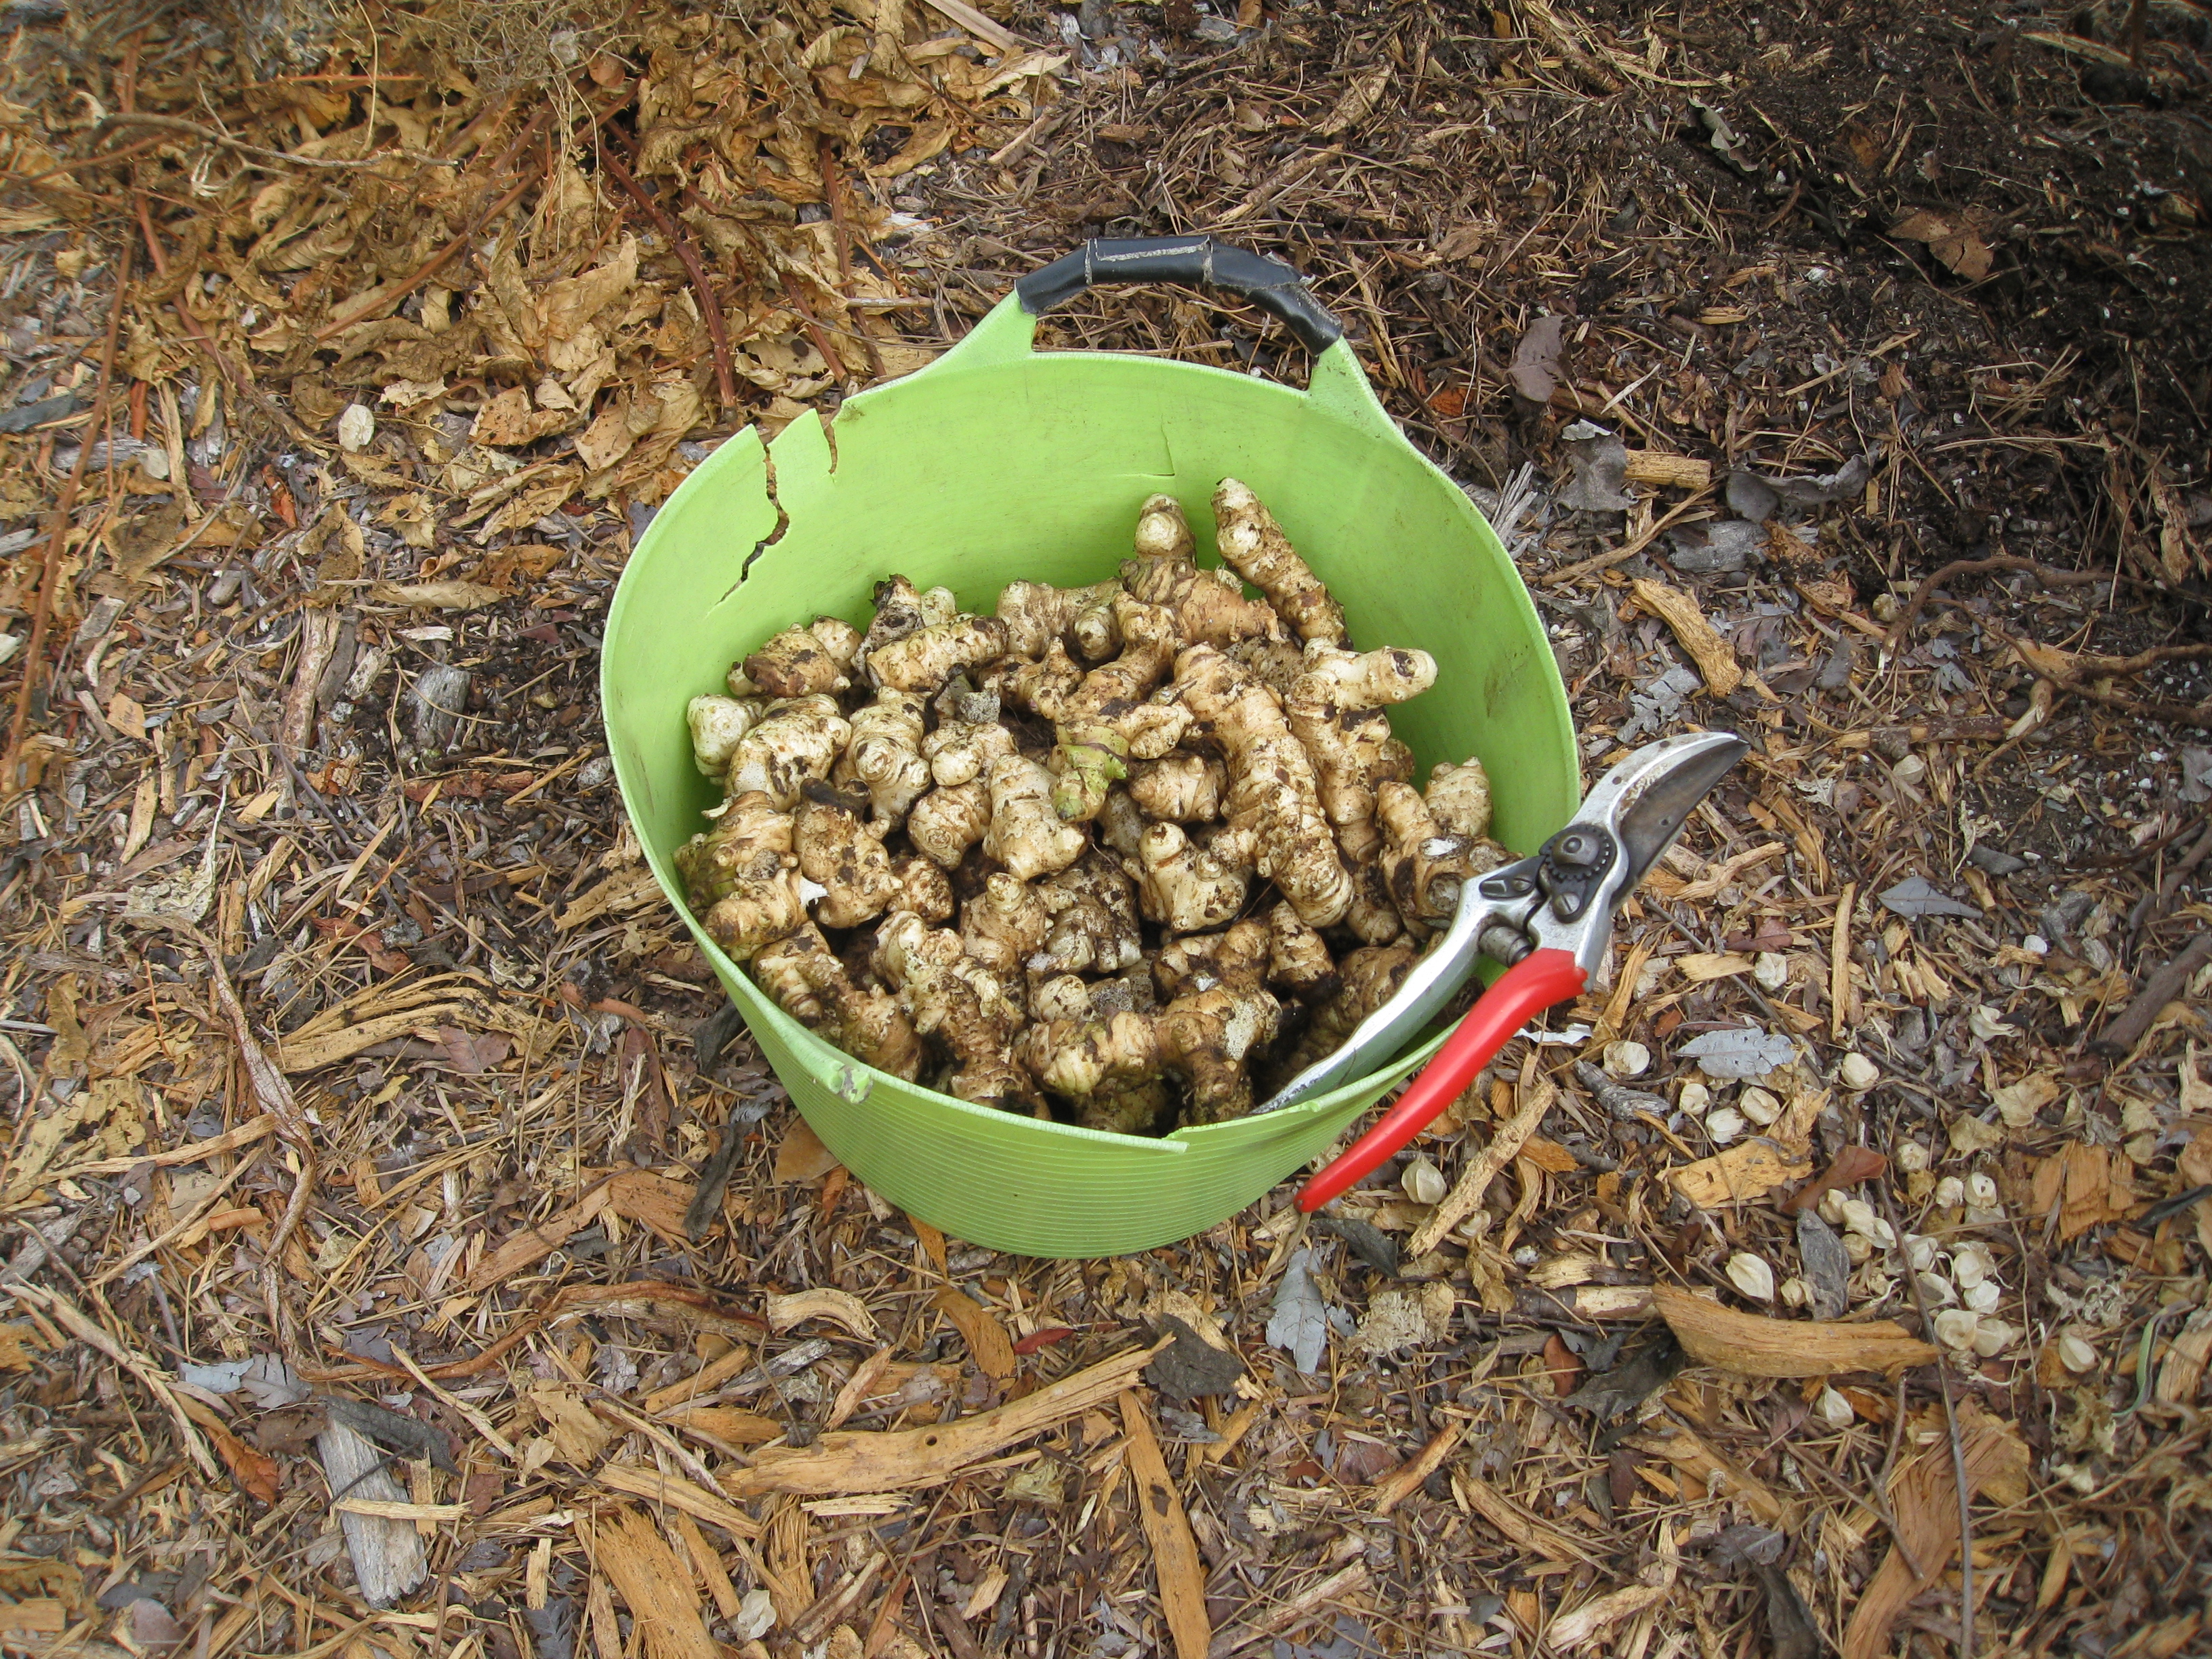
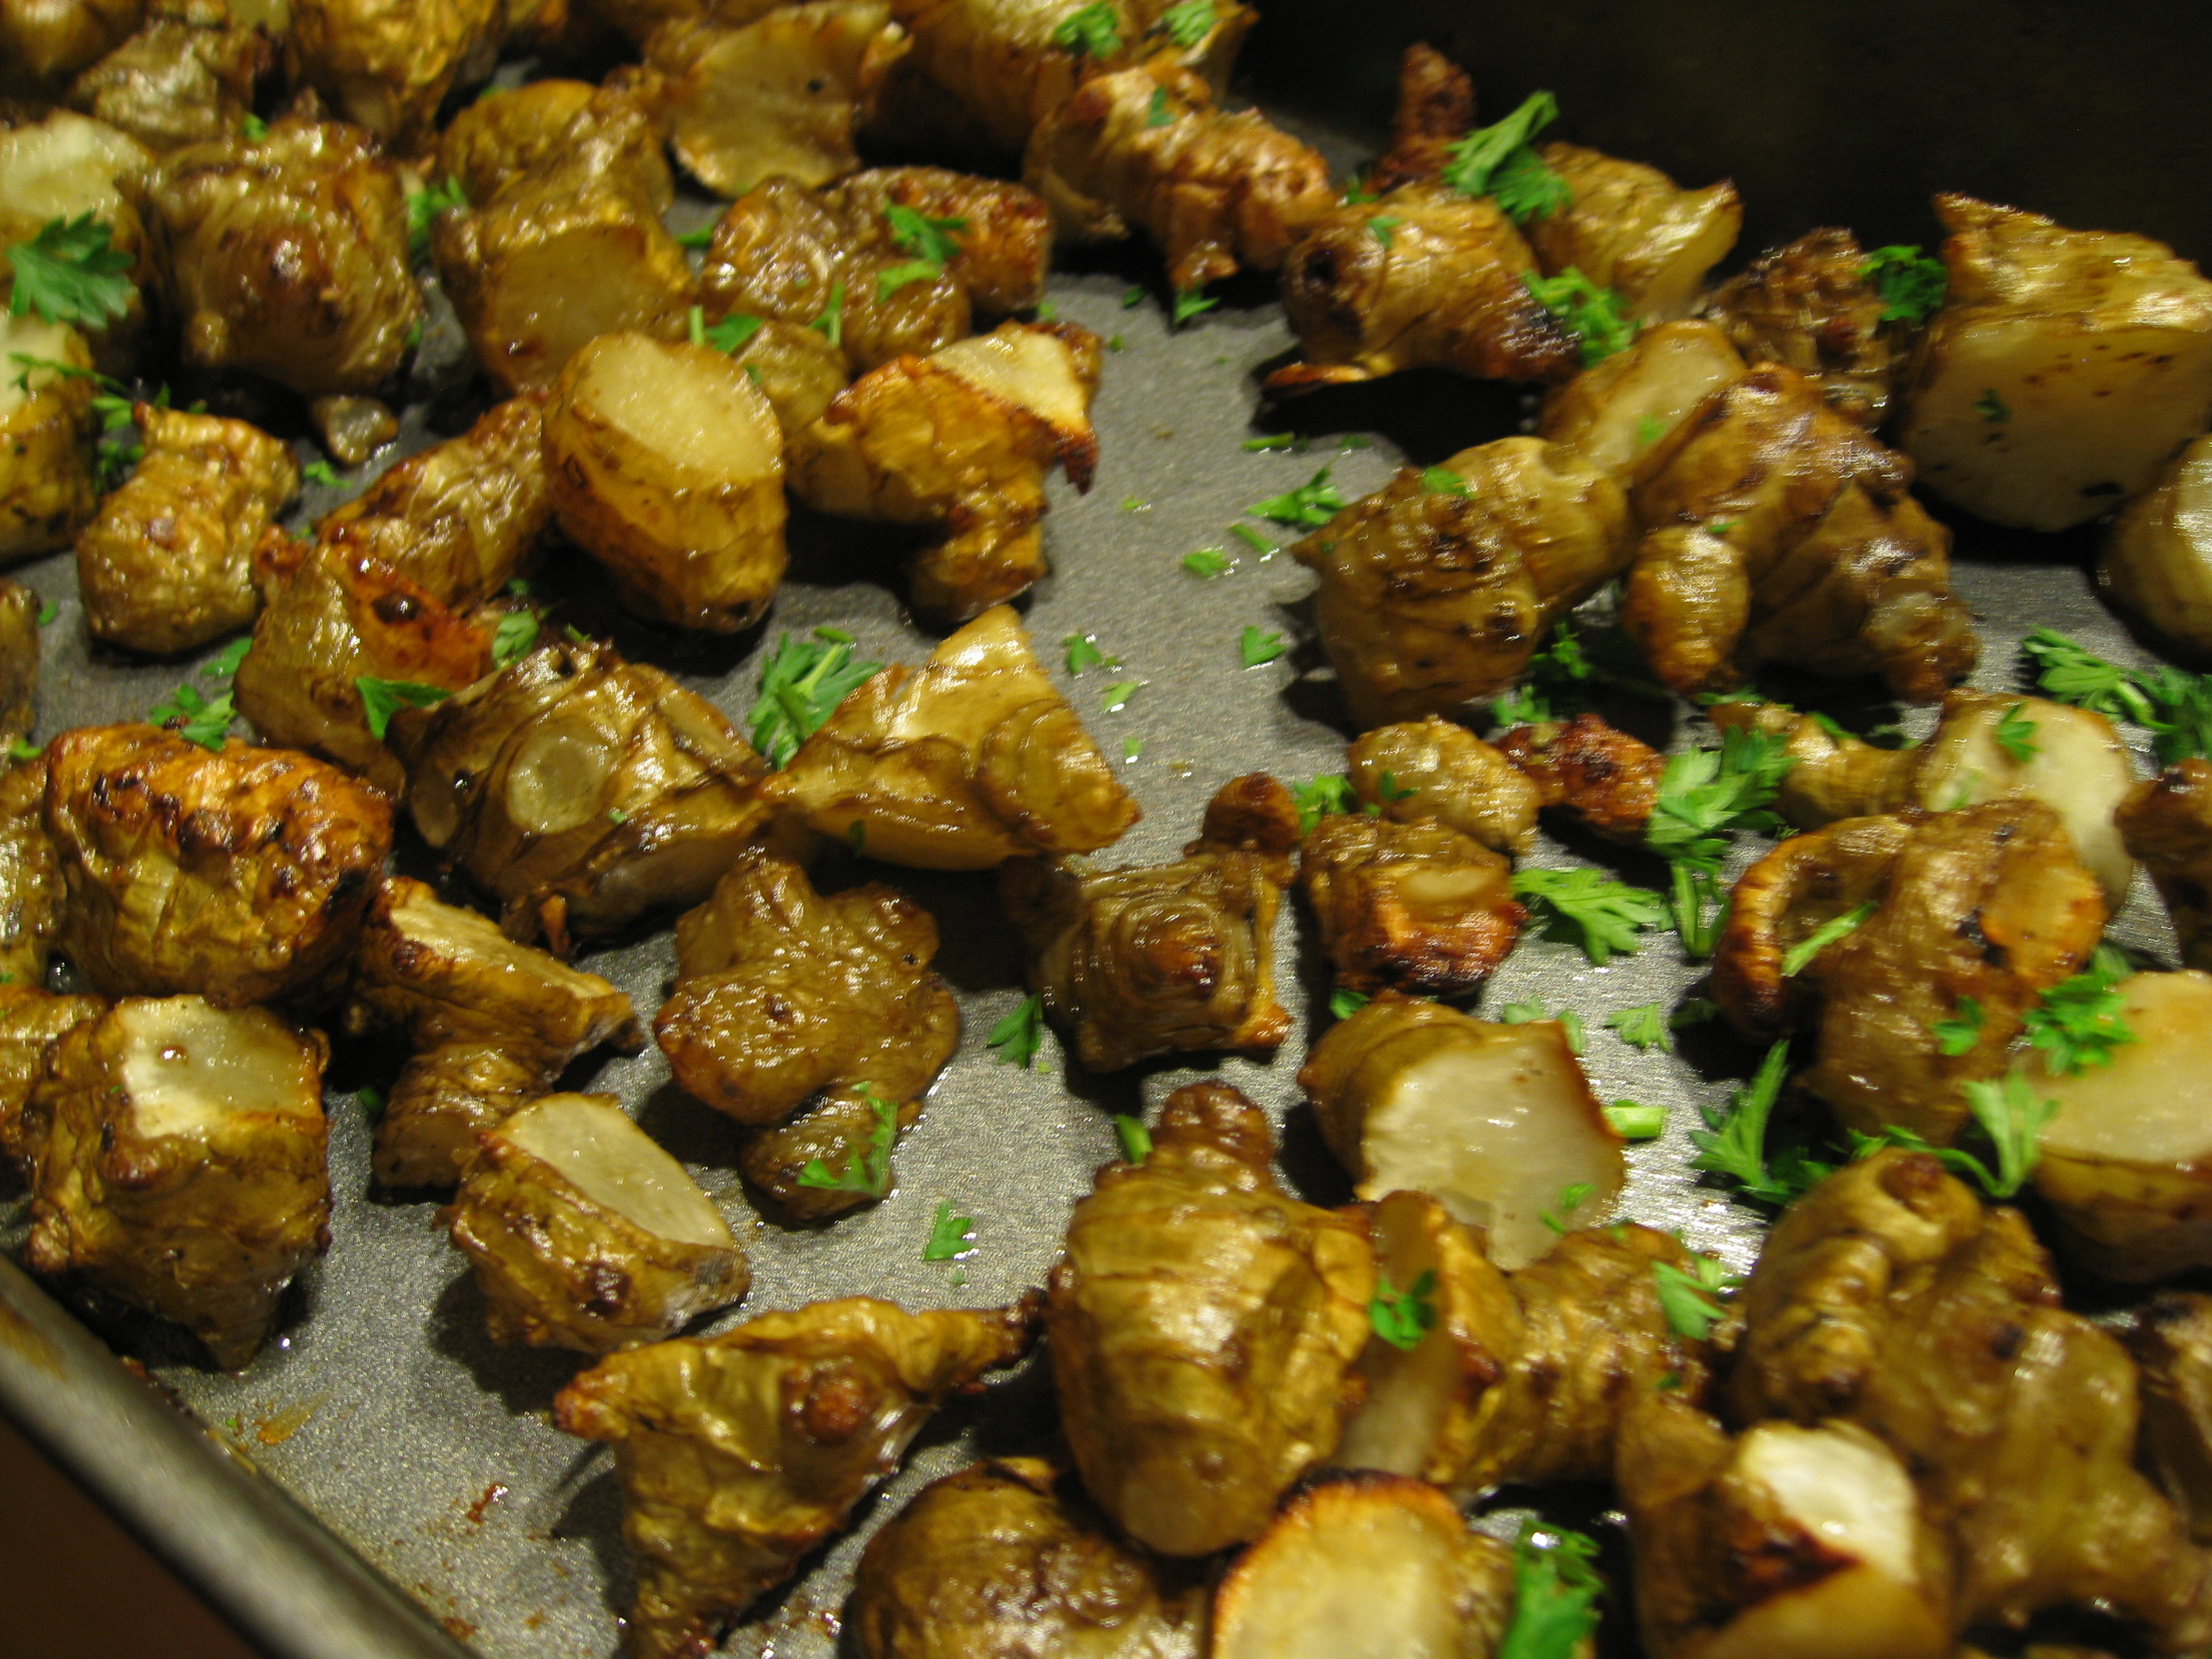
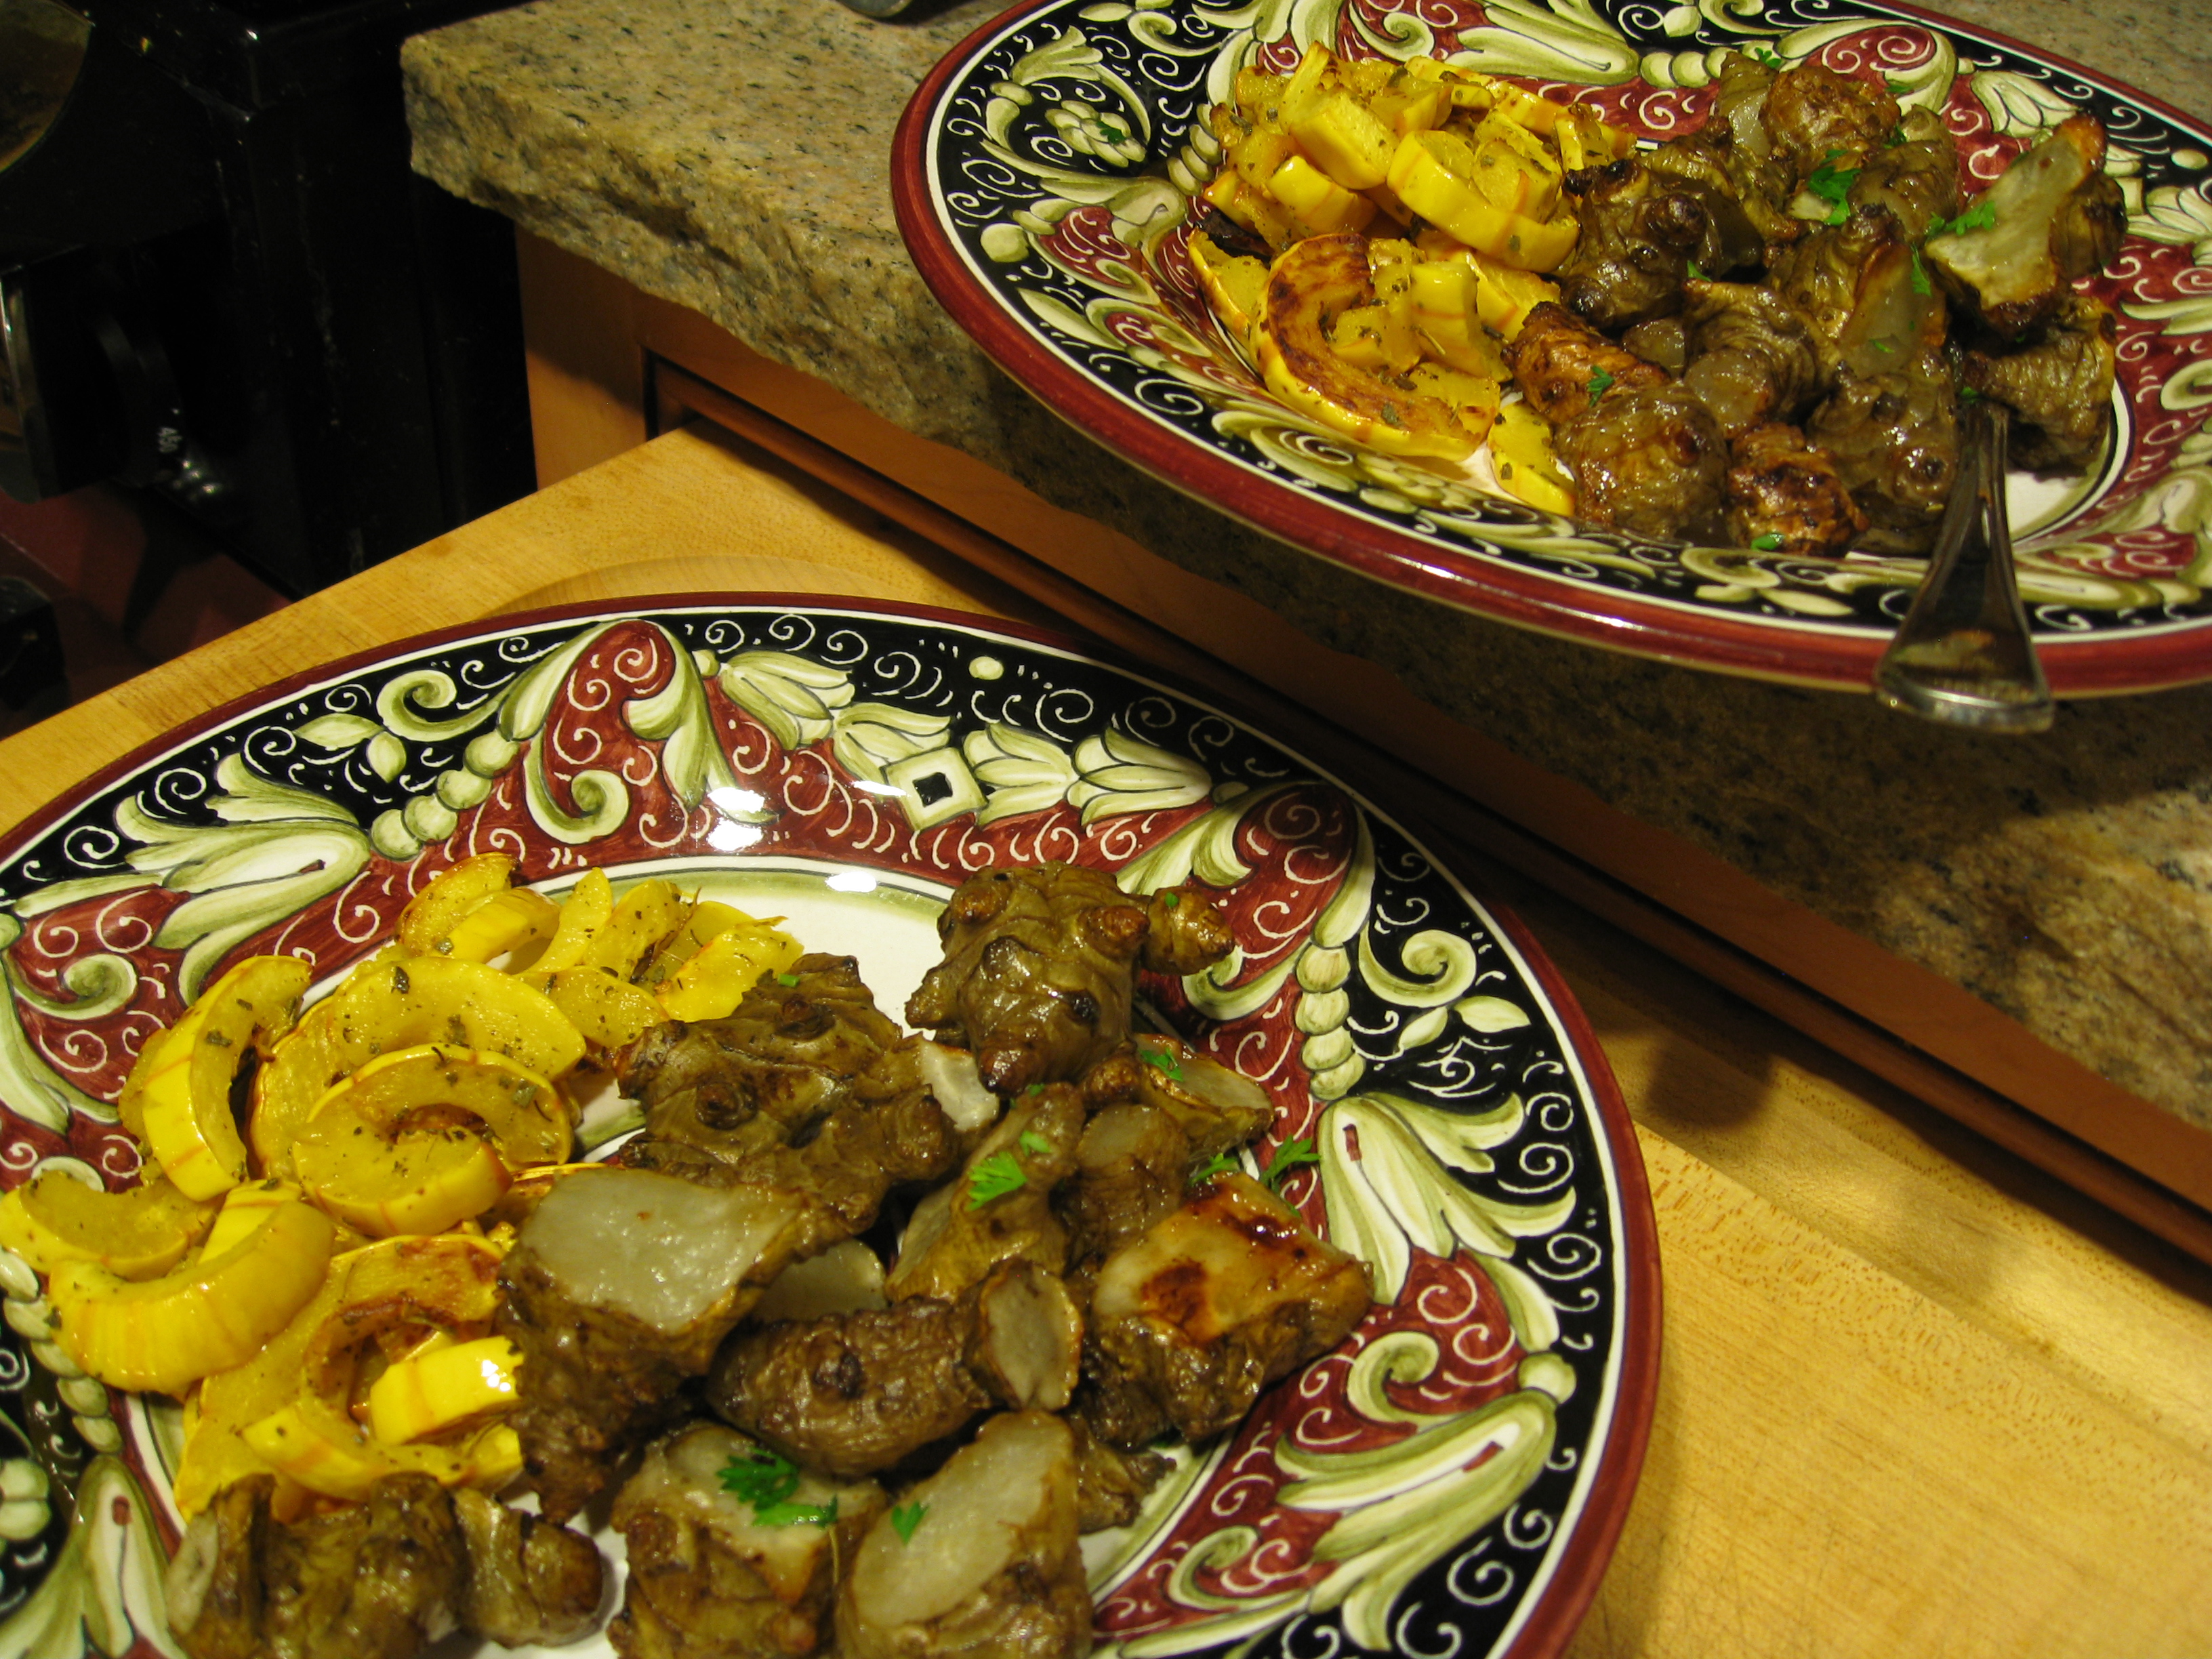
When all was said and done, we’d harvested about 10 pounds of usable crop, and another 7 pounds of rotten pieces (maybe 10, but we’ll replant several of those). We found a great recipe for roasted Jerusalem Artichokes and whipped up a double batch in no time.
Easy Roasted Sunchokes (Paleo Fries) – from Olive & Herb
- 1lb Sunchokes (Jerusalem Artichokes), scrubbed
- ½ tablespoon extra virgin olive oil
- 1 teaspoon sea salt
- ½ teaspoon fresh ground black pepper
- 1 tablespoon fresh chopped Italian or curled parsley
- Preheat oven to 450 degrees
- Scrub the Sunchokes with a potato brush and chop into 1 inch bite-size chunks
- Toss in a medium sized bowl with olive oil, salt and pepper until coated
- Place onto a baking sheet and bake for 20-25 minutes, turning once, until the skin is slightly browned
- Sprinkle with fresh parsley. Serve plain or with a side of ketchup.
The result was a creamy, savory side dish that tasted like artichoke hearts. Fair warning: there really should be an ‘F’ in front of the word ‘artichoke.’ If you don’t understand what I mean, you soon will after eating.
Notes:
1) Stop watering the plant when the leaves die back. Just like potatoes, if you water after the foliage dies back, the tubers will rot. We were so fixated on the instructions (to harvest after frost) that we stopped observing the plant. We lost half the harvest this way. Learn from our mistakes and harvest when the foliage dies back completely.
2) Try not to break the tubers while cleaning. It’s going to happen, but broken ends make the product more perishable. It was recommended to cook up all tubers with scratches or broken ends. We’re attempting to store some instead; we’ll see what happens.
3) Build a root cellar. 20 pounds of Jerusalem Artichokes really fill up the fridge.
Hey Gardenerds, are you growing Jerusalem Artichokes? Share your favorite recipes here.
Pingback: Best 9 when to harvest sunchokes – lifefindall.com
Picking the flowering buds off should be done? Why? I didn’t do that!?
Let me clarify – when I said the flowers were long gone, I meant that you need to wait until the flowers have finished blooming, and the stalk is dying back. I may have waited too long. Some of our chokes had rotted.
What zone are u? I am in Georgia zone 7b. Mine are still blooming lol 9-29-20 thanks!!
We’re 10b over here, so our summers are very long, winters are productive, and spring goes by in the blink of an eye.
Moved into a new house there is wild artichokes growing here you’ll be my first year triangle curious as to how you know that they are good or bad to eat I saw something about green ones could use more information
I wish I understood the question. Please restate it and then I will be able to help you.
Pingback: Growing Jerusalem Artichokes - Gardenerd