This week we have a guest blogger talking about a subject we haven’t covered here at Gardenerd: ponds. Ricky Peterson is a nature lover who likes to walk in the woods and generally spend time outdoors. He loves his garden and, unlike some of us, like sharing it with lots of wildlife. Ricky works for Swallow Aquatics, selling pond supplies to keep home ponds aerated and healthy. He’s here to share his knowledge about DIY pond construction. Take it away Ricky.
Ponds are a fantastic way to encourage a wide range of wildlife into your garden. From frogs to birds, dragonflies to beetles, lots of animals and insects will find a home there.
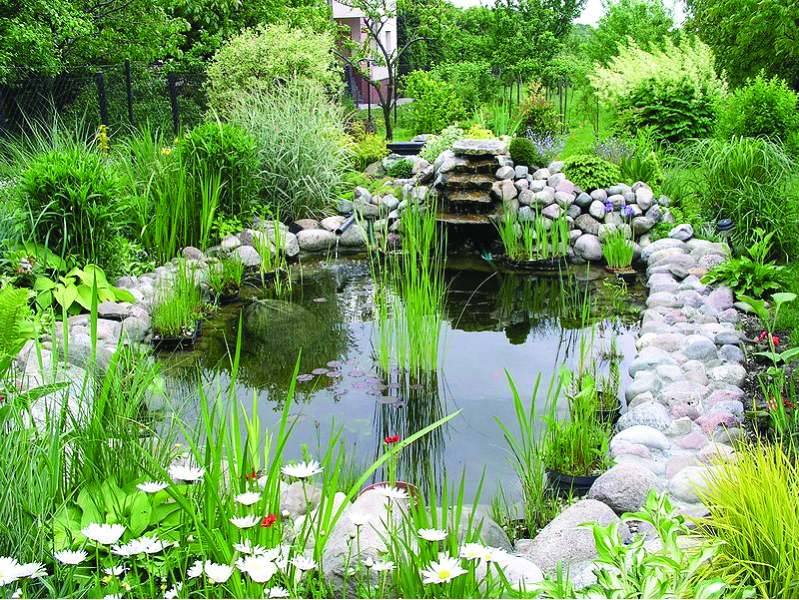
Image credit: pond
The right site
Find the sunniest place in your garden where a pond could sit, and try to avoid placing it under a tree if you can so that you don’t have to clear away leaves in the autumn. You’ll want a site where one edge can have dense planting, with shelters nearby such as logs and hedges for the baby frogs.
Dig deep
After marking out the area where you’d like your pond to sit, dig 12 inches down throughout the whole plot. Then, mark out a central circle and dig another 18 inches there. This is where your hibernating creatures will go. Save the soil – you’ll need it later on.
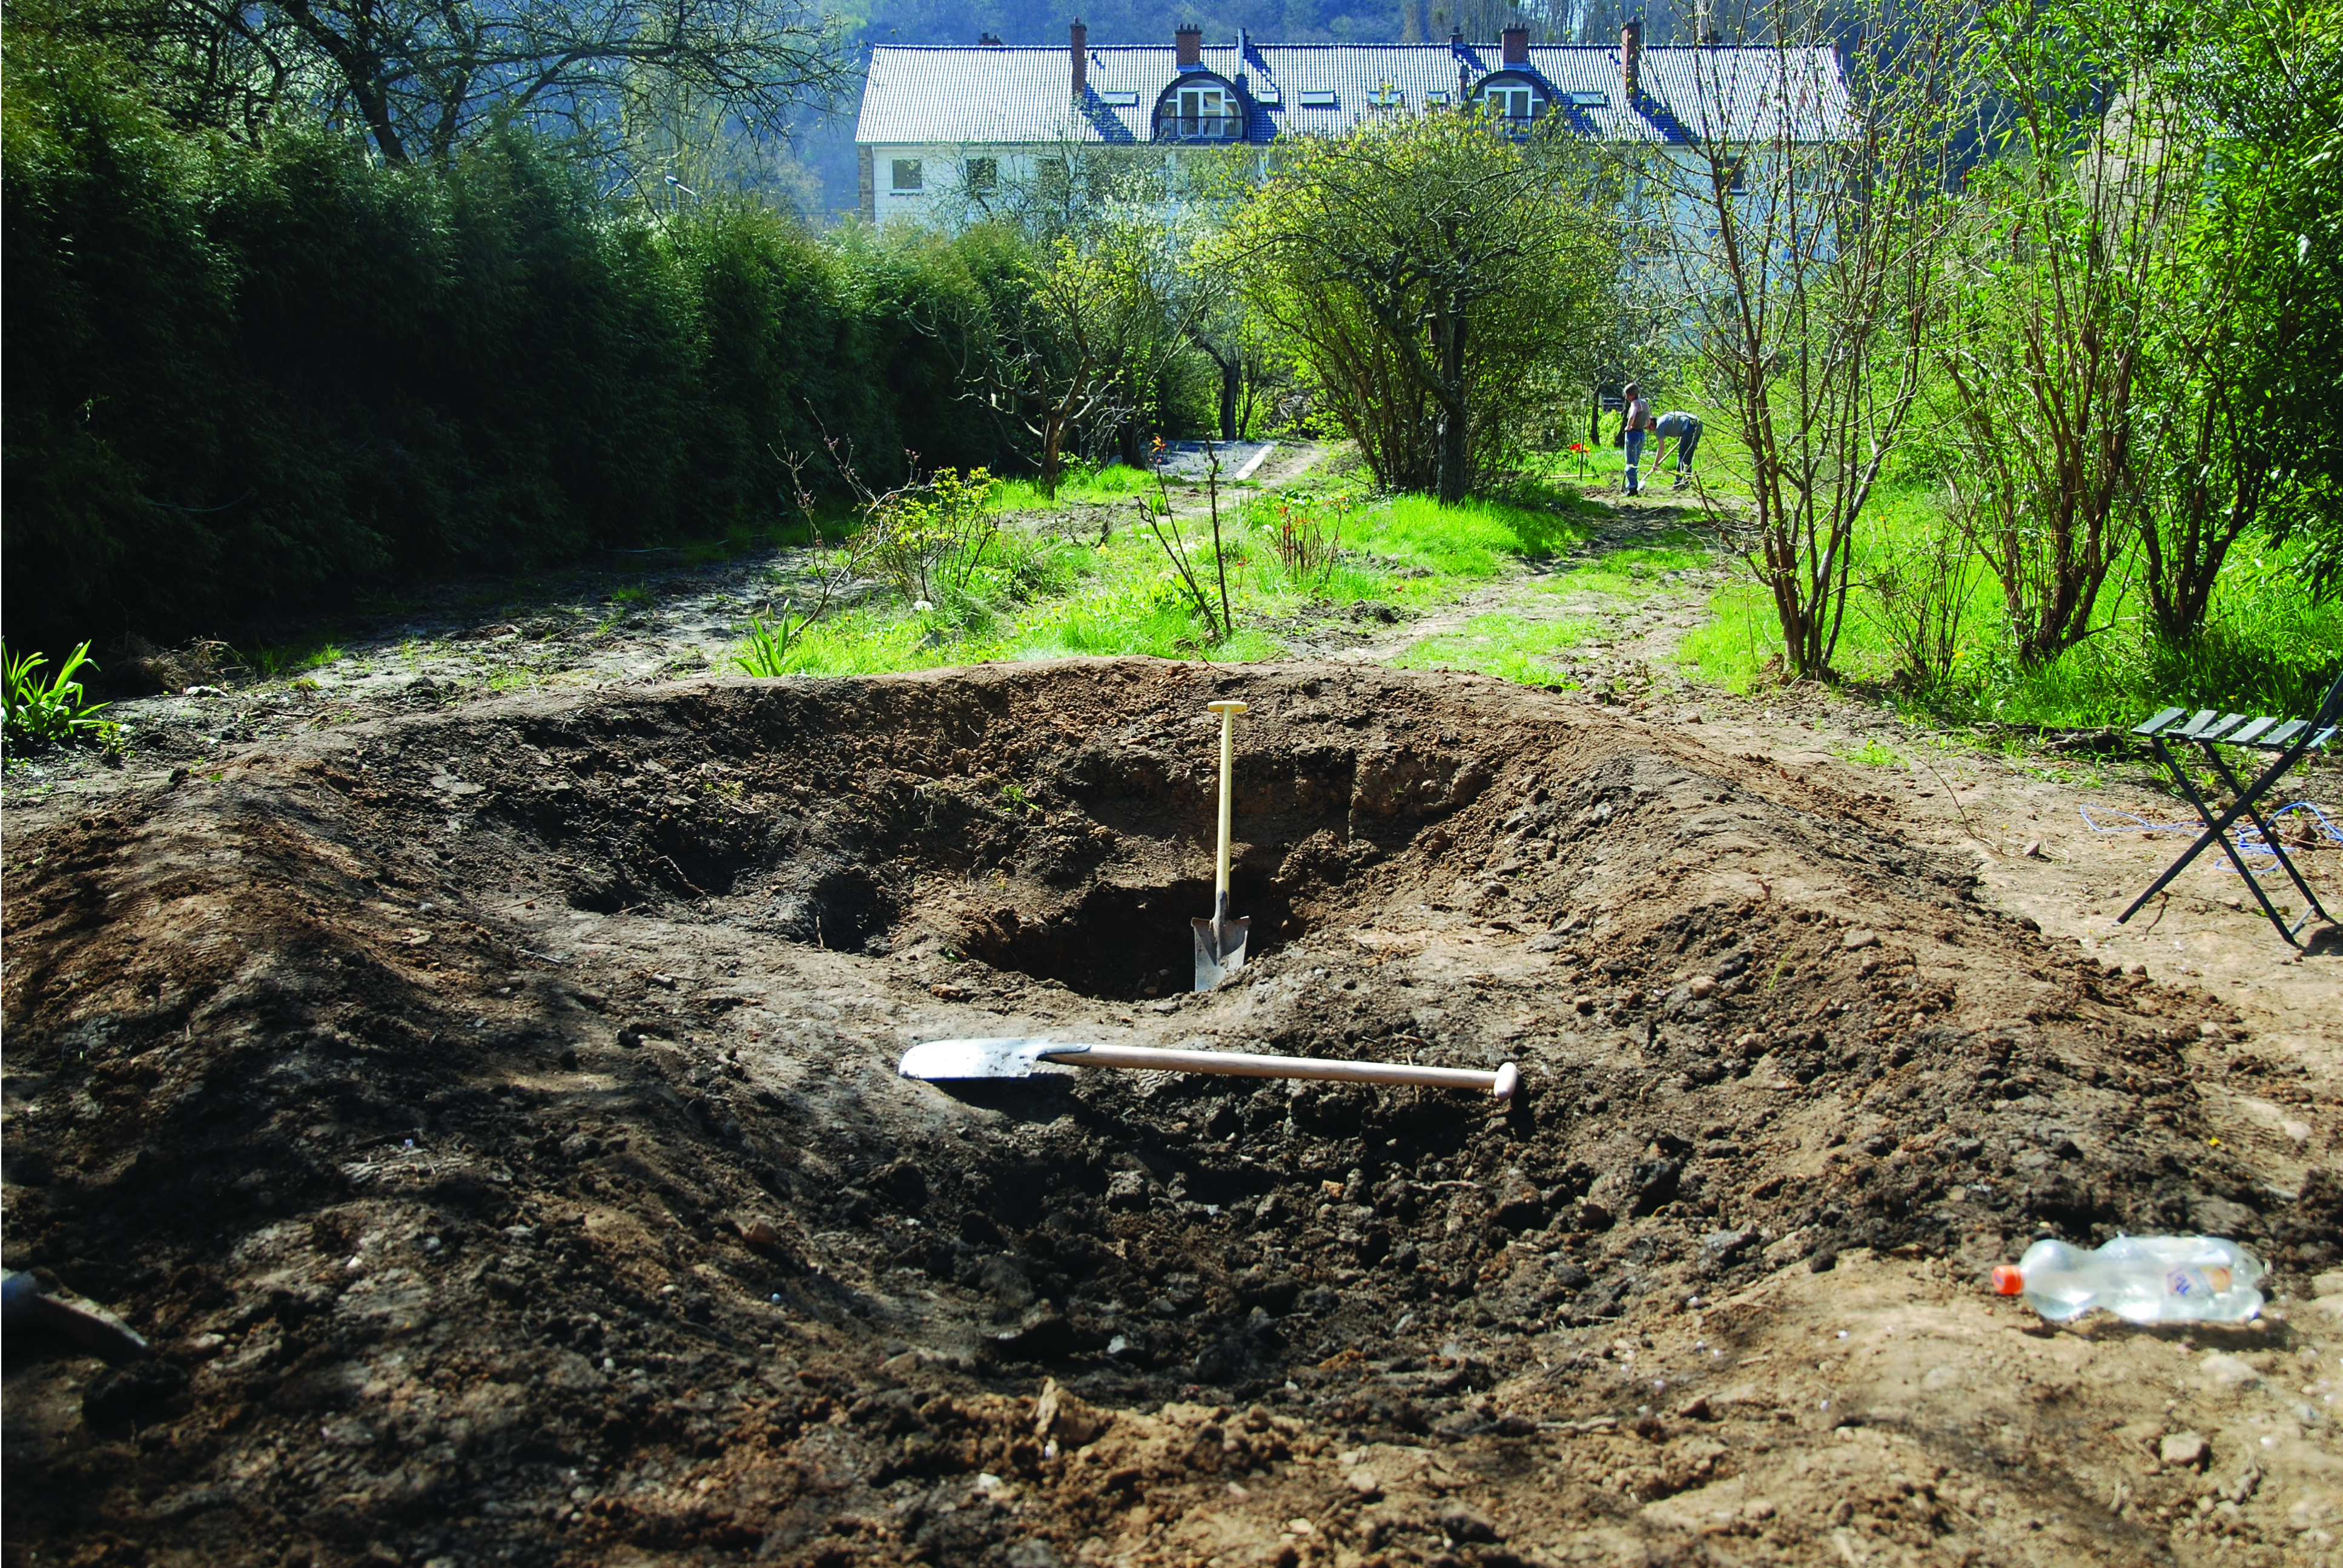
Image credit: digging
Borderline
It’s time to fit your liner. Choose either butyl or PVC – a garden center will be able to advise you on which is the best for your pond. Place the underlay in first – this will protect against sharp stones. Next, lay the liner over your pond, and begin to fill it with rainwater. Try to keep folds to a minimum – use some heavy stones to weigh it down if this helps. Cut the excess liner, leaving an extra foot of length all the way around.
Now you’ll need that excess soil. Use it to create a slope into the pond, and to hide the liner around the outside.
Get growing
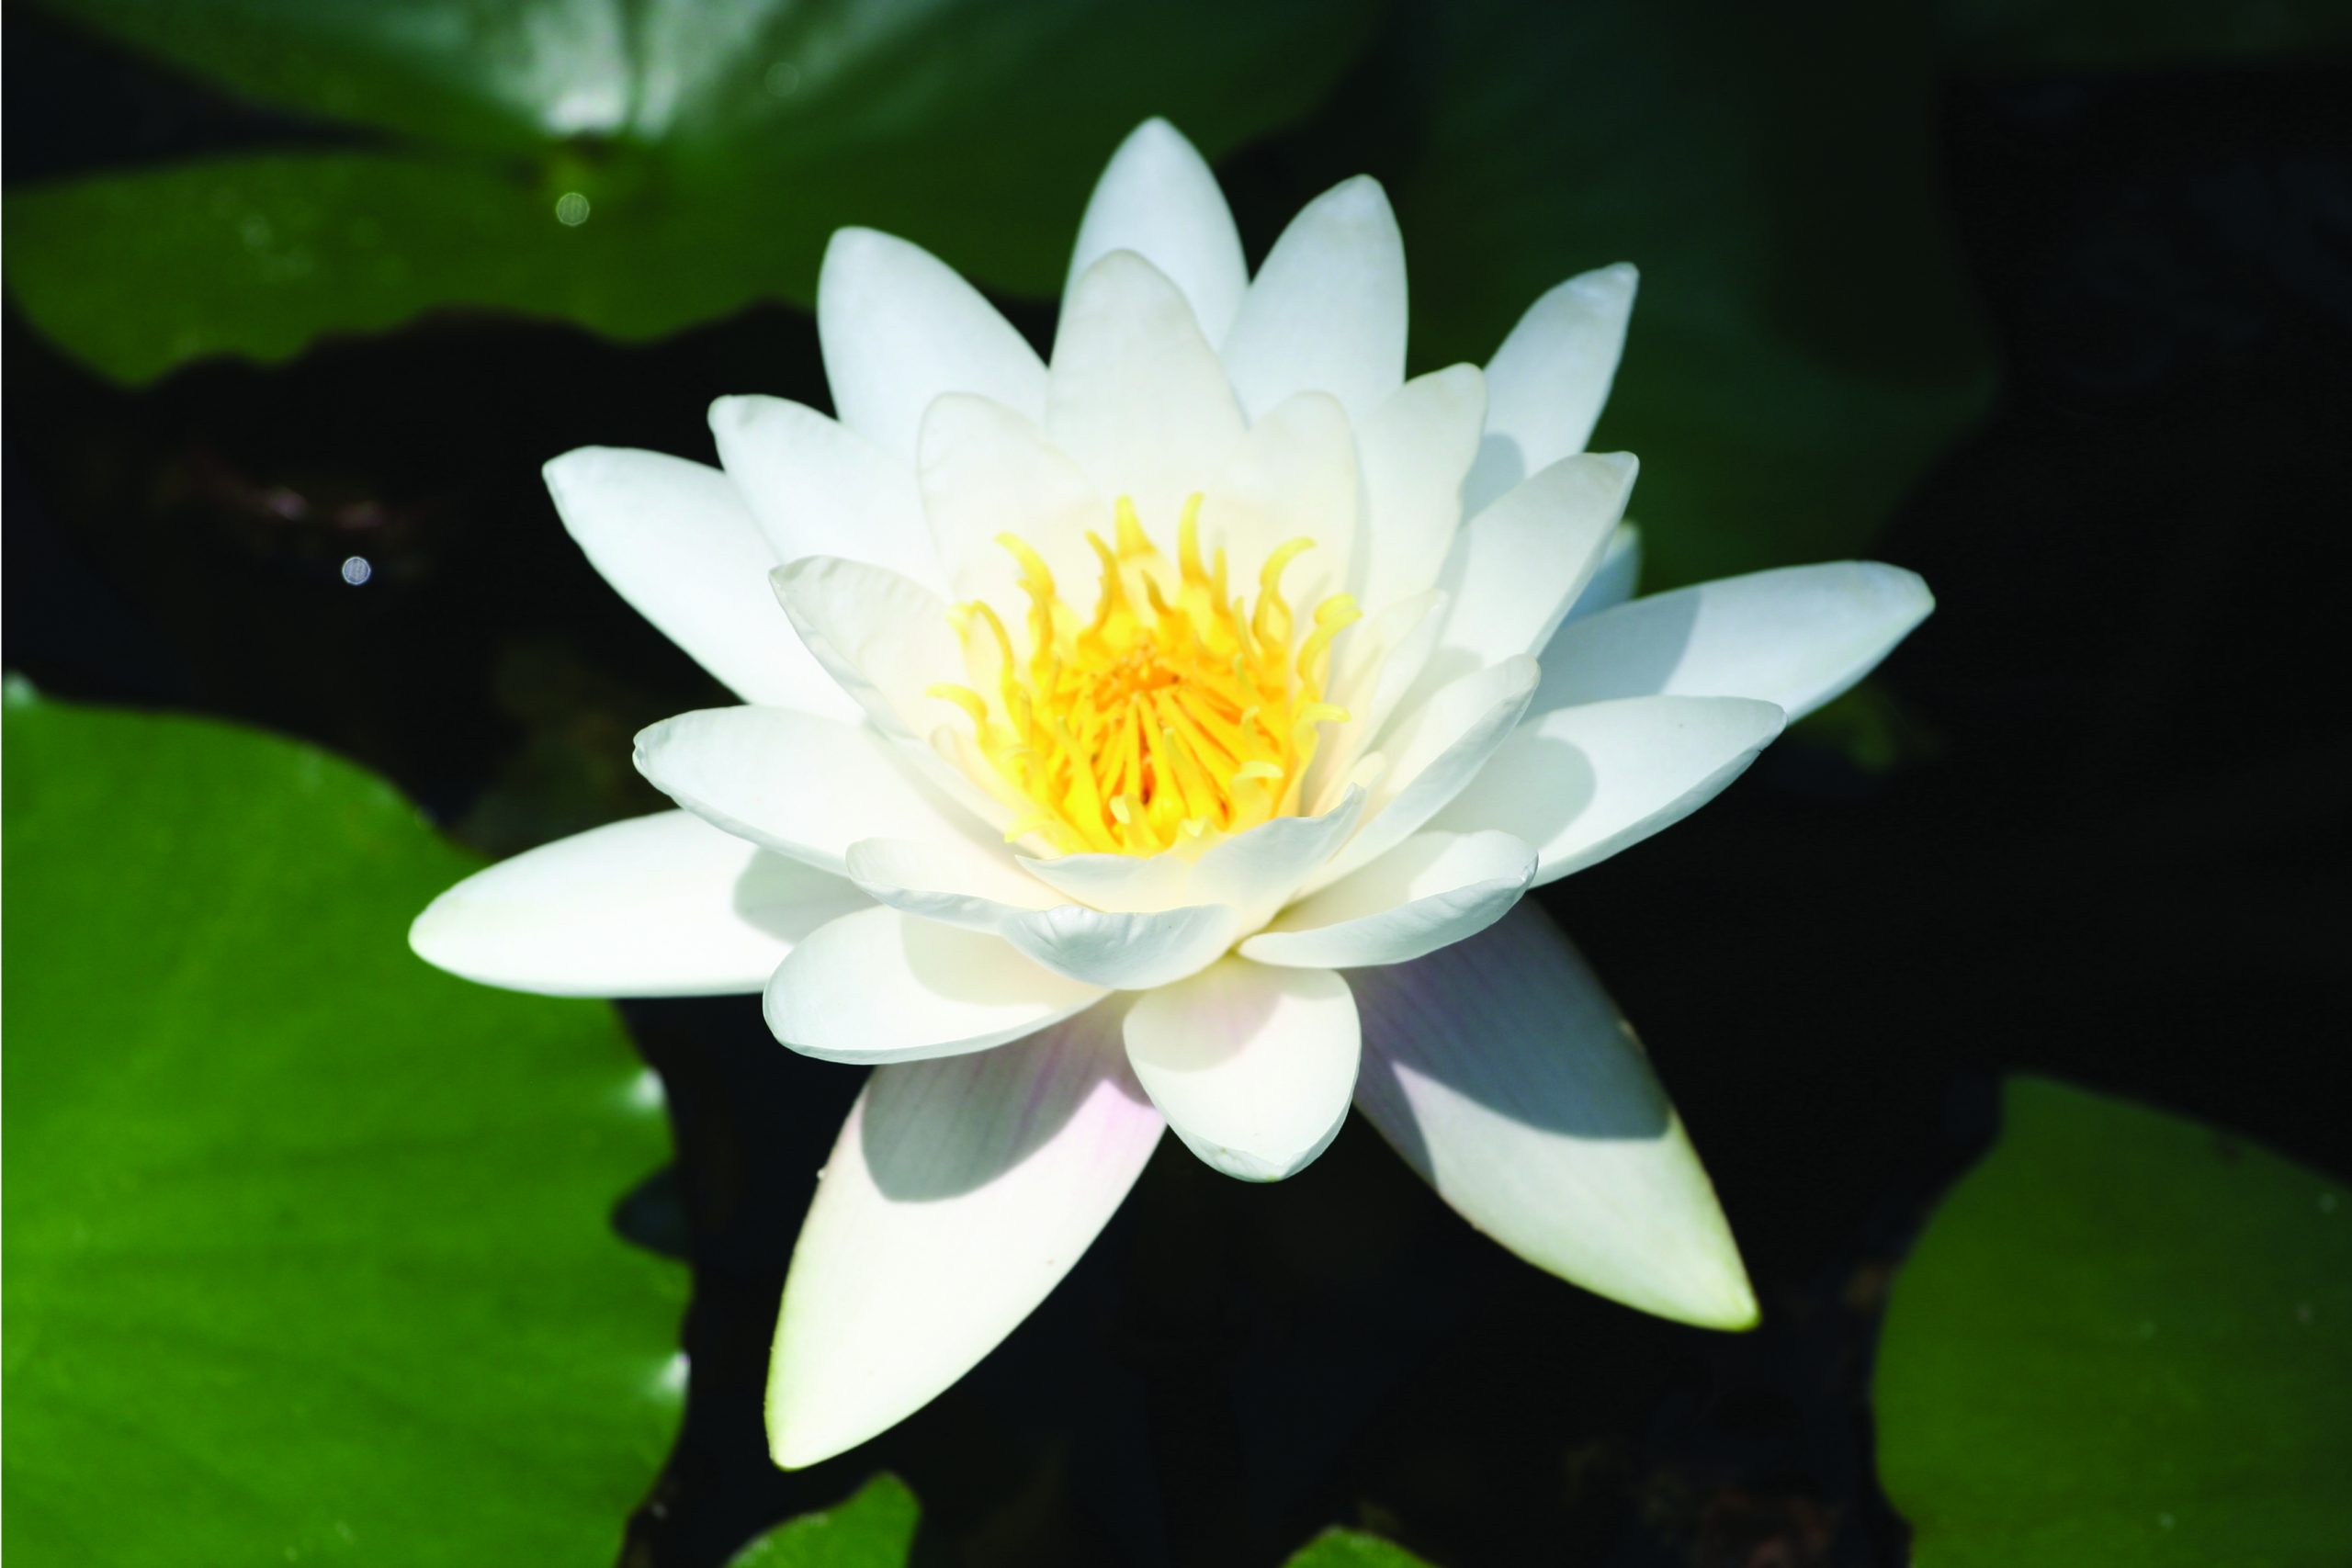
Get your green fingers ready – it’s time to plant. Choose a mixture of floating plants, like hornwort or water hawthorn; and plants for the edges, like irises, grasses and rushes. Consider using aquatic baskets for the plants that will sit in the pond itself, like lilies – this allows you to remove them from the pond at a later date without disturbing their root system too much.
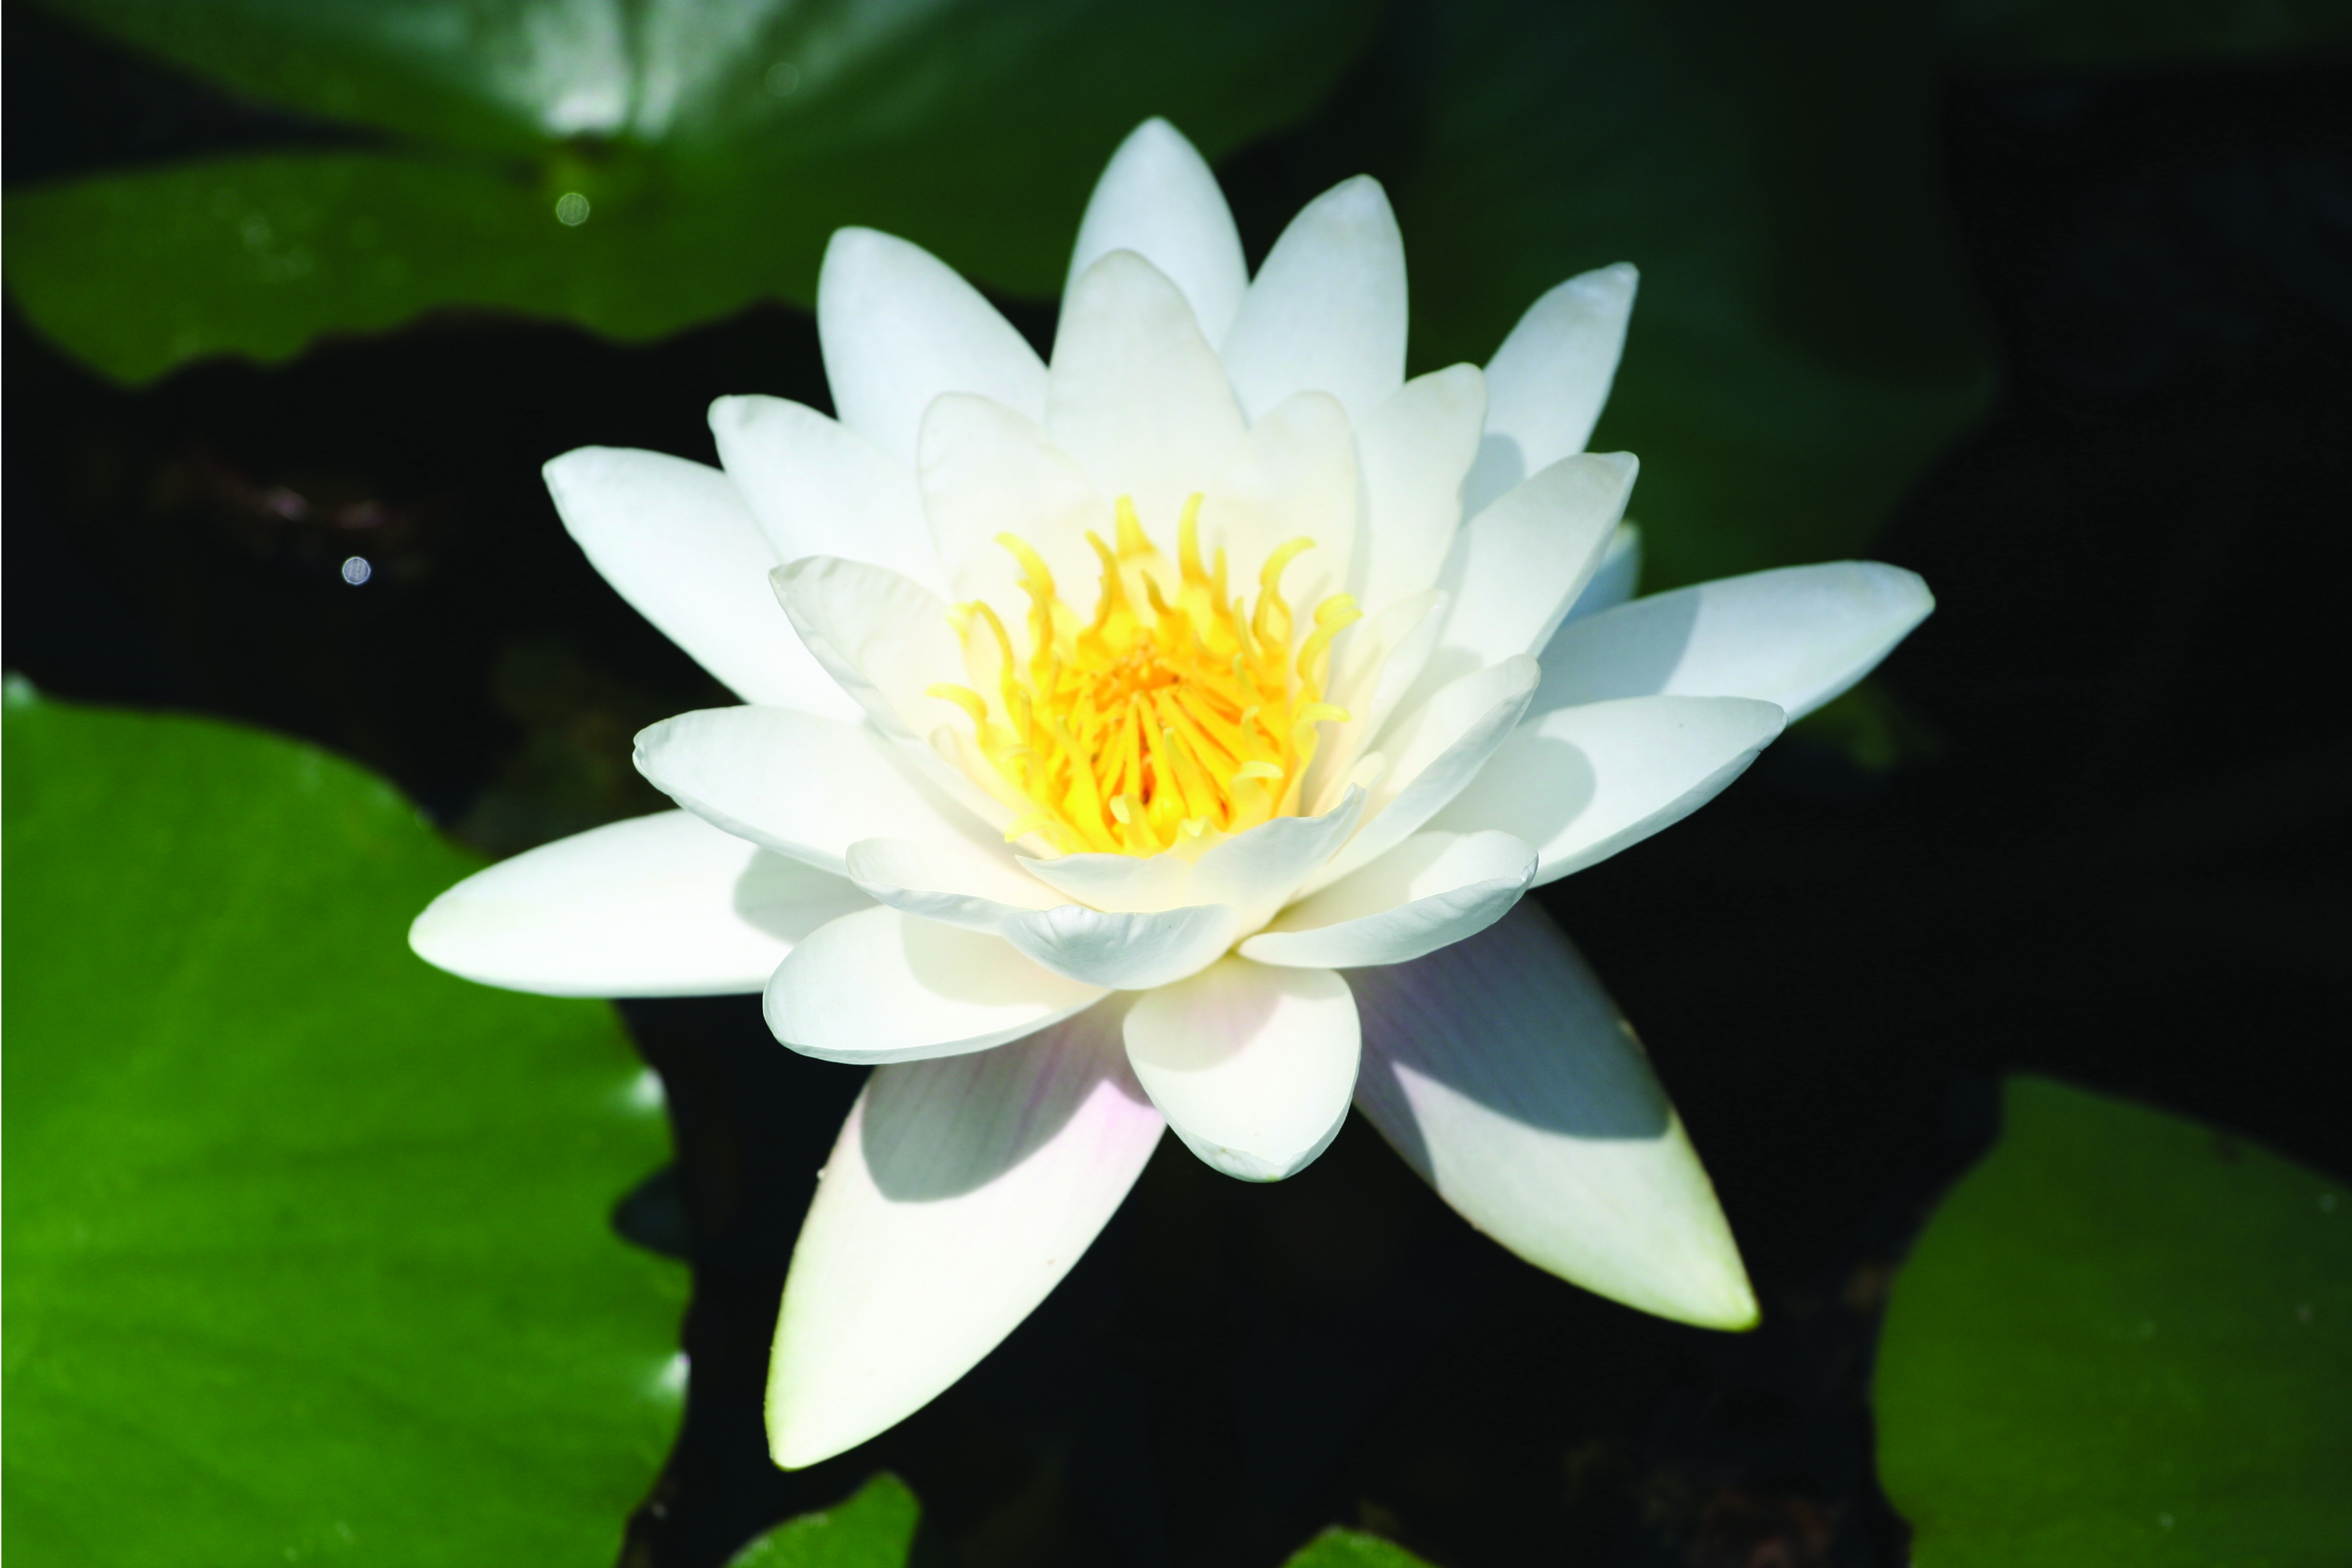
Image credit: water lily
Hurry up and wait
Now, it’s a waiting game for the wildlife to come to your pond. After planting, your pond will turn a vivid green color – this is the algae getting to work. When wildlife arrives, it will magically turn clear again. The best time to set up a pond is the winter, so that it is ready for the influx of wildlife in the spring. Then, you can enjoy watching tadpoles, toads, dragonflies, birds and newts from April to August.
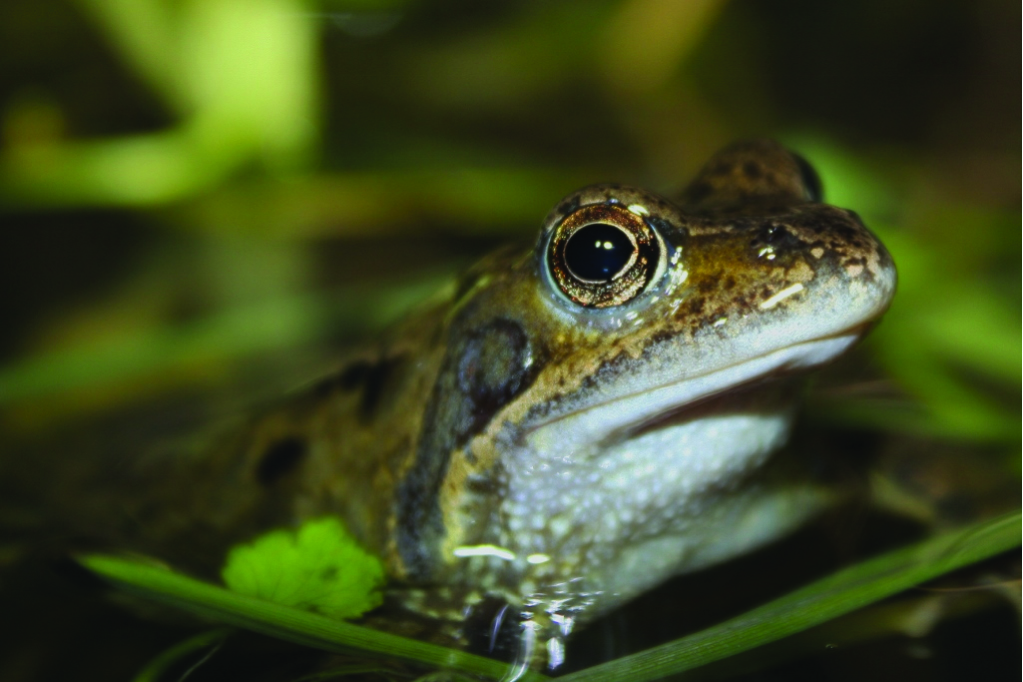
Image credit: frog
Maintenance
Keeping your pond looking good will take a little work:
- Get a rain barrel to catch rainfall – rainwater is the best for topping up your pond when the water level dips.
- Don’t be scared to cut back your plants. When your pond’s surface is covered more than halfway with plant life, pull some out. This will stop a process called ‘succession’, which means that if left to its own devices, eventually your pond would become a forest. It also keeps the algae in check, meaning less cleaning for you. But be careful to inspect the plants you pull out for critters!
- Avoid using chemicals altogether – your frogs will thank you.

_(8619564516).jpg)